Import Pupils & Data from SIMS
You can import a Common Transfer File (CTF) from SIMS into Insight to:
- Import statutory assessment data - SATs, Phonics, EYFSP
- Add new pupils
- Archive pupils who've left the school
- Update FSM, Pupil Premium and SEN records
- Update contextual pupil information such as Ethnicity
- Update attendance records
- Classes / registration groups aren't included in a CTF, but Insight will tell you how to import these as part of the process
1. Create a new CTF destination in SIMS (first time only)
The first time you run this process for Insight, you'll need to set up a new destination for your files. If you've set this up previously, you can skip to the next section.
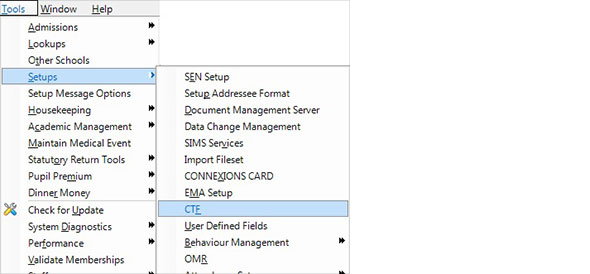
Log into SIMS.NET and go to Tools > Setups > CTF:
This will take you to the Configure CTF Defaults screen. Under section 4 Alternative Destinations click the New button:

You'll need to type a Code and Description for your new destination. We recommend your code be Insight and your description Insight Tracking. Click OK when ready:

Click Save at the top left of the screen, and you're done! You'll only need to do this once.

2. Export a CTF from SIMS
Log into SIMS.NET and go to Routines > Data Out > CTF > Export CTF > General.
You'll see the Export CTF (General) screen:
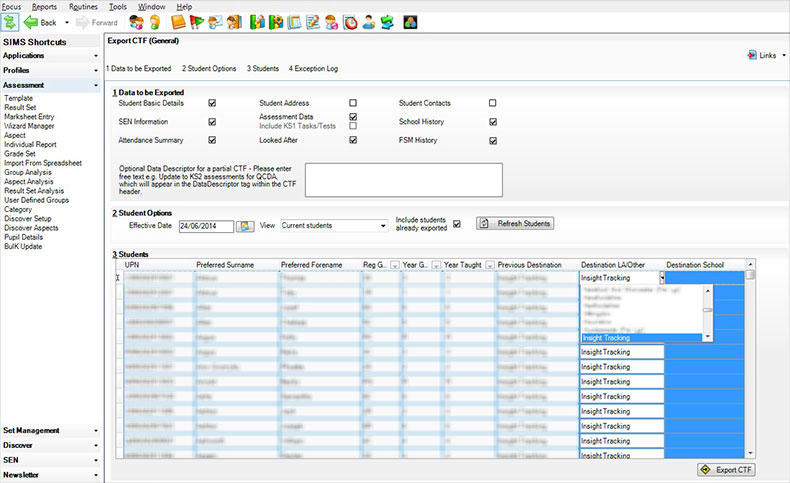
In section 1 Data to be Exported make sure the options below are selected:
- Student Basic Details
- SEN Information
- Attendance Summary
- Assessment Data
- Looked After
- School History
- FSM History
In section 2 Student Options, make sure the View is set to Current Students. Make sure the Include Students Already Exported box is ticked, then click Refresh Students.
In section 3 Students, right-click the mouse on an empty Destination LA/Other box and choose Select all to highlight the whole table blue. This ensures you'll only have to select the destination of the CTF export once. Then, using the small drop-down button in the right of the cell, select Insight Tracking as your destination (if you can't see Insight in the list please see section 1).
If this part is proving difficult, you can try to populate the first cell with 'Insight Tracking' then hold down the Shift key on your keyboard and scroll down to the last pupil, entering 'Insight Tracking' again.
Click the Export CTF button. You'll see an Exception Log screen showing any errors that occurred during the export process, which should be blank if SIMS is up to date. If the exception log simply has a warning about addresses this can be disregarded as Insight doesn't hold address details. If there are any pupils who haven't been exported, you can either update SIMS and run the export again, or let us know and we'll update those pupils manually.
SIMS will save the CTF to your computer.
Generally, for non-hosted SIMS schools, all SIMS-related files are stored in the 'S' drive (but this may be different between schools).
To access the CTF folder, open the S Drive, then open SIMS > STAR > CTF > CTF Out. Locate the correct CTF i.e. *******_CTF_INSIGHT**.xml.
If you're unsure that it's the correct CTF, you can cross-check when it was generated by looking at the 'Date Modified' column. This column header can be clicked to sort the files chronologically.
3. Import your CTF into Insight
Navigate to the Admin page and choose Manage Pupils:

Click the Update Pupils button:

Click the CTF File button:

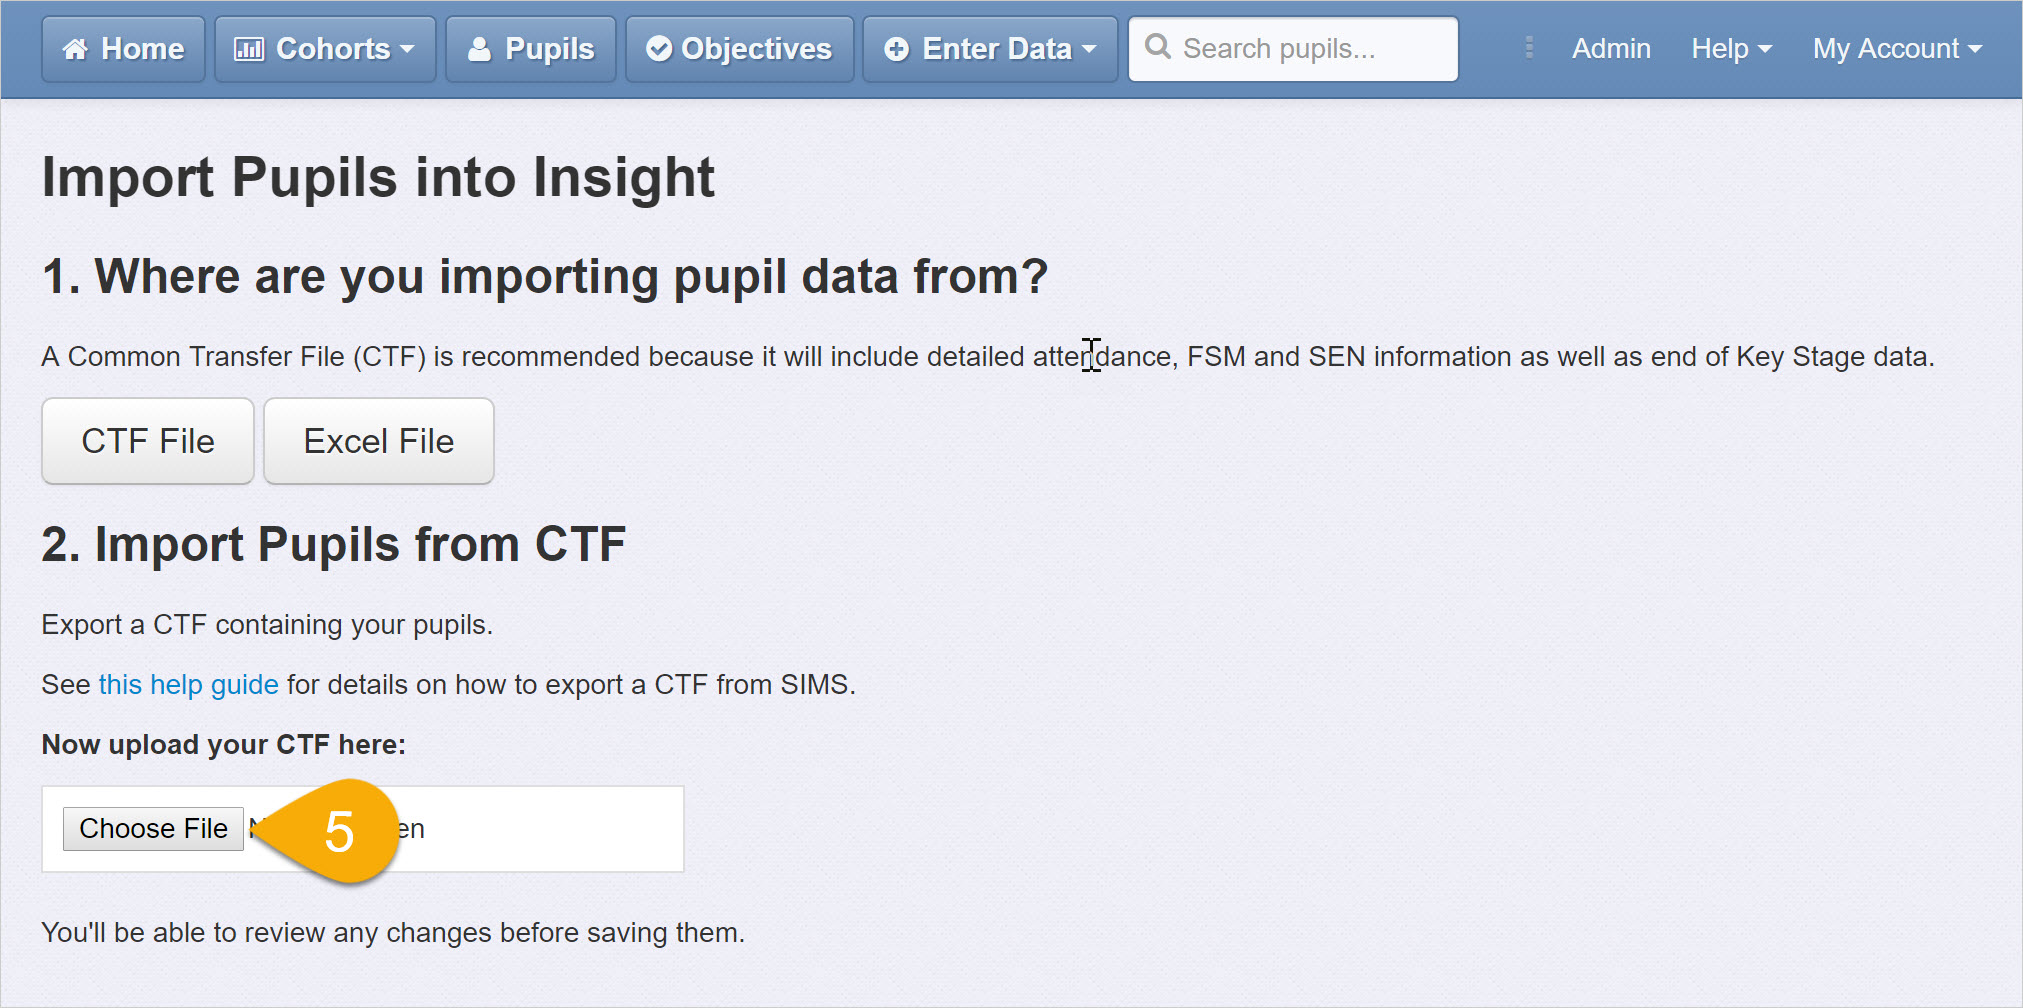
Click the Choose file button. Navigate to the CTF you exported to your computer (you're looking for a filename like this: [SchoolID]_CTF_Insight_[Export Number].xml) and click Open:
Once you've chosen your file, review the changes that will be made. Insight will show which pupils will be added, updated and archived (if any):
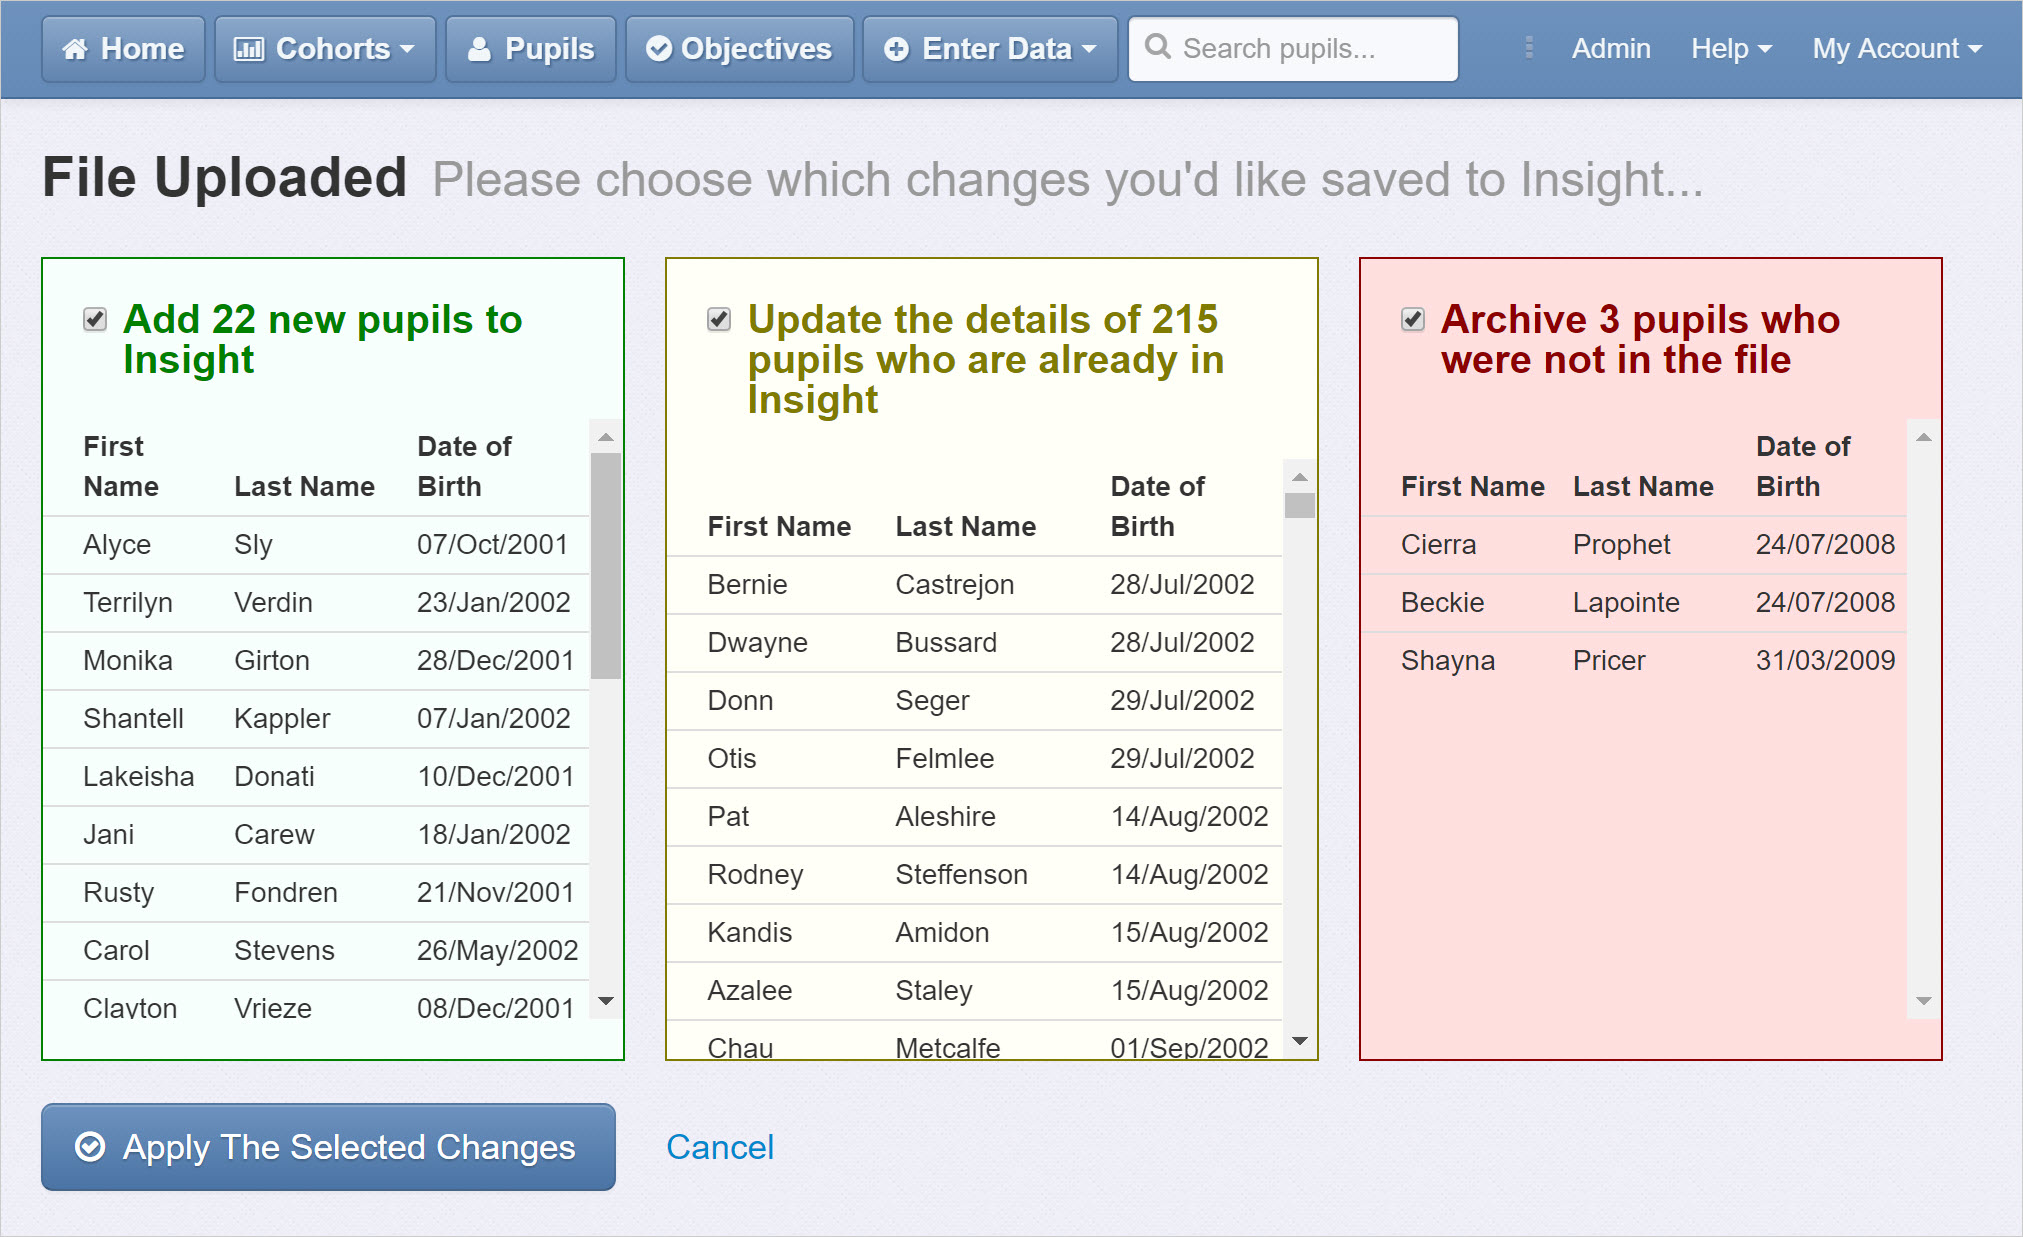
You can choose not to apply a set of changes by un-ticking in the appropriate box:
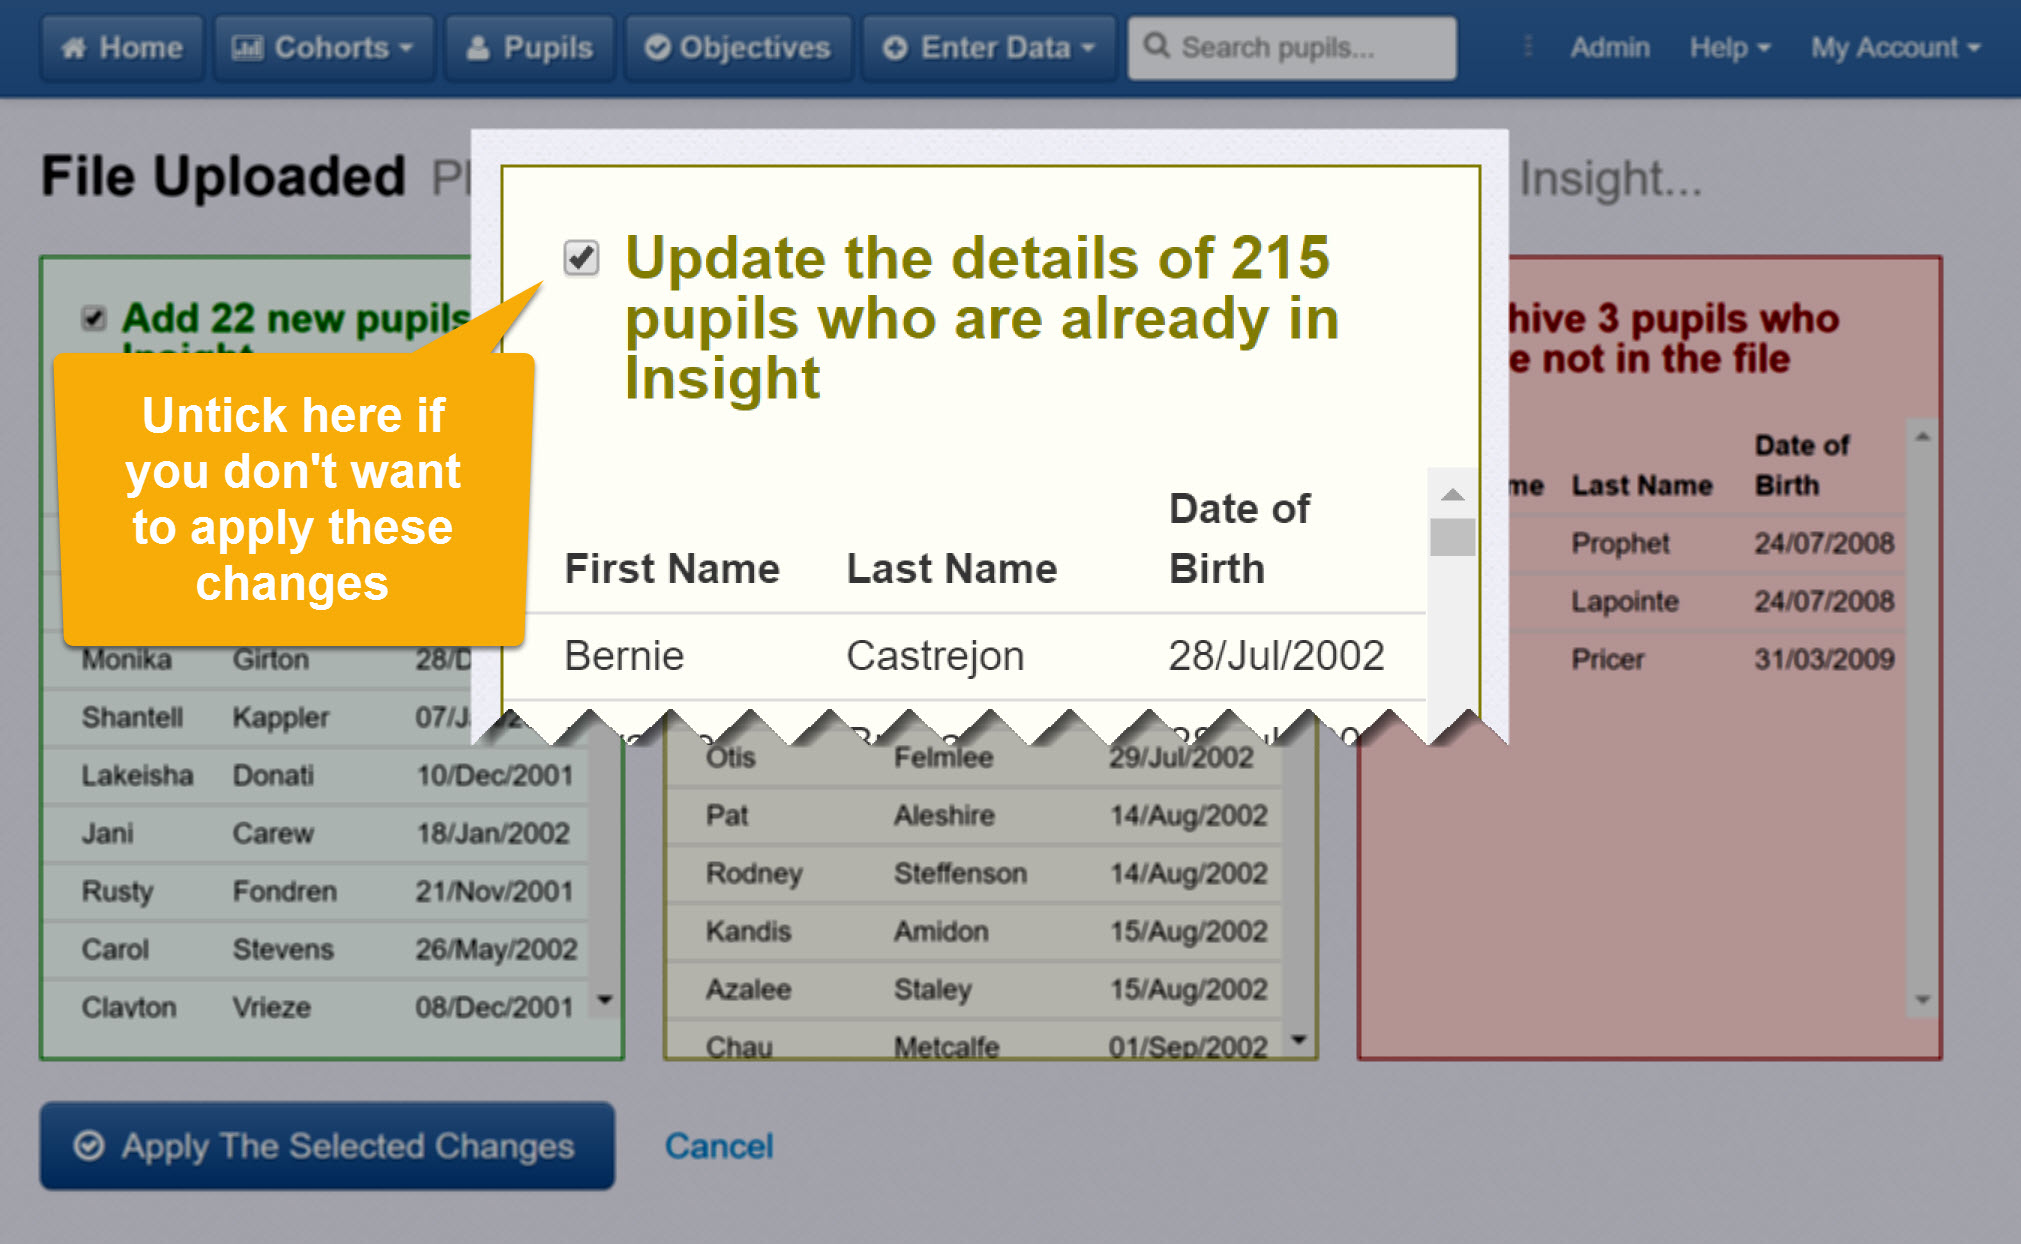
When you're ready, click Apply the Selected Changes to finish.
4. Import your Classes (optional)
SIMS doesn't include class information in CTFs, so if you want to track classes you'll need to import this separately. Click Update Classes to get started:

Follow the steps on screen and you're finished!
