Parent Reports - Entering Comments and Approving
 Updated
This guide explains how to complete your parent reports ready to download or email to parents.
Viewing Parent Reports for a Pupil
Parent reports can be viewed in bulk, over the whole school, or for a single pupil. It's useful to view reports for a pupil if you want to review any historical reports, enter and review comments or approve a report as ready to send to parents.
In this guide, we'll walk through how to select and view reports for a pupil, enter comments and snapshot the report by approving it.
If you intend to enter the comments for the pupils in your class, for example, you may want to use the Filter Pupils tool to select just your class first. The same applies for any other applicable filters; year group, maybe, or for a saved group.
To view your parent reports, navigate to Pupils, choose a pupil, and select the Parent Reports tab.
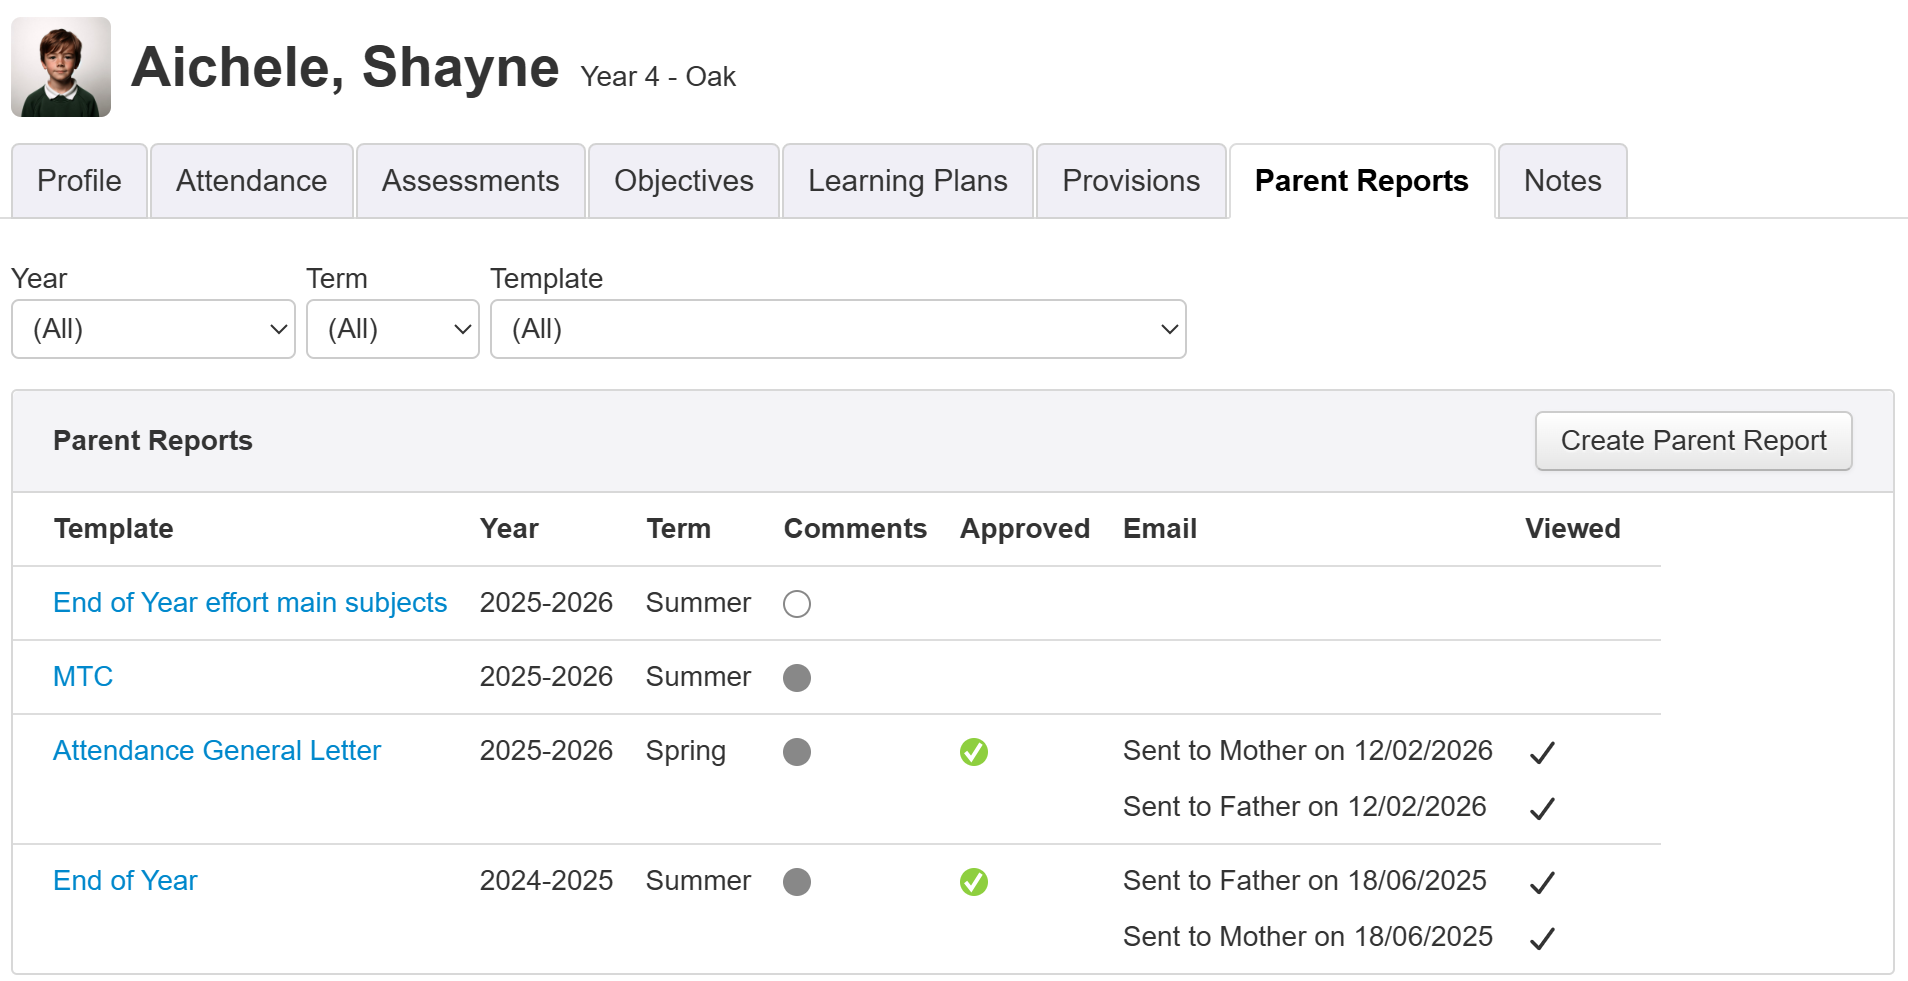
If this pupil has any existing reports, they will be shown with the most recent at the top of the list.
For each report, you can see a small pie chart, under Comments. This is a useful indication of progress. An empty circle shows that no comments have been marked as complete. A grey circle shows that comments are all complete, or that the report has no comments (such as an attendance report or SATs).
Click the name of the report, under Template, you'd like to work on.
Entering Report Comments
You'll usually need to enter some comments to include alongside assessment data in a parent report - often a teacher's comment, but certain reports might include comments on pupils' achievements in individual subjects, targets for the coming year, or a headteacher's comment.
You'll see the comment boxes for your selected report.
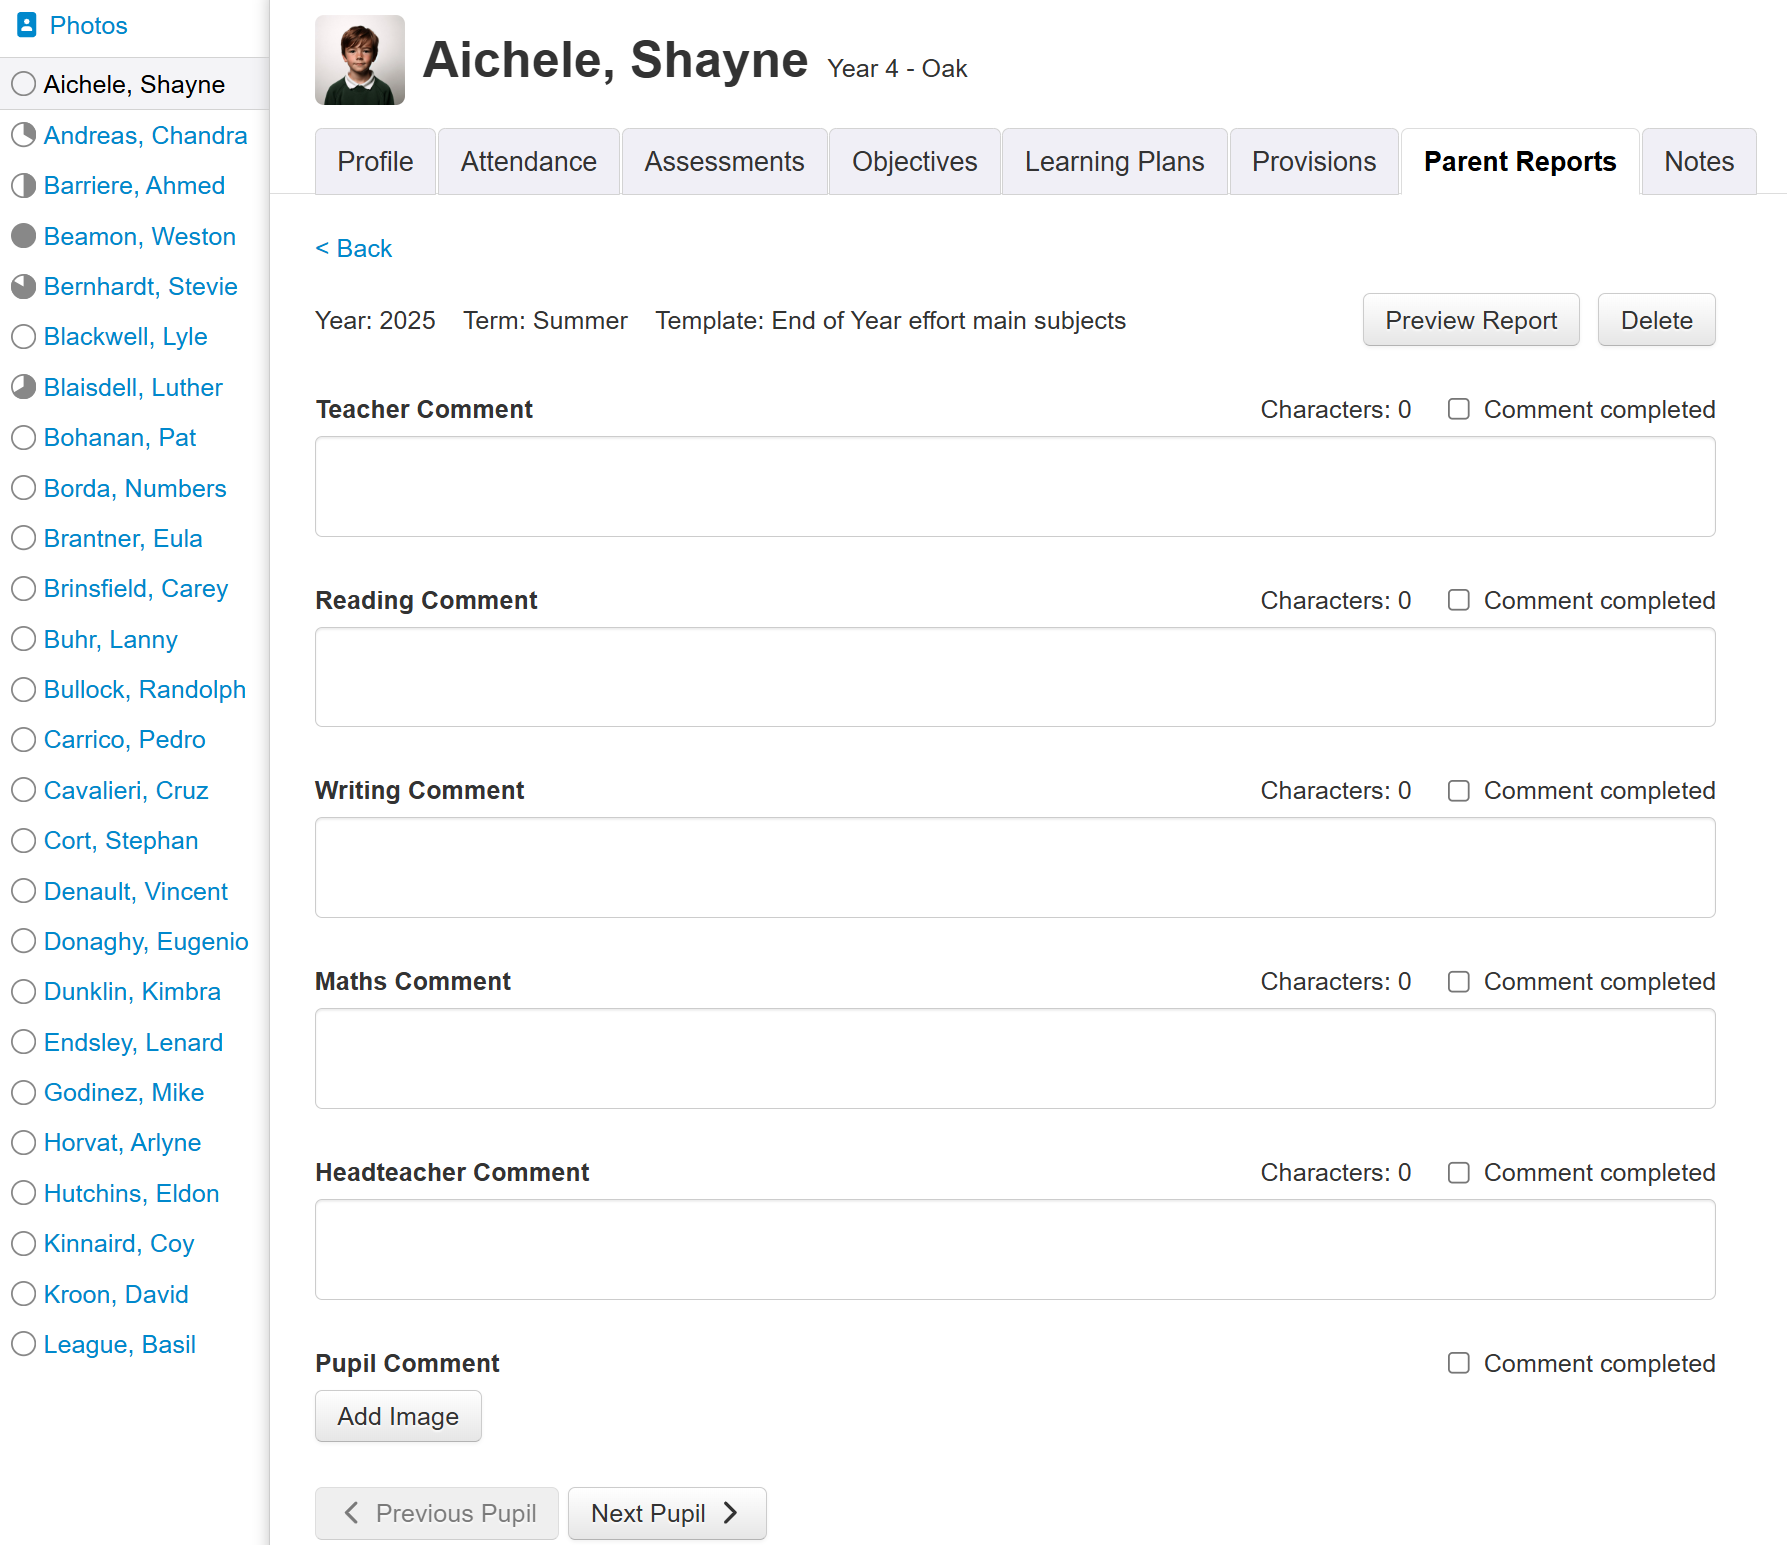
Simply click in the comment box and start typing to enter comments.
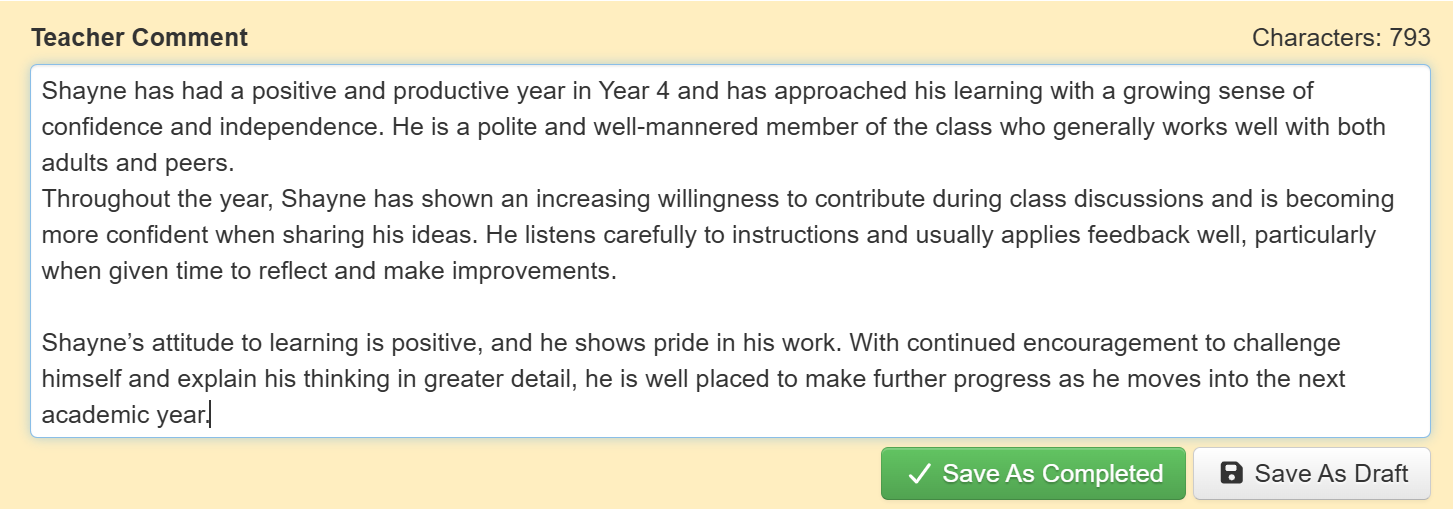
The comment box will now have a yellow border, and two new buttons.
Save As Completed - Click this to save your comment and indicate that it's ready to send to parents. See below for more on this.
Save As Draft - Click this to save your comment ready to return to later and make further edits. It may be worth using this option to regularly save, as you type, to ensure none of your text is lost in the event of a network issue etc.
Your template may have been set up to include images for some comments. If so, an Add Image button will allow you to browse for an image to upload to appear in the report.

Any images will appear as large thumbnails, once uploaded. Click an image to see a large version.
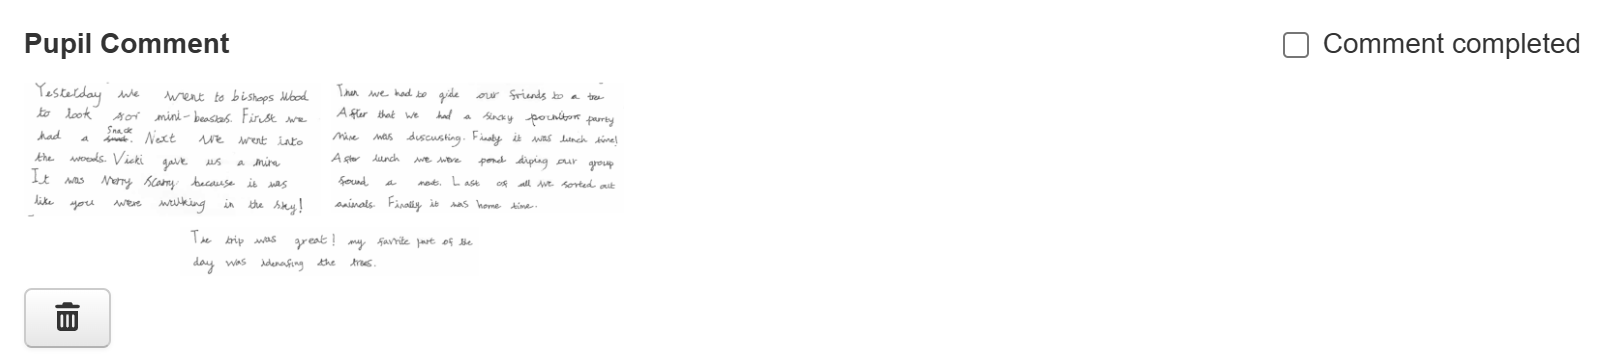
The trash icon next to the image allows you to delete it if you want to use a different image.
If you want to see what the final report will look like, as you enter comments, click Preview. This is useful to check the layout. For example, ensuring any entered comments have not pushed any content onto the next page.
You can also download a PDF or Word file here.
Indicating Comments Completed
To indicate that a comment is finished, and ready to produce in the final parent report, you can tick the Comment Completed box above each comment. Ticking a comment as complete will lock it for editing, to ensure no unintended changes go in.
As you complete comments, a small pie chart next to each pupil name will update to indicate progress towards total comment completion for each pupil.
This is the same as the pie chart described for the selected pupil, earlier, but now for multiple pupils for the same report. If any of the currently filtered pupils do not have a report created, using the same template, there will be no pie chart next to their name.

When complete, you can click Next Pupil, at the bottom of the screen, to move to the next pupil in the displayed list, or just click the pupil name.
Approving reports as ready for parents
Approving a report enables you to indicate that any proofreading, or required checks, have taken place and that the report is now ready to share with parents/carers.
Approving a report snapshots and locks its content at the point of approval. Any data entered (including assessments), or changed, after a report is approved will not be reflected in the report. This ensures that the report you approve is the one you send, removing risk of accidental data changes being sent home. It is possible, however, to update data after approval. This is described later in this guide.
By default, only Admin users may approve reports. This may be changed if required.
Reports may be downloaded, for printing, without approval, but only approved reports may be emailed. This is to help ensure reports are sent when complete and error free.
Approving from the Pupils page
You can approve the reports, one by one, from the Pupils page by viewing the preview and clicking Approve.
Any approved reports will have a green tick next to the pupil name.
You can approve a report without all the comments being ticked as completed. This is to allow you to manage the reports in a way that works for you without being forced to tick multiple boxes unnecessarily. You will still be able to see which comments have ticks and which do not.
You can see when a report has been approved, and who by. Approving is not limited to Admin users. This is to allow users who may not require admin access, but do have responsibility for reporting to parents, to complete approvals.

If you subsequently unapprove a report, this will unlock the comments for editing.
You can unapprove a report via the Preview using the link at the top of the page.
Parent reports may also be approved, in bulk, from Reports > Parent Reports.
Approving from the Parent Reports page
When you view the Parent Reports report, you'll see any created reports for the current academic year.
Any applied pupil filters will be reflected in the display as will any changes to the Report academic year or Term selection. You can also choose a template to focus on if useful.

The Total is the number of pupils with each report template type.
Approved shows a pie chart with percentage (and number) of those reports that have been approved already. Once 100% have been approved, the pie chart will change to a green tick.
Email shows the percentage sent and View the percentage viewed by email recipients. See the guide on emailing parent reports for more on these.
To approve reports, click the name of the applicable report template.
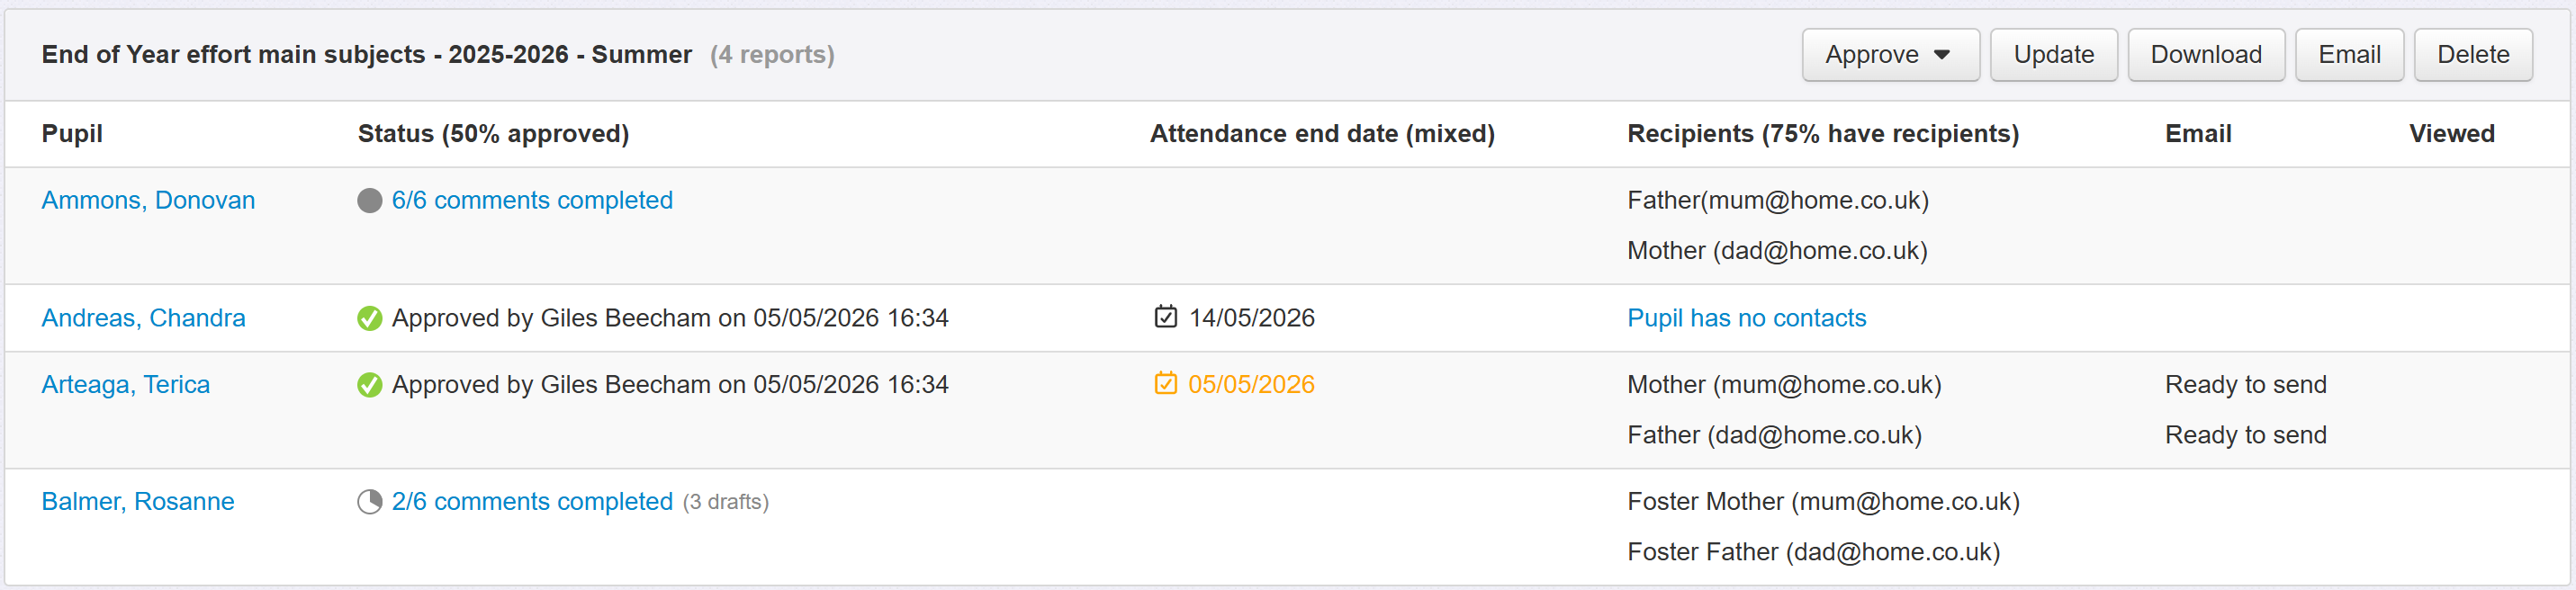
You'll then see the status of each report for each filtered pupil with that report.
This includes whether comments are complete (and if any draft comments exist) or if any reports have already been approved and if so, by whom and when.
If your approved reports include any attendance data, you'll see an additional Attendance end date column. See the section below on updating attendance data for detail.
You can click the appropriate link in the Status column as a quick shortcut back to the Pupils page for editing.
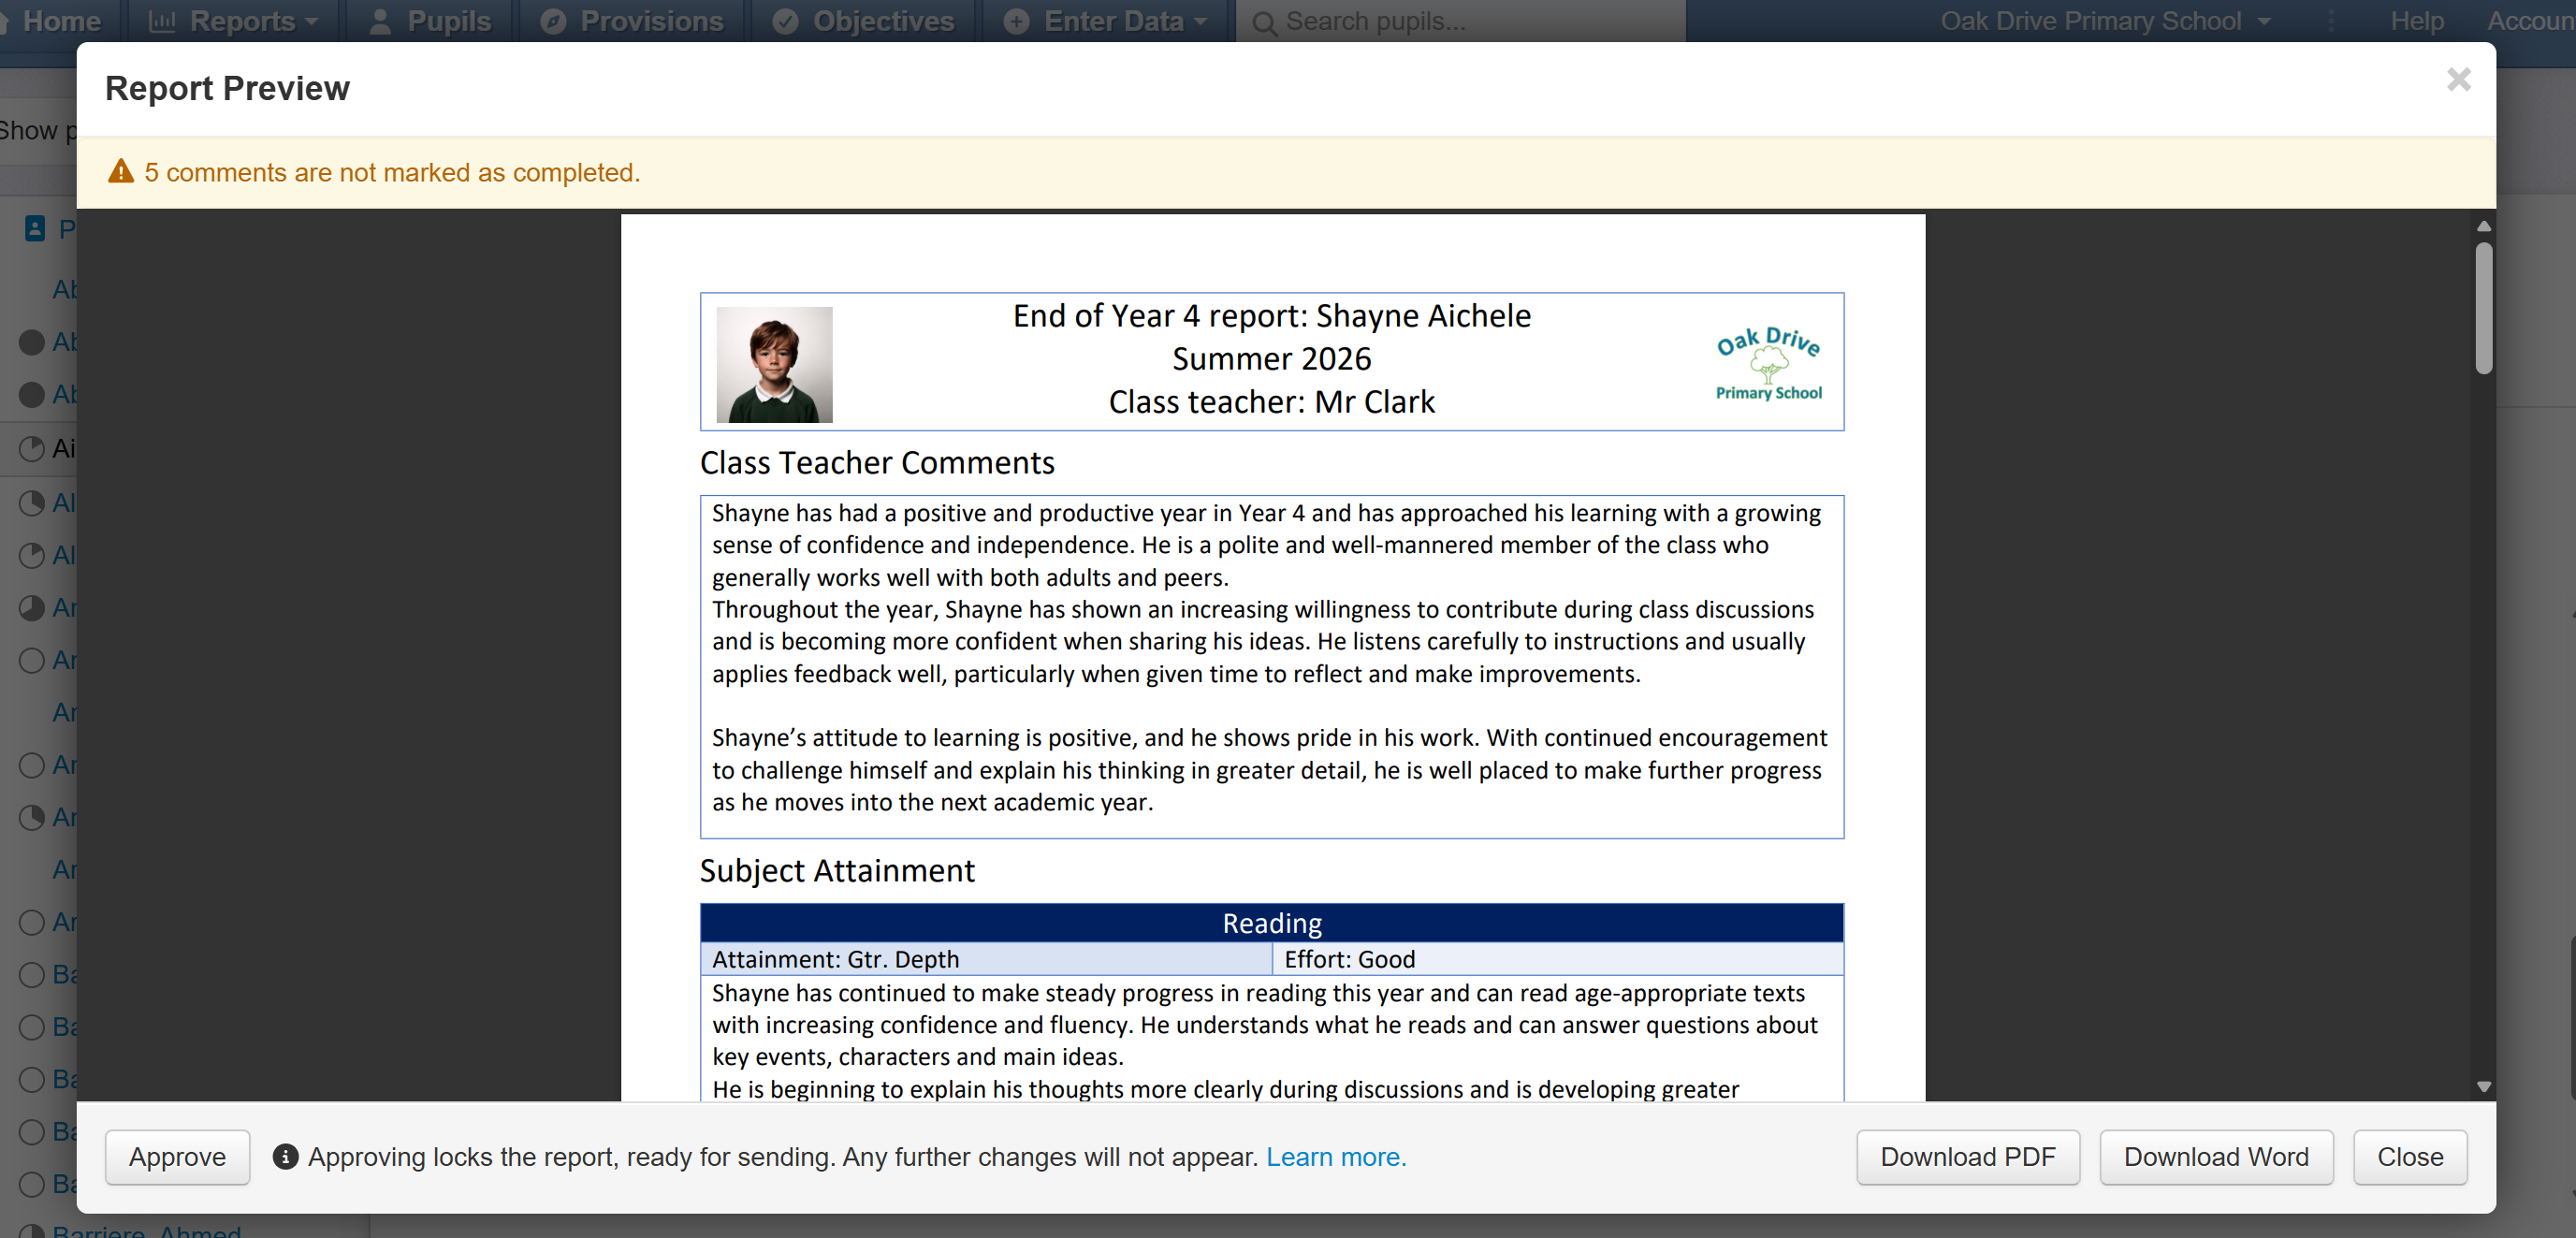
To view a report preview, click a pupil name.
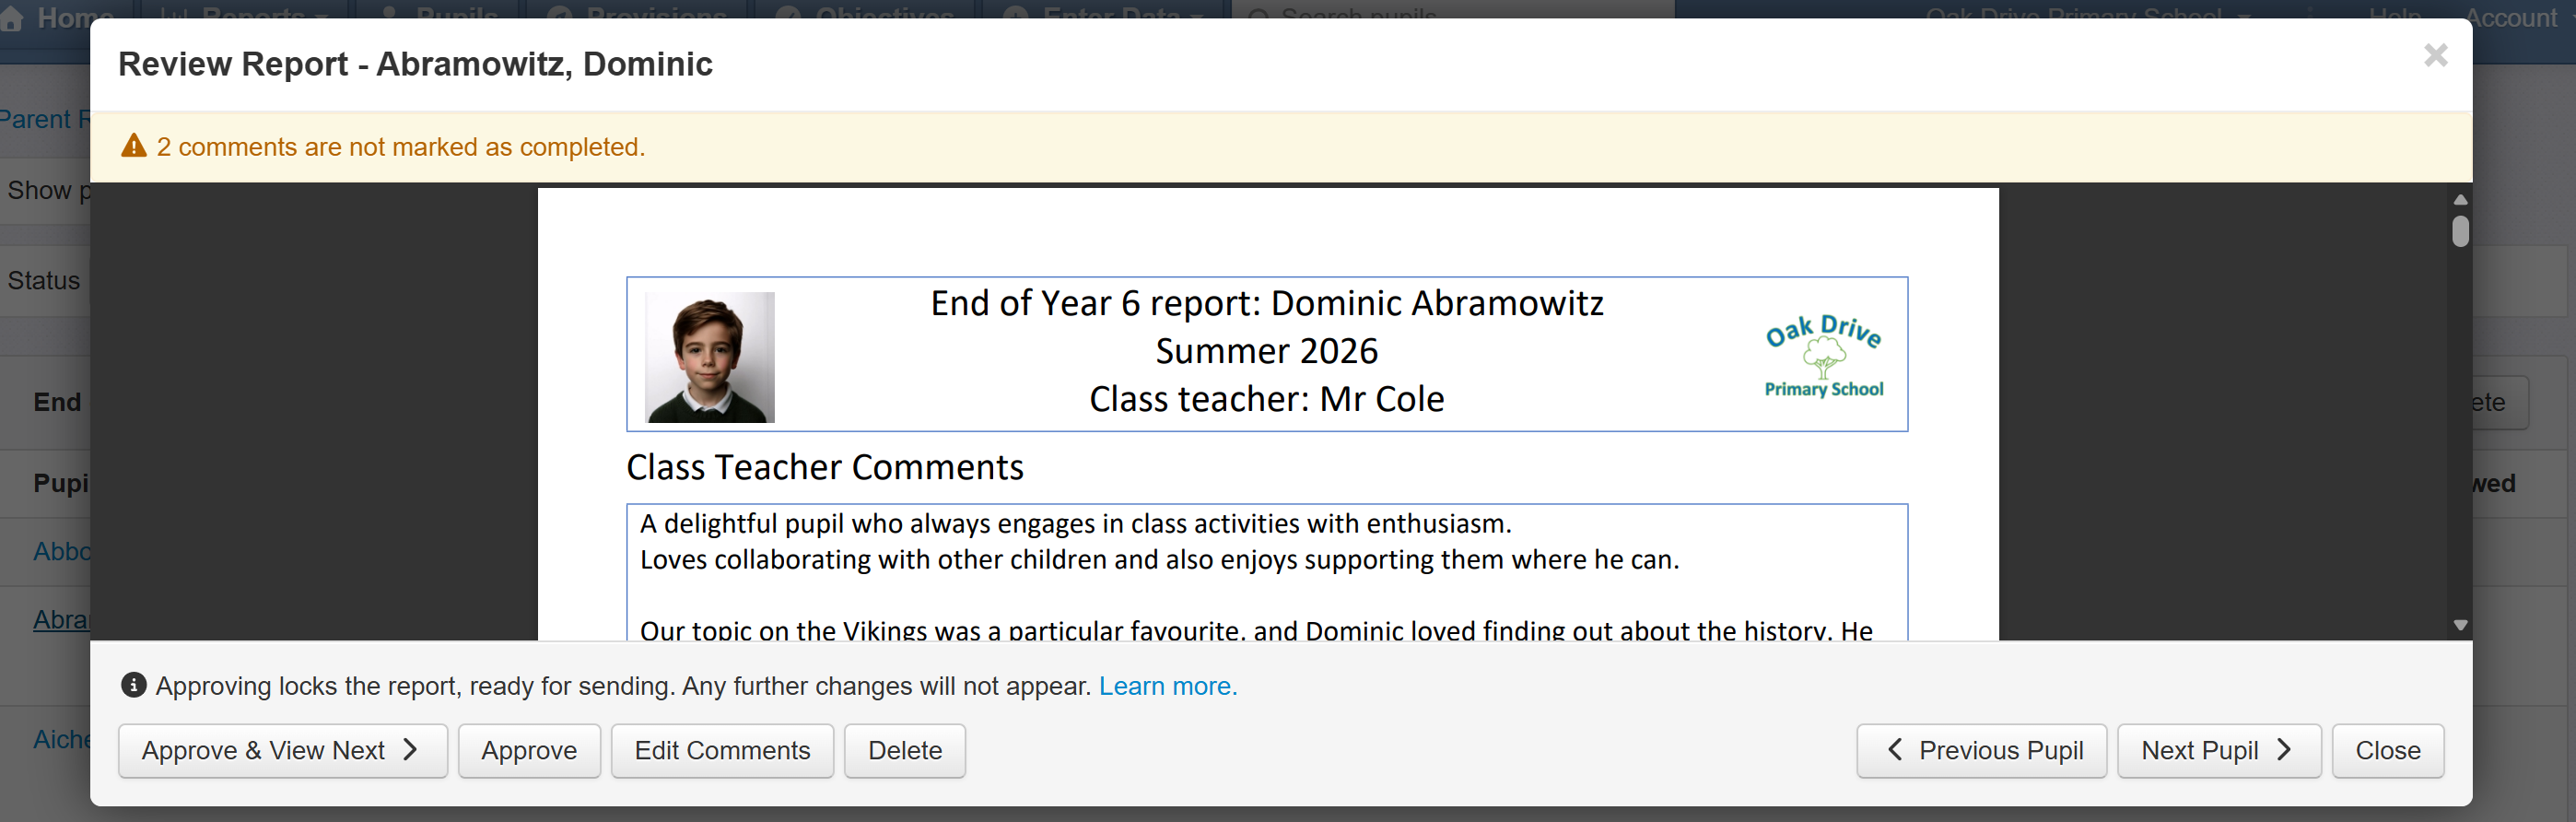
Use this to check the content and display is as desired. If any comments are yet to be marked as complete, this will be indicated at the top. Click Edit Comments to return to the Pupils page and edit the comments for this report.
If you're satisfied that the report is ready to share with parents, click Approve to approve and remain on the current report preview, or Approve & View Next to approve the report for this pupil and move on to the next.
As you approve reports, they will be indicated with a green tick. The user who approved, and the date, are also shown.

Use the Approve menu to bulk approve. Approve All (or Unapprove) will act on all the currently displayed reports. So, if you've filtered to just year 2 and reports with all comments completed, Approve All will just approve those reports.

A confirmation will inform you of the number of reports you're approving and if any of the reports have incomplete comments before approving all.
Filtering by Status
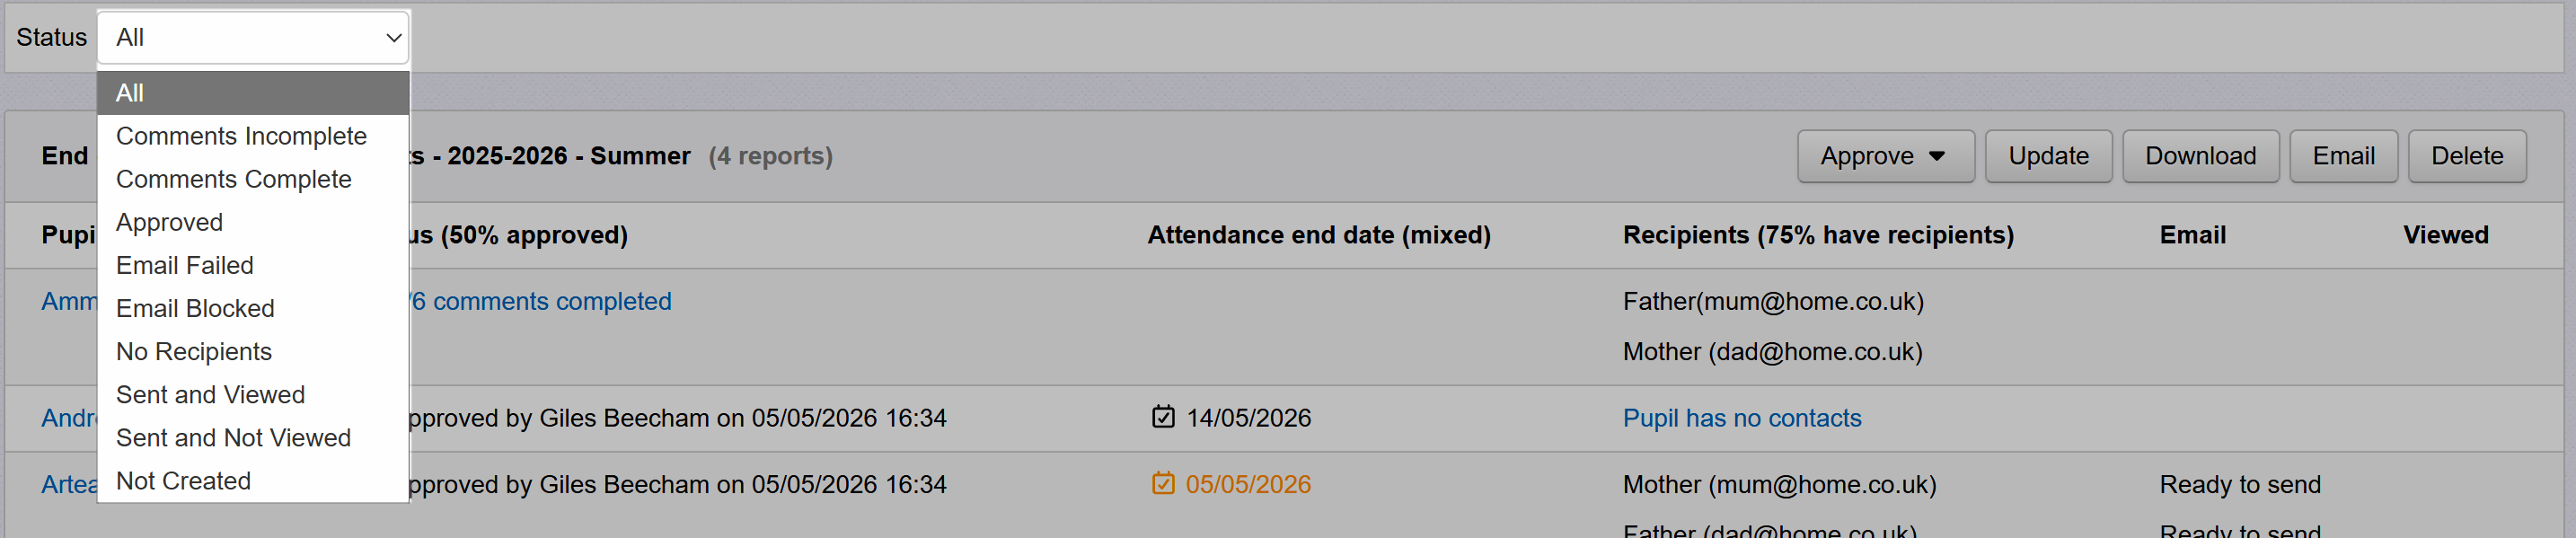
If you're making use of the comments completed function, you may want to limit the displayed reports to those where all the comments are completed. The Status selection allows you to see all reports (default), those with comments incomplete (useful to check through and make any changes required for completion), those with all comments completed (useful for approving, particularly bulk approval) and all approved reports (useful for downloading or emailing).
The other status filters are useful when using the email reports function or when creating reports.
Updating data in Approved parent reports
When you Approve a parent report, a snapshot is saved including all the data at that point.
This includes attendance data, for any attendance placeholders included in the report template.
In other words, if you approve a report on the 6th June, any attendance data in the report will only run as far as the 6th June.
If you're not sharing the reports with parents for a few more weeks, you may prefer the attendance data to include more dates.
Similarly, you may know that further assessment data, wanted in the report, has been entered after the initial approval date.
Insight includes the ability to update all data in the reports or attendance data, only, while maintaining all the other content as it was when you originally approved the report(s).
To update data, open the Parent Reports report and choose the parent report you need to update.
Then click Update.

If report links have already been emailed, Updating reports will update the reports on those same links. If any reports have been downloaded and saved by recipients, of course, any saved files will remain as they were when downloaded.
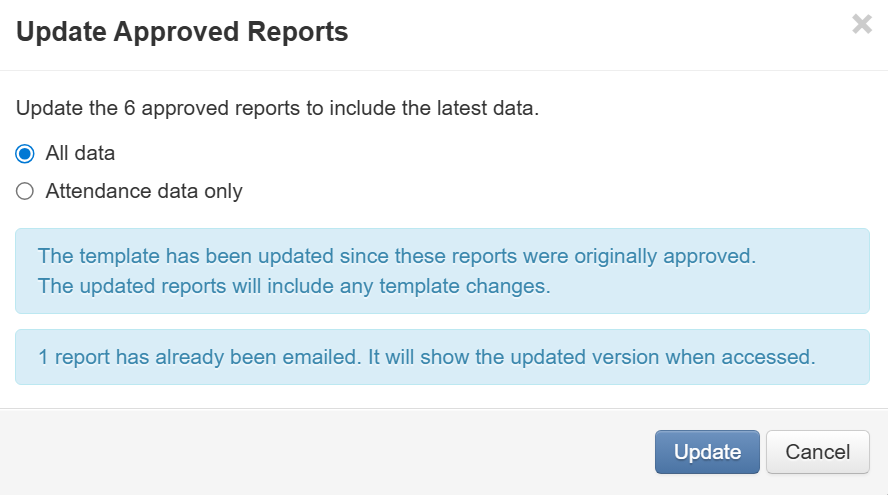
A note will be shown if any reports have already been emailed.
Updating all data in approved parent reports
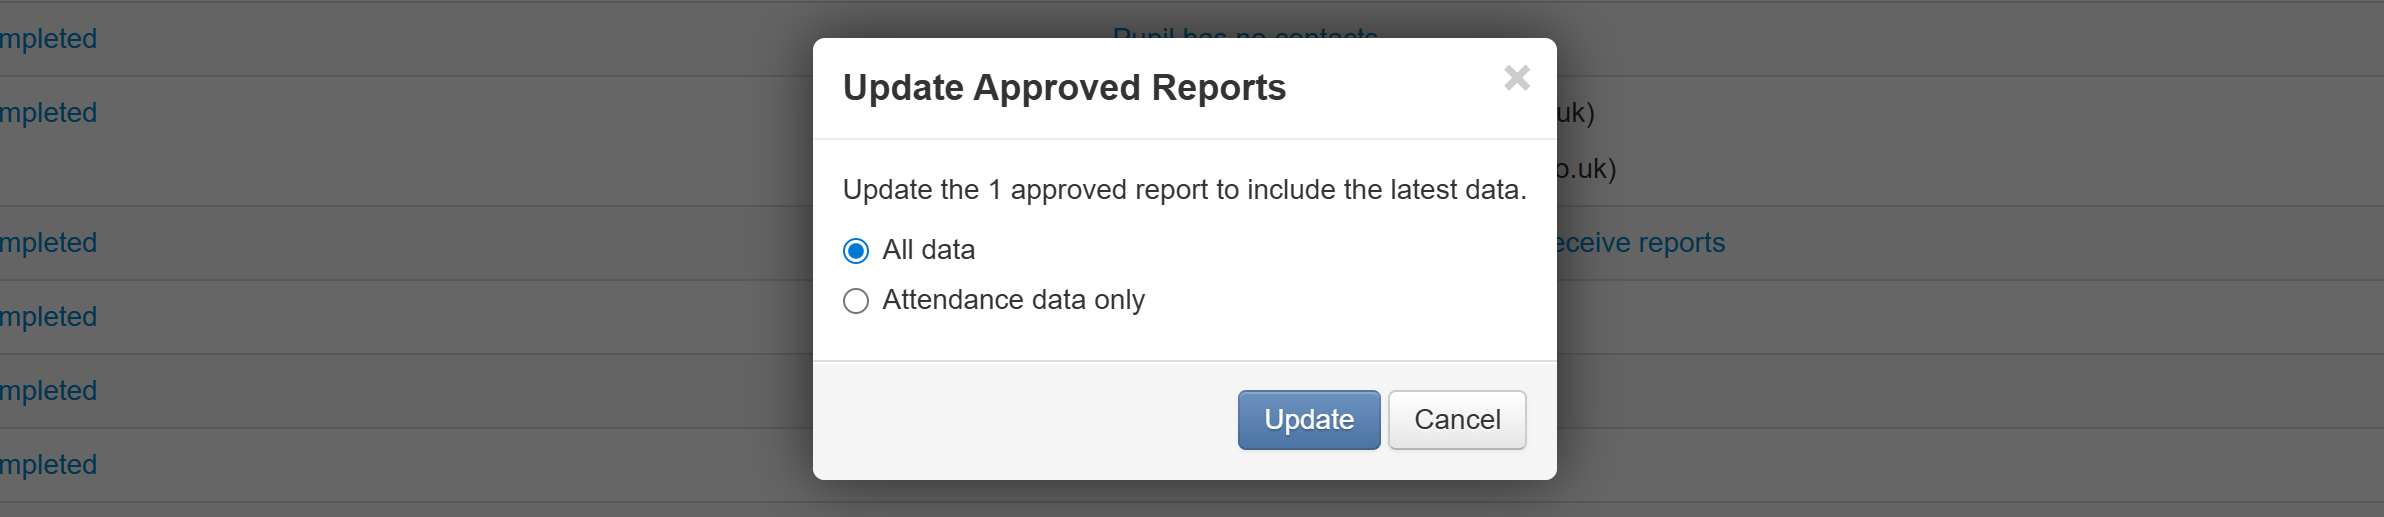
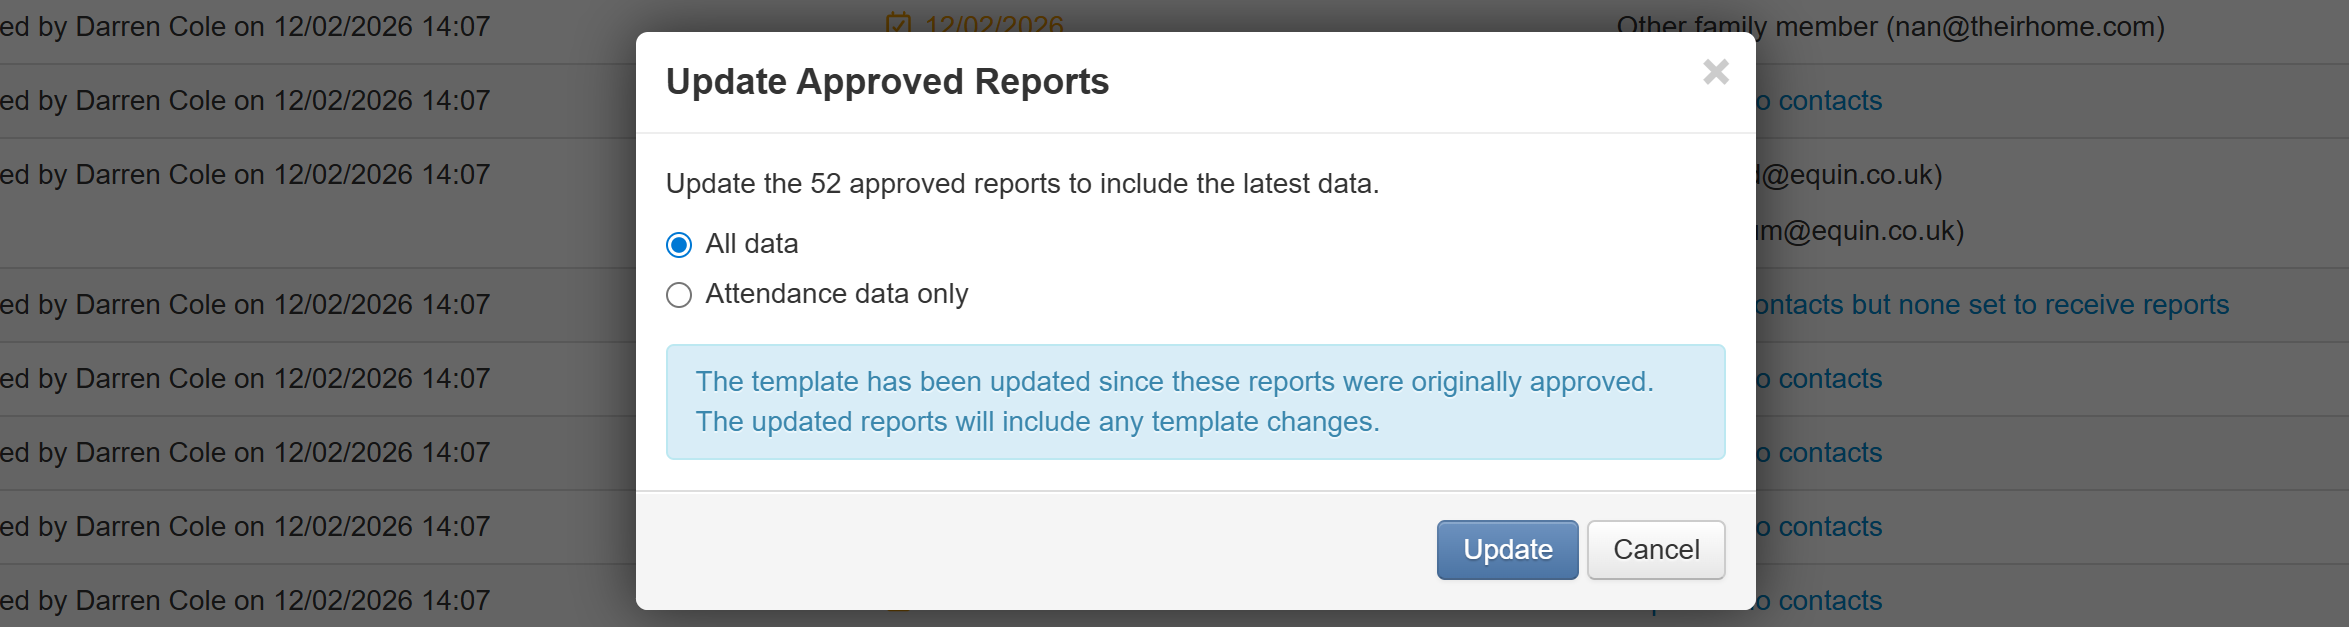
Assuming you have at least one approved report in your selection, when you click Update you'll have the option to update All data selected by default.
Updating all data has the same effect as unapproving and reapproving the reports, in that all data in the report will be updated to its current state. This includes all assessment data and any other data included within the reports. It also includes attendance data.
If the report template has been updated since any of the reports were approved, these changes will also be reflected in the reports. A note will be displayed if the template has been updated.
Click update to begin processing the changes. Once complete, any already emailed links will now include the updates. There is no need to email the reports again.
Updating attendance data, only, in approved parent reports
On occasion, you may want to update attendance data only. If you know that all other data was as desired at the point of approval there is no need to update it and risk including unchecked changes.
When you select a report in Reports > Parent Reports with any approved reports including attendance data, an Attendance end date column will be included.

Attendance data, in the reports, will range from the first day of the applicable academic year to the listed attendance end date.
If the attendance end date is the same for all the displayed approved reports, then this date will be displayed in brackets after the column heading. If the dates are not all the same, it will say mixed.
Any attendance end date that is more than 7 days old will be shaded orange. You can hover the mouse over the date to see the exact number of days.
When you click the Update button, select the Attendance data only option. You'll now have the option to update the attendance data for all the displayed approved reports to your chosen date.
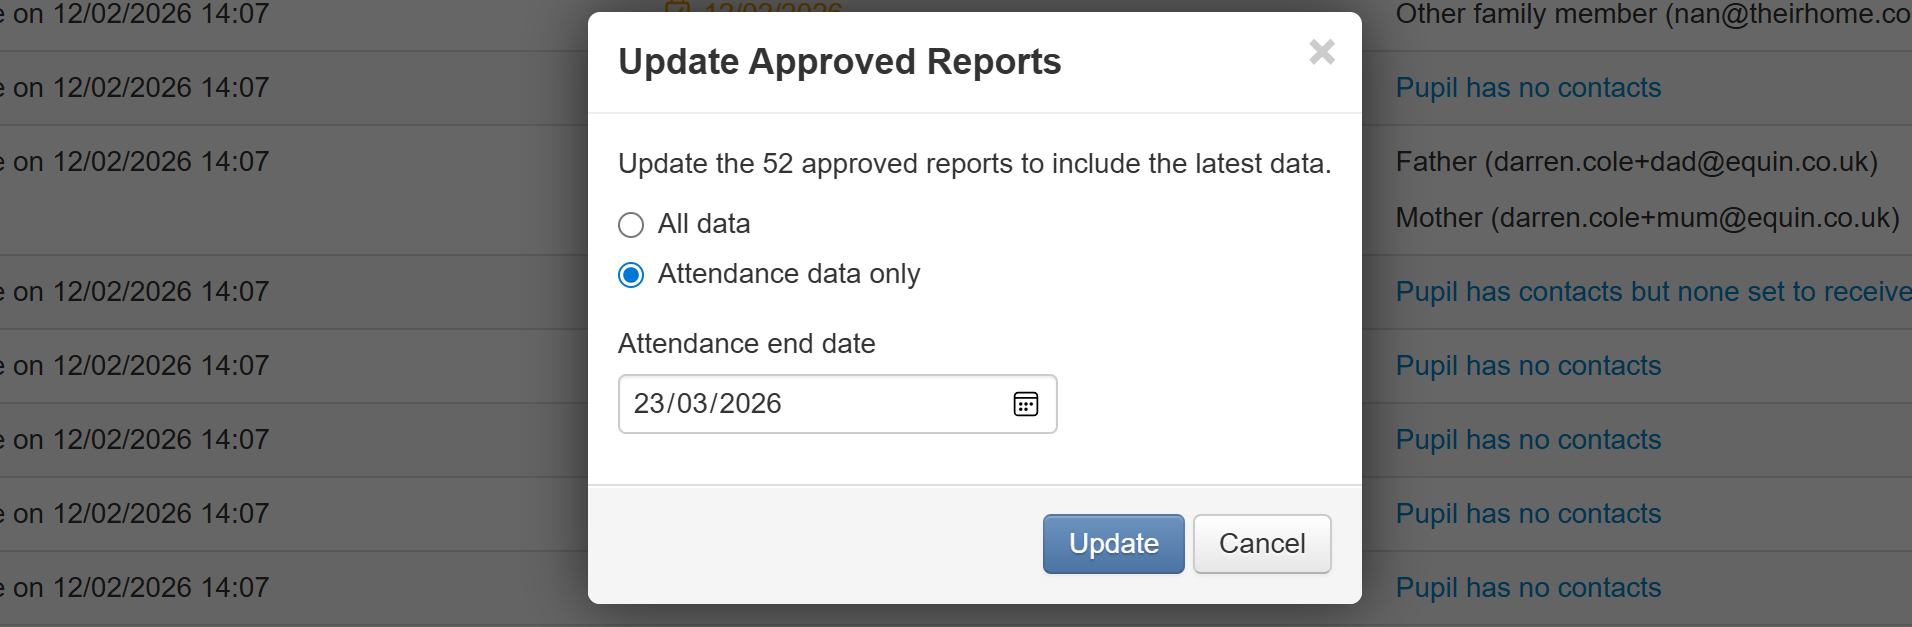
Click Update Attendance to use your selected end date.
Unlike updating All data, updating attendance data, only, will not make any other changes to the approved reports. No other data will be changed, including any possible template changes.
The dates in the Attendance end date column will then update accordingly.
Updating attendance data for a single approved report
Click the name of the pupil you want to update the attendance data for. This will display the report preview.
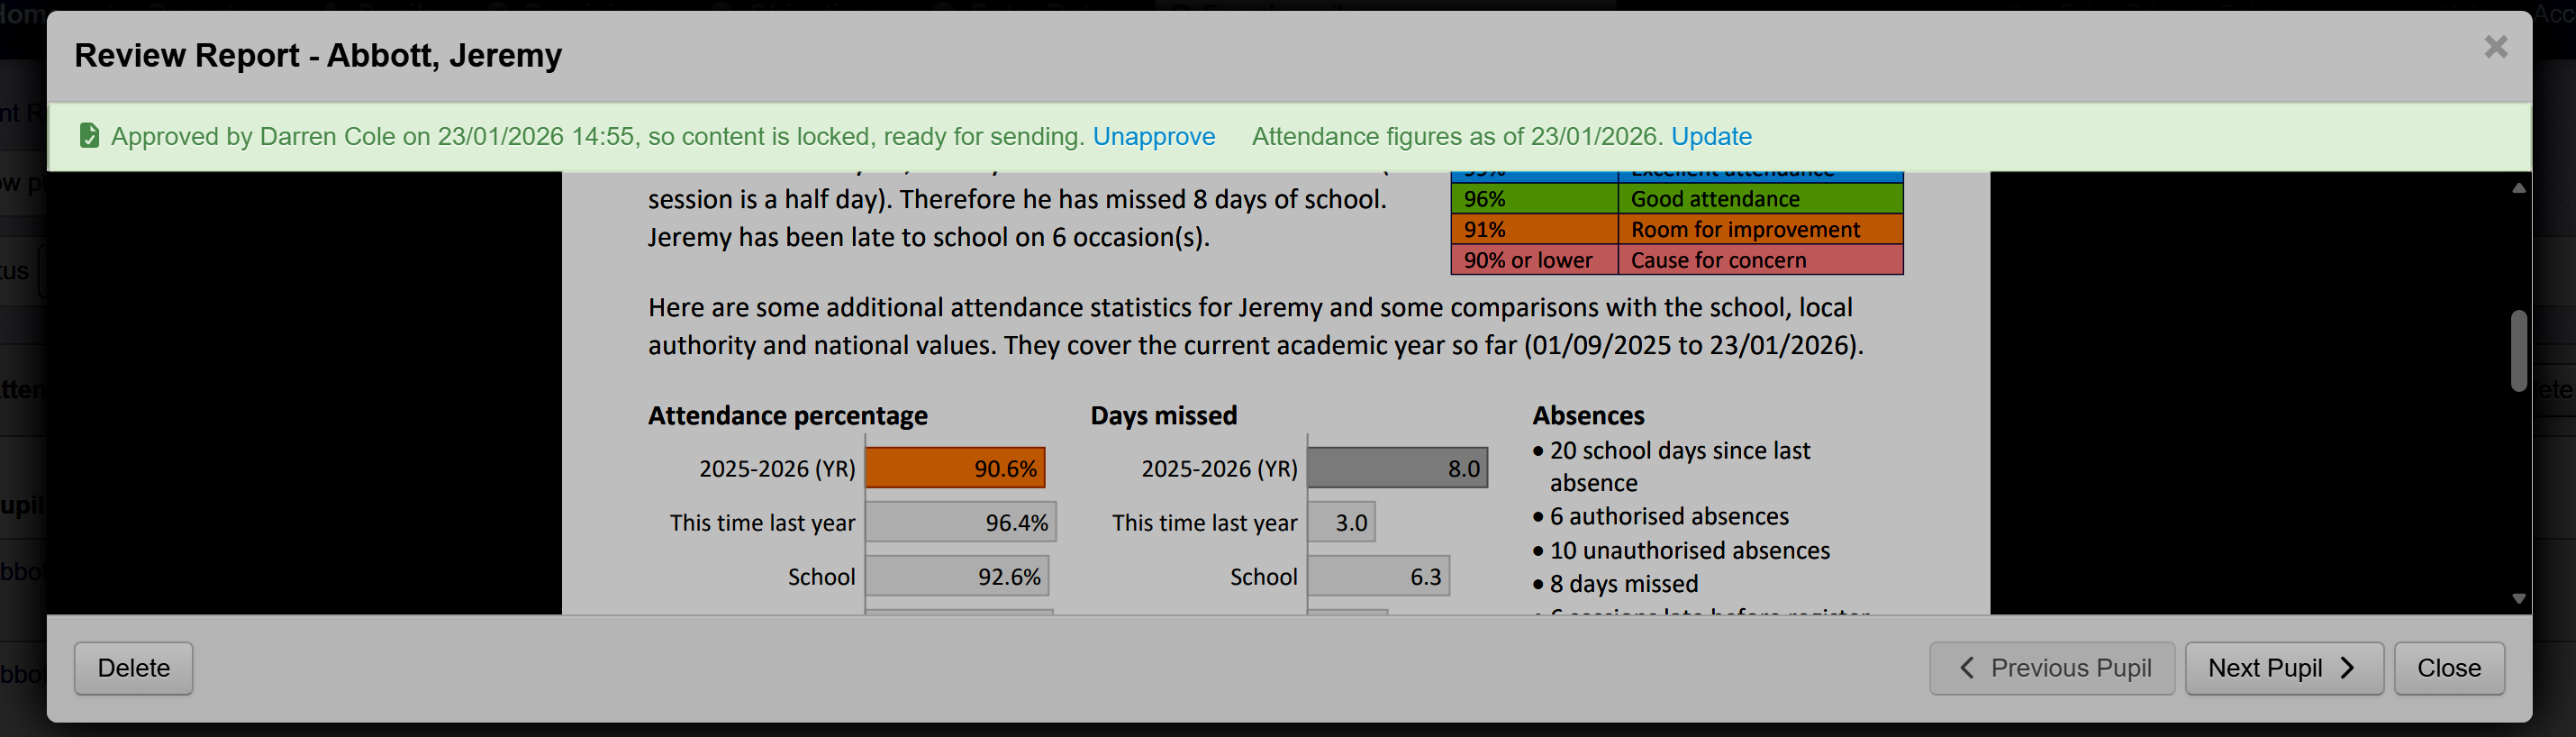
At the top, the attendance end date will be displayed along with an Update link.
This works the same as for multiple reports, but will only update the attendance data for the specific report.
Sharing with parents/carers
Once you've approved the reports, they are ready to share with parents.
According to your choice of approach, this can be done by downloading the reports, to print or send through your chosen means, or by emailing directly from Insight. See the applicable guide for details.