Adding new Objective collections

Insight allows almost any objectives to be used, for any subjects.

All objective collections have a source supplier. This is the owner and creator of the collection.

A supplier could be your own school, Trust, if you're part of one, or a third party supplier such as the DfE or a commercial supplier. Insight already have many partner suppliers. Just get in touch if there is one you'd like to enquire about. Suppliers of free to use objectives, such as the DfE, allow schools to use them freely. Commercial providers require an agreement and a valid external subscription to use in Insight.

Adding new Objective collections

If you want to add an entirely new set of objectives, maybe for a new subject area, we highly advise that you contact Insight support in the first instance. You can also send us new Objectives files to add for you. See our guide on how to send us historical data and objective files for more.

If you already have your objectives in a spreadsheet, for example, we may be able to import them for you.

If you decide you want to manually enter all the objectives, this is possible, but can be time-consuming. Ensure this is the correct approach before proceeding.

To view your existing collections, choose Objectives from the Admin page.

To add a new objective set, click Add Collections.
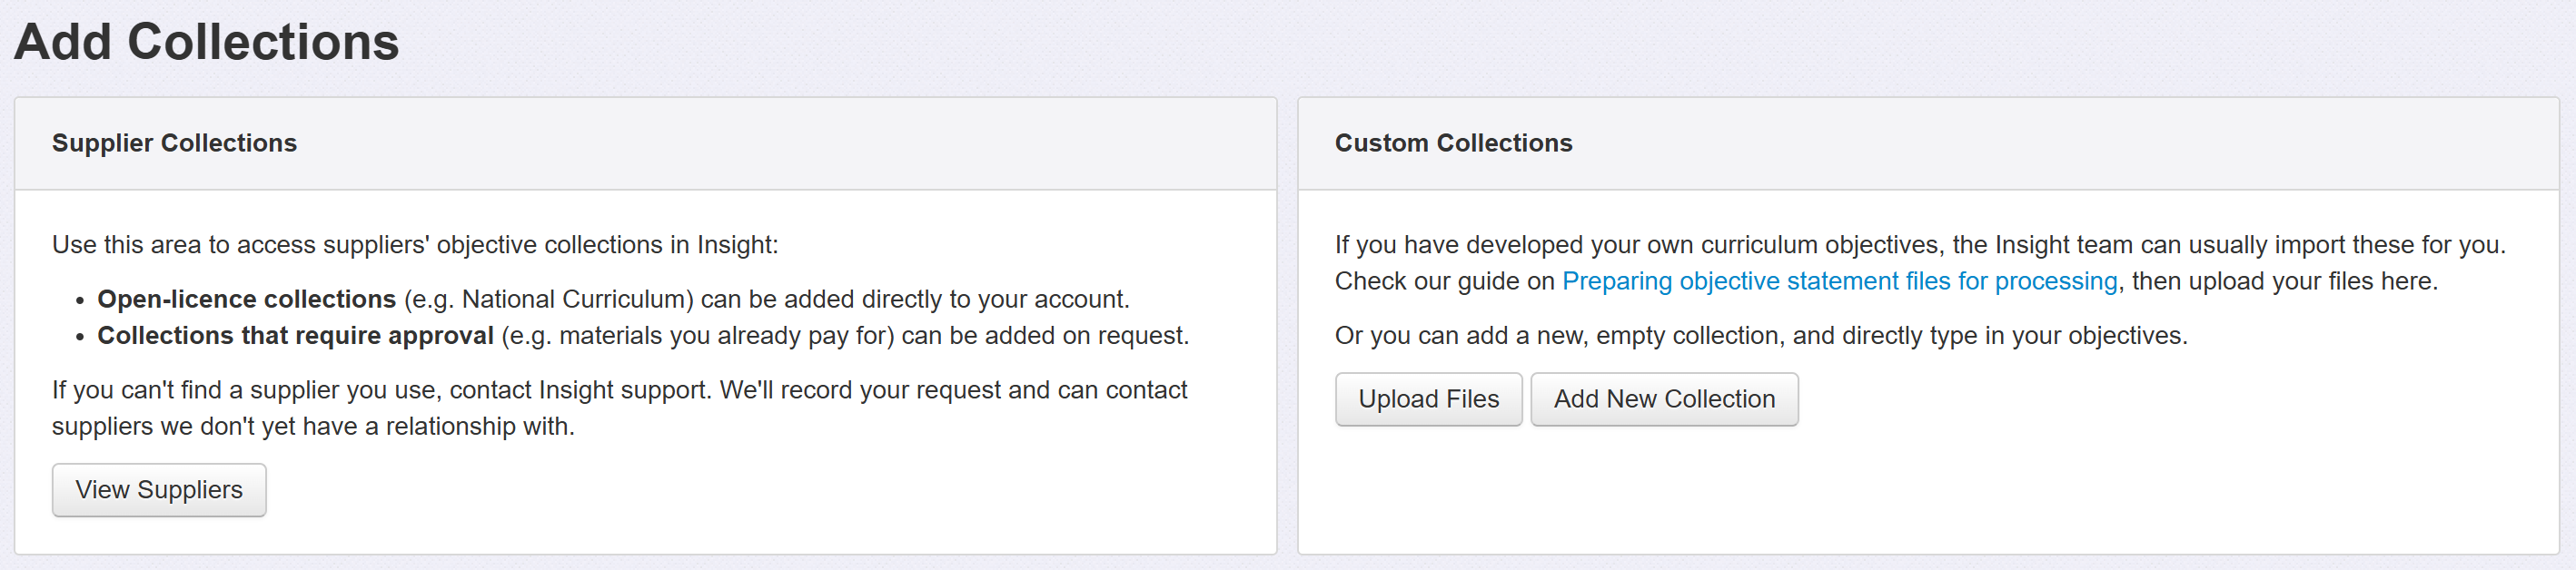
The options will now be given to Upload files or Create a new collection manually.

Upload files for objective collections

Click Upload and you see a screen with guidance and a button to Upload File.

Create a new objective collection manually

Click Create and you'll be prompted to add a Grid Name. This is the name that will appear when users are choosing their objectives later, so ensure it is meaningful and distinct. Grid Names may be changed at a later date if needed.

You'll also be prompted for the subject name this objective set relates to. You can just leave this as None if the objectives do not relate to a specific subject.

Click Save

You'll then see a new screen from which you can add, edit or delete objectives and choose some other settings.

These all work the same if you're adding a grid from scratch or tweaking an existing one.

The functions are detailed in the next section.

Editing an existing objective set

First, choose the collection you want to make changes to from the Objective Collections list.

Objective collections from an external supplier may not be edited, to ensure the supplier's intended content is maintained.
Adding new objectives

Click the + New Objective button on the right of the screen.

You'll need to choose the Year Group or Period your objective relates to. This might be a year group, a key stage, a Development Matters age band or something else.

If you need a new objective band adding to your list, contact support.

Once you've selected your Year Group / Period / Band, you can enter a Strand, the Objective Text and mark whether the objective is a Key Objective or not.

Strands enable you to better categorise your objectives. For example, Maths objectives are often broken down into year group then components such as Measurement.

Key Objectives enable you to identify the objectives that hold greater significance for your setting. These may be the ones that you want all pupils to, ideally, achieve, for example. Key objectives may be filtered for both data entry and for analysis.

Visibility Start/End refers to visibility on the main objectives screen. For example, you may want all your edits to become available on the same day.

Objective Details enable you to add further notes to the objective, examples of activities or what exemplifies achievement, perhaps. These will be visible in the main objectives grid via a Details link.

When you're finished, click the OK or OK add another button (or Cancel to discard what you've entered).

Editing existing objectives 

You can edit an existing objective if you need to:

  • Reword
  • Replace
  • Archive
  • Set as a Key Objective
  • Modify visibility dates
  • Move to a period / year group / band
  • Move to a strand

Editing an existing objective will preserve any data already assessed against it.

Click on the objective you want to edit. A number of editing options will then become available on the right-hand side of your screen.

You are able to select more than one objective using the 'Shift' and 'Ctrl' keys.

Select the relevant editing tool, change as required, then click OK when you're done, or Cancel to discard your changes:

All the statements that have been edited will be colour coded until you select Save all Changes.

The colours reflect the following changes:

Save all changes before leaving this page

If you need a more complete overhaul of your existing statements, please get in touch with us for advice.


How did we do?

Powered by HelpDocs (opens in a new tab)