Adding Custom Objective collections

This guide follows on from the Adding new Objective collections guide.

Objective collections may be added at Trust level (for all schools in the Trust) or school level. Admin access is required to manage objectives.

This guide details how to add Custom collections to Insight.

Adding Custom Objectives

To view your existing collections, choose Objectives from the Admin page.

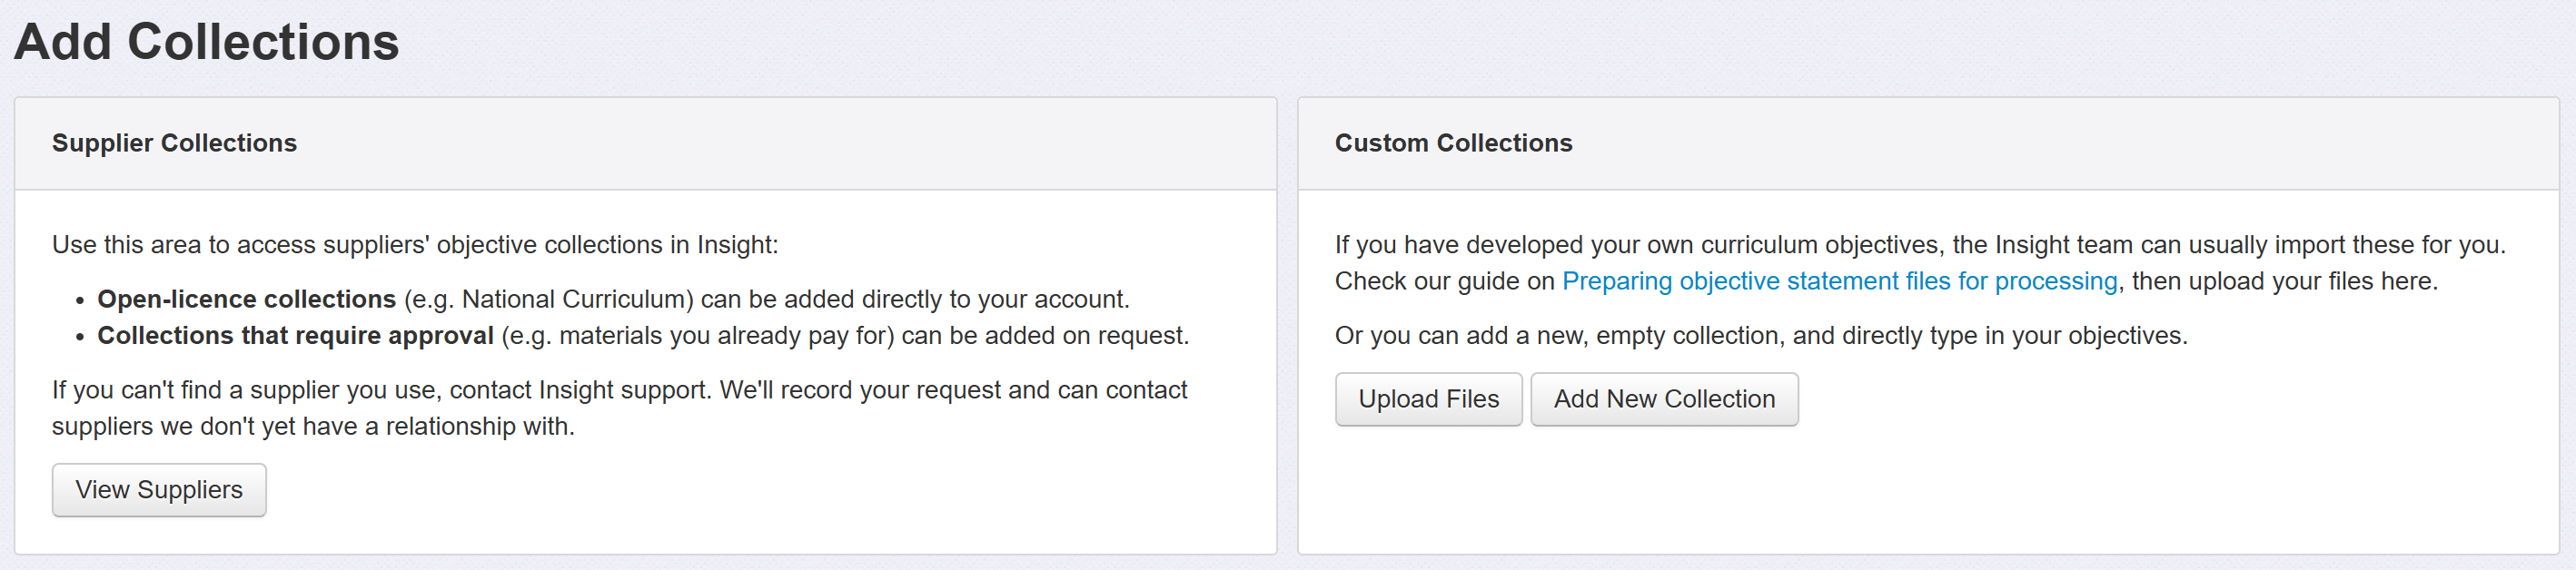
To add a new objective set, click Add Collections.

Under Custom Collections, you now have the choice to Upload Files or to Create New Collection.

Uploading is likely to be the preferred method. See our guide on how to prepare objective statement files for more.

Upload files for objective collections

Click Upload and you see a screen with guidance and a button to Upload File.

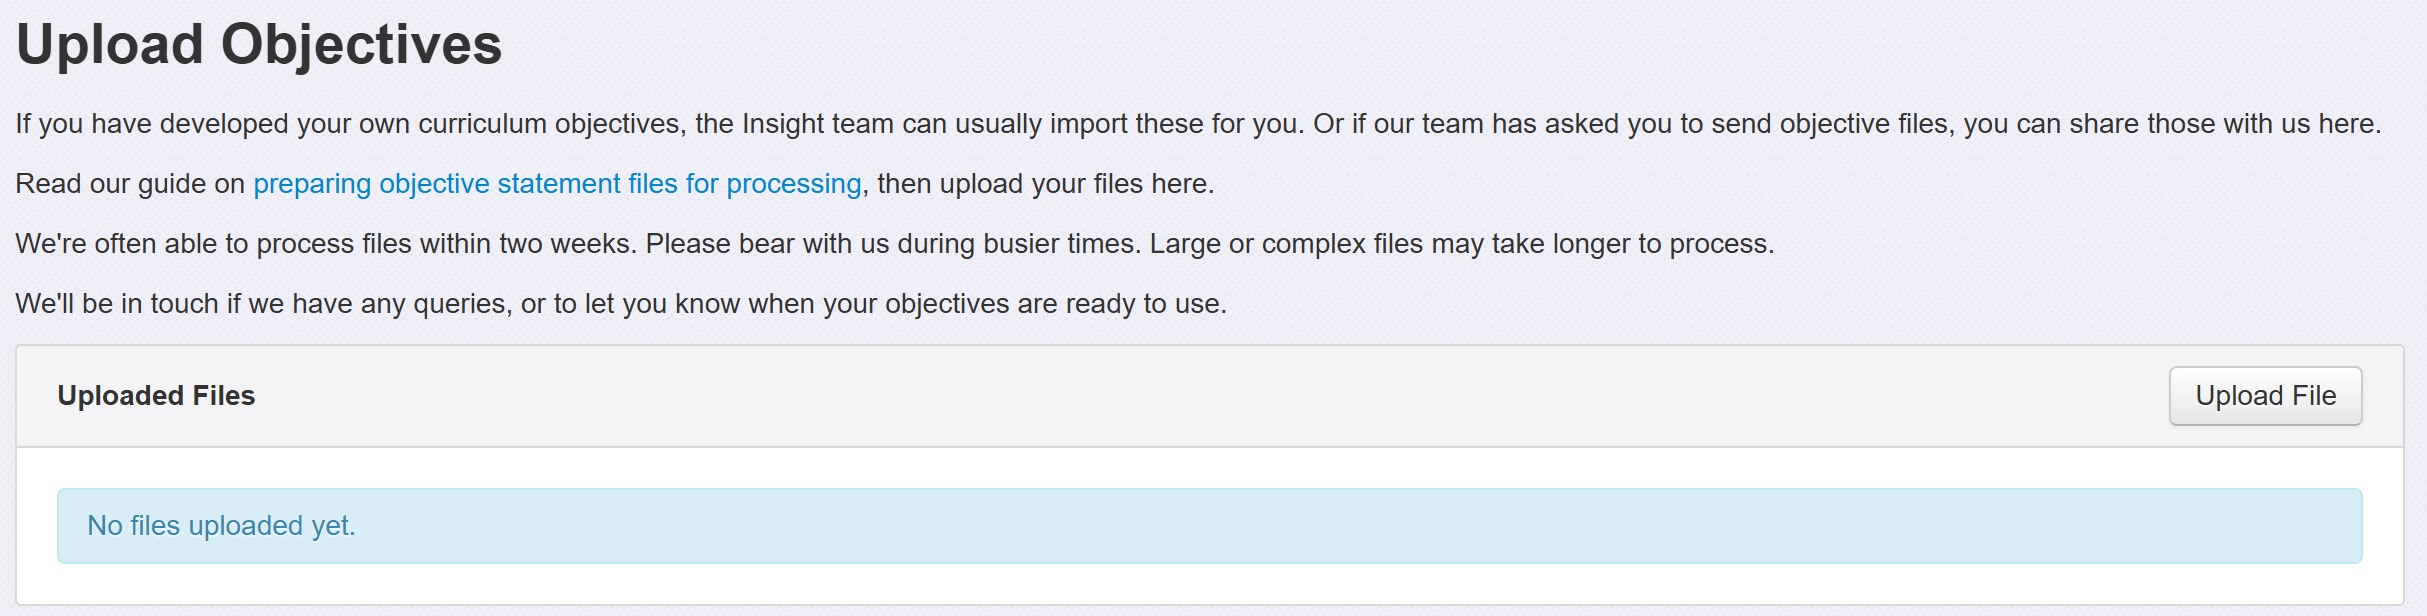
Our dedicated Content Processing team usually process files within 2 weeks of receiving them.

Create a new objective collection manually

Click Create New Collection, and you'll be prompted to add a Collection Name. This is the name that will appear when users are choosing their objectives later, so ensure it is meaningful and distinct. Collection Names may be changed at a later date if needed.

You'll also be prompted for the subject name this objective set relates to. You can just leave this as None if the objectives do not relate to a specific subject.

Click Save

You'll then see a new screen from which you can add, edit or delete objectives and choose some other settings.

These all work the same if you're adding a collection from scratch or if you're tweaking an existing one.

The functions are detailed in the next section.

Editing an existing objective set

First, choose the collection you want to make changes to from the Objective Collections list.

Objective collections from an external supplier may not be edited, to ensure the supplier's intended content is maintained.
Adding new objectives

Click the + New Objective button on the right of the screen.

You'll need to choose the Year Group or Period your objective relates to. This might be a year group, a key stage, a Development Matters age band or something else.

If you need a new objective band adding to your list, contact support.

Once you've selected your Year Group / Period / Band, you can enter a Strand, the Objective Text and mark whether the objective is a Key Objective or not.

Strands enable you to better categorise your objectives. For example, Maths objectives are often broken down into year group then components such as Measurement.

Key Objectives enable you to identify the objectives that hold greater significance for your setting. These may be the ones that you want all pupils to, ideally, achieve, for example. Key objectives may be filtered for both data entry and for analysis.

Visibility Start/End refers to visibility on the main objectives screen. For example, you may want all your edits to become available on the same day.

Objective Details enable you to add further notes to the objective, examples of activities or what exemplifies achievement, perhaps. These will be visible in the main objectives grid via a Details link.

Image allows you to add a picture that will appear under Details. This could be an exemplar piece of pupil work for example.

When you're finished, click the OK or OK add another button (or Cancel to discard what you've entered).

Editing existing objectives 

You can edit an existing objective if you need to:

  • Reword
  • Replace
  • Archive
  • Set as a Key Objective
  • Modify visibility dates
  • Move to a period / year group / band
  • Move to a strand

Editing an existing objective will preserve any data already assessed against it.

Click on the objective you want to edit. A number of editing options will then become available on the right-hand side of your screen.

You are able to select more than one objective using the 'Shift' and 'Ctrl' keys.

Select the relevant editing tool, change as required, then click OK when you're done, or Cancel to discard your changes:

All the statements that have been edited will be colour coded until you select Save all Changes.

The colours reflect the following changes:

Save all changes before leaving this page

If you need a more complete overhaul of your existing statements, please get in touch with us for advice.


How did we do?


Powered by HelpDocs (opens in a new tab)