Learning Plans - Editing a Word template
 Updated
If in application changes to the Learning Plan template can't meet your needs, you can use a Word template to completely customise your learning plans.
Word templates afford complete control over the content and appearance, but can be time-consuming to create and maintain.
Once you use a Word template, you lose many of the in application customisation options, so it is worth exploring these first.
Future changes to a Word template can also be more complex compared to an in application template.
This guide details how you can use the Insight General learning plan template as a start point, or begin with your own pre-existing template in Word.
If you want to use your own Word document, skip to Editing the template in Word.
We'll begin by downloading the Inisght Learning Plan template.
Downloading the template
Click your account menu, in the top right, and choose Admin followed by Learning plan templates.
You may already have a template, based on Learning Plan, but, if not, click New Template, choose Learning Plan in Type, give your template a name and click Create Template.

Click on your new template name.
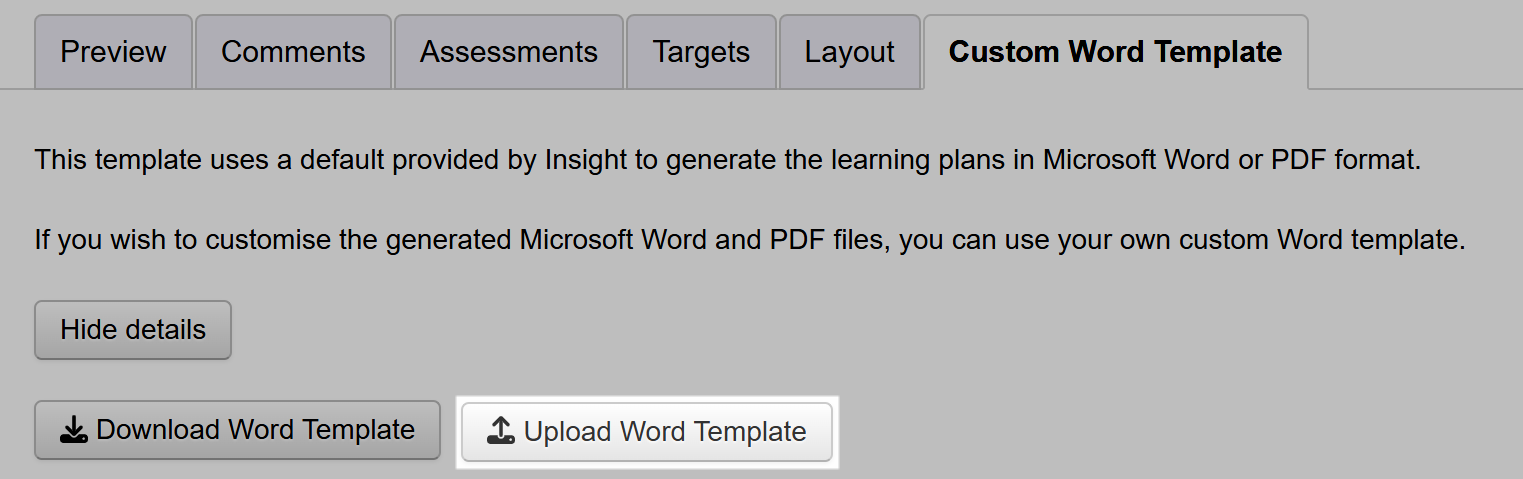
This takes you to the learning plan template admin area. As we want to make our changes directly in Word, we can select the Custom Word Template tab.
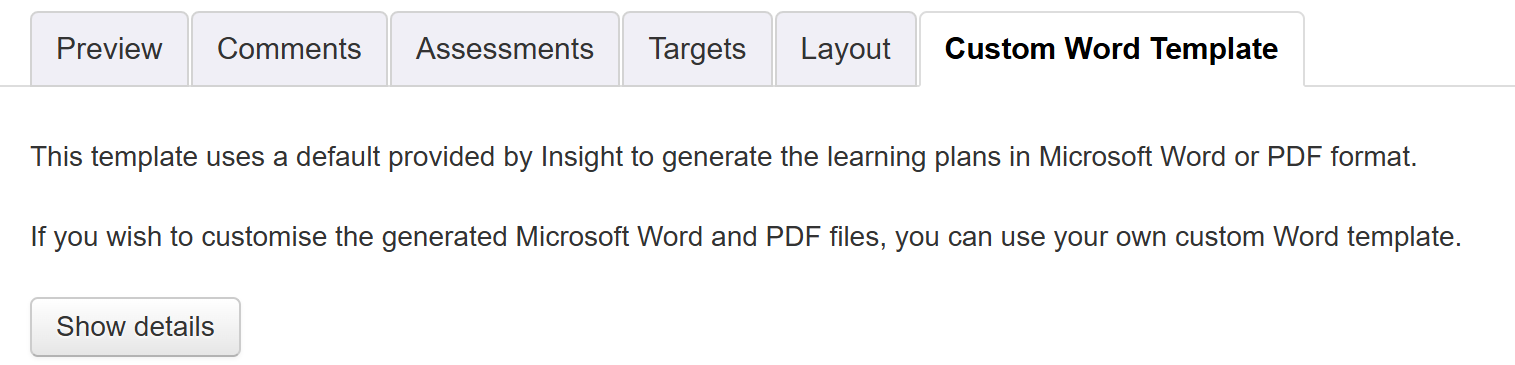
Click Show details then Download Word Template.

Once downloaded, open the file in Word.
Editing the template in Word
Note that the template contains a mix of plain text and text in curly brackets. Any text that is not contained in curly brackets will appear unaltered on the final learning plan.
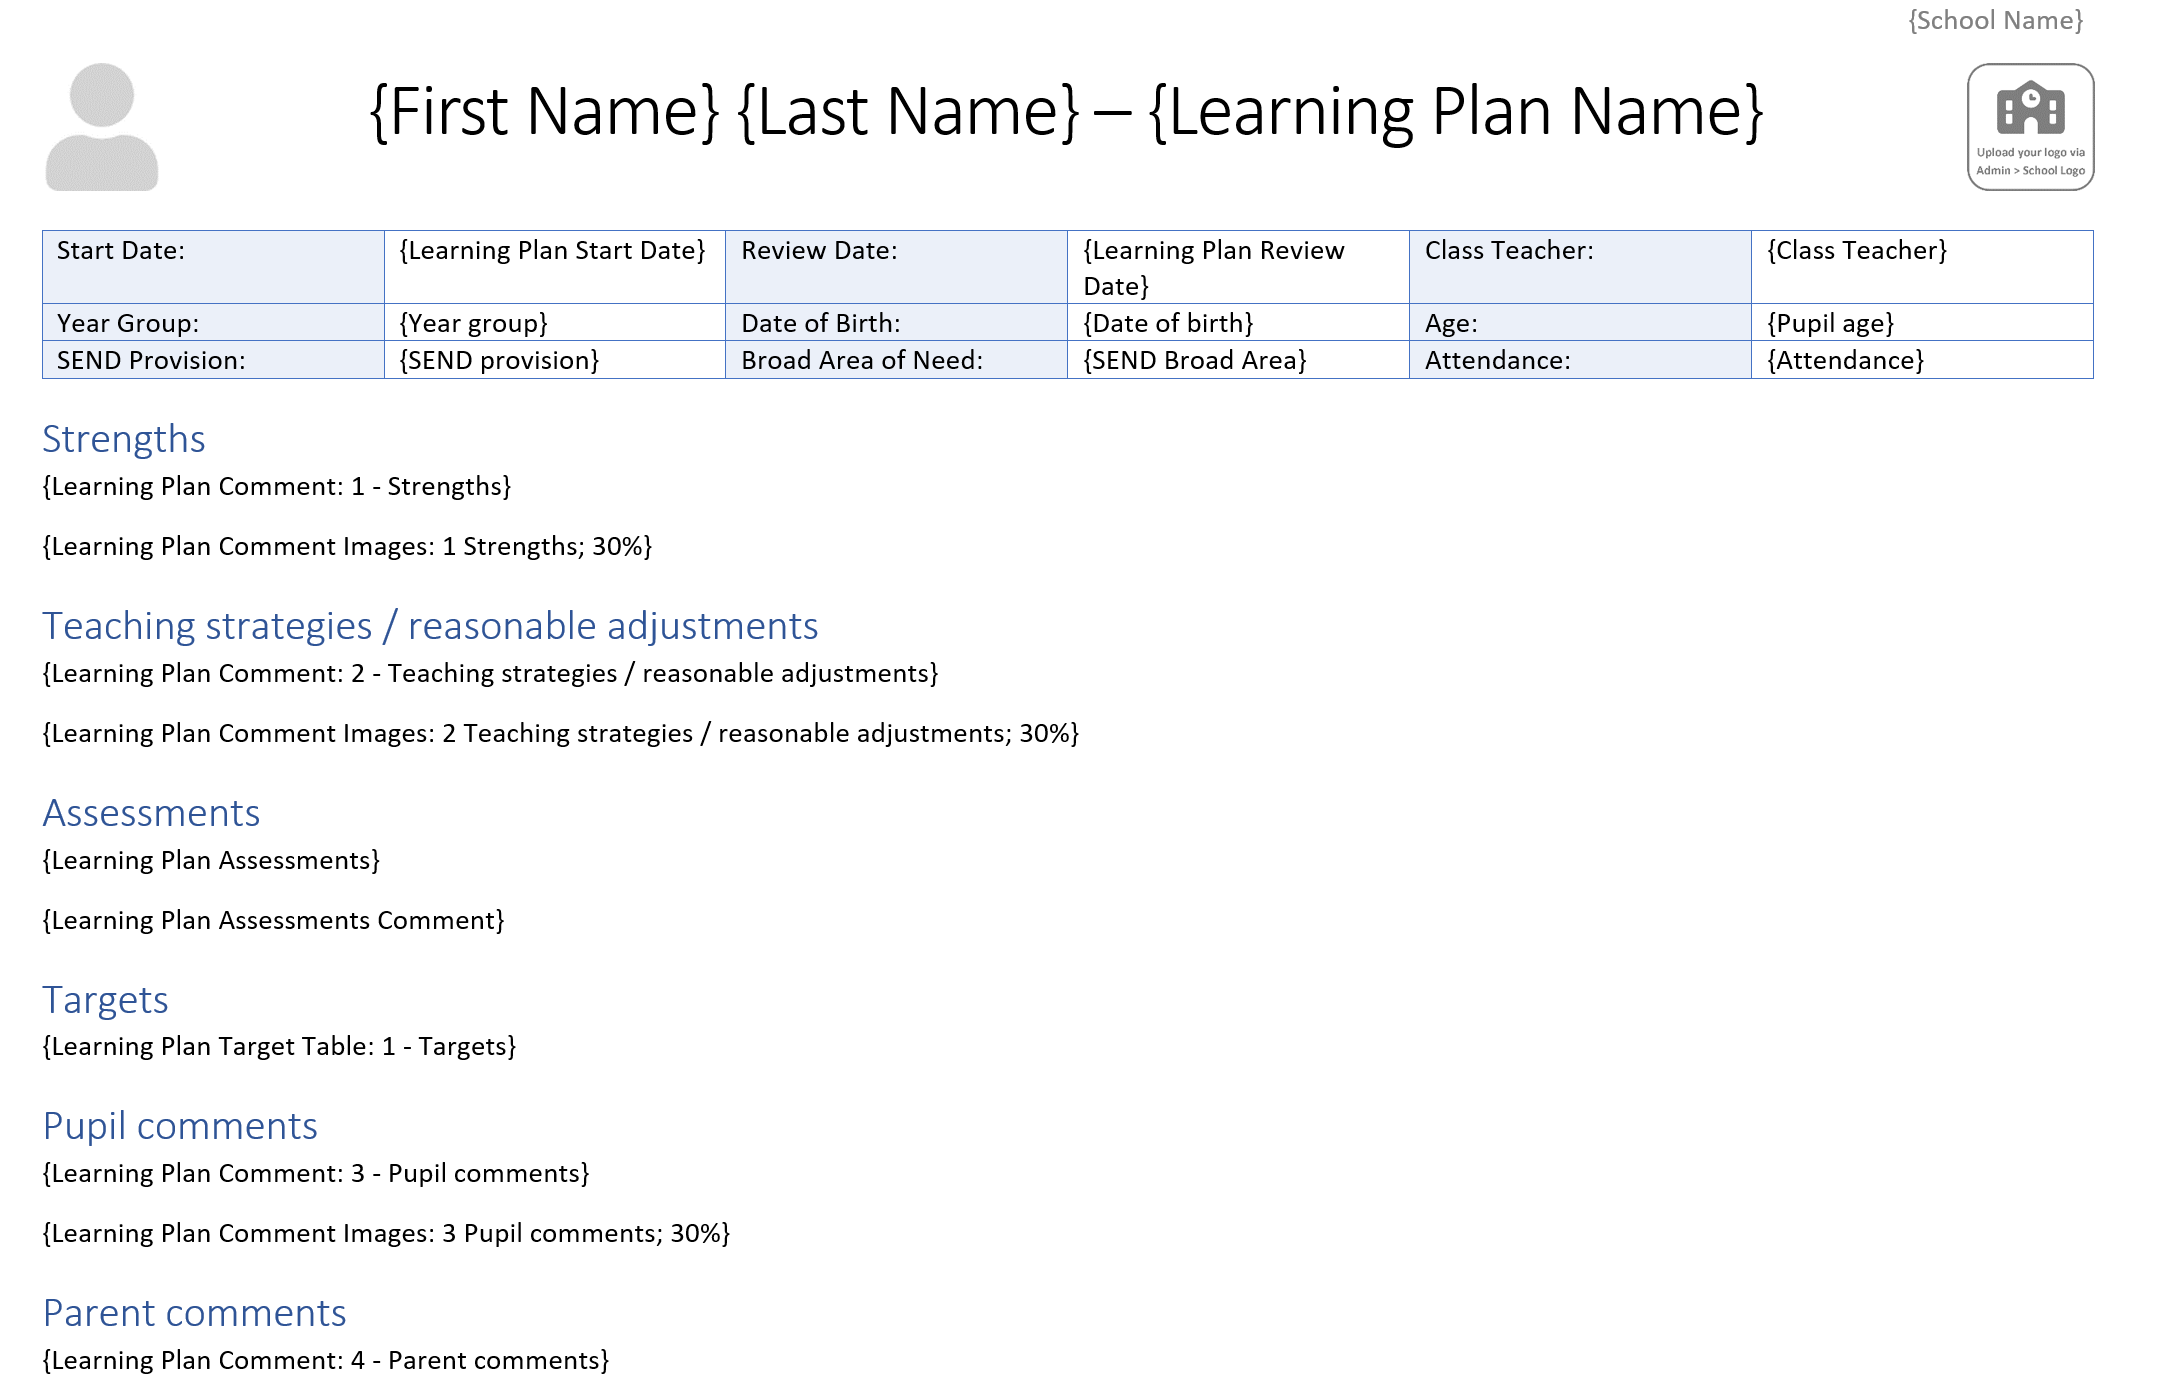
Text you want to remain unaltered could be the school name, a section heading, or sentence of explanatory text that you need to appear on every pupil's plan.
Any text that is contained in curly brackets is a known as a Placeholder.
A Placeholder represents an instruction to Insight to insert information at specified locations on the plan. In the above example, placeholders include the pupil's name, creation and review dates, comment boxes, assessments, and targets. There are also some placeholders, such as pupil photo and school logo, that appear as images to allow you to move and resize them.
The Placeholders for assessments and targets both tell Insight to insert these as a table automatically.
Inserting additional Placeholders
The document can be formatted in any way you wish, including adding new tables or static images.
There are lots of options for dynamic content via placeholders.
To see all the available placeholders, open the Custom Word Template tab and ensure you've clicked Show details. This will display the Placeholders section
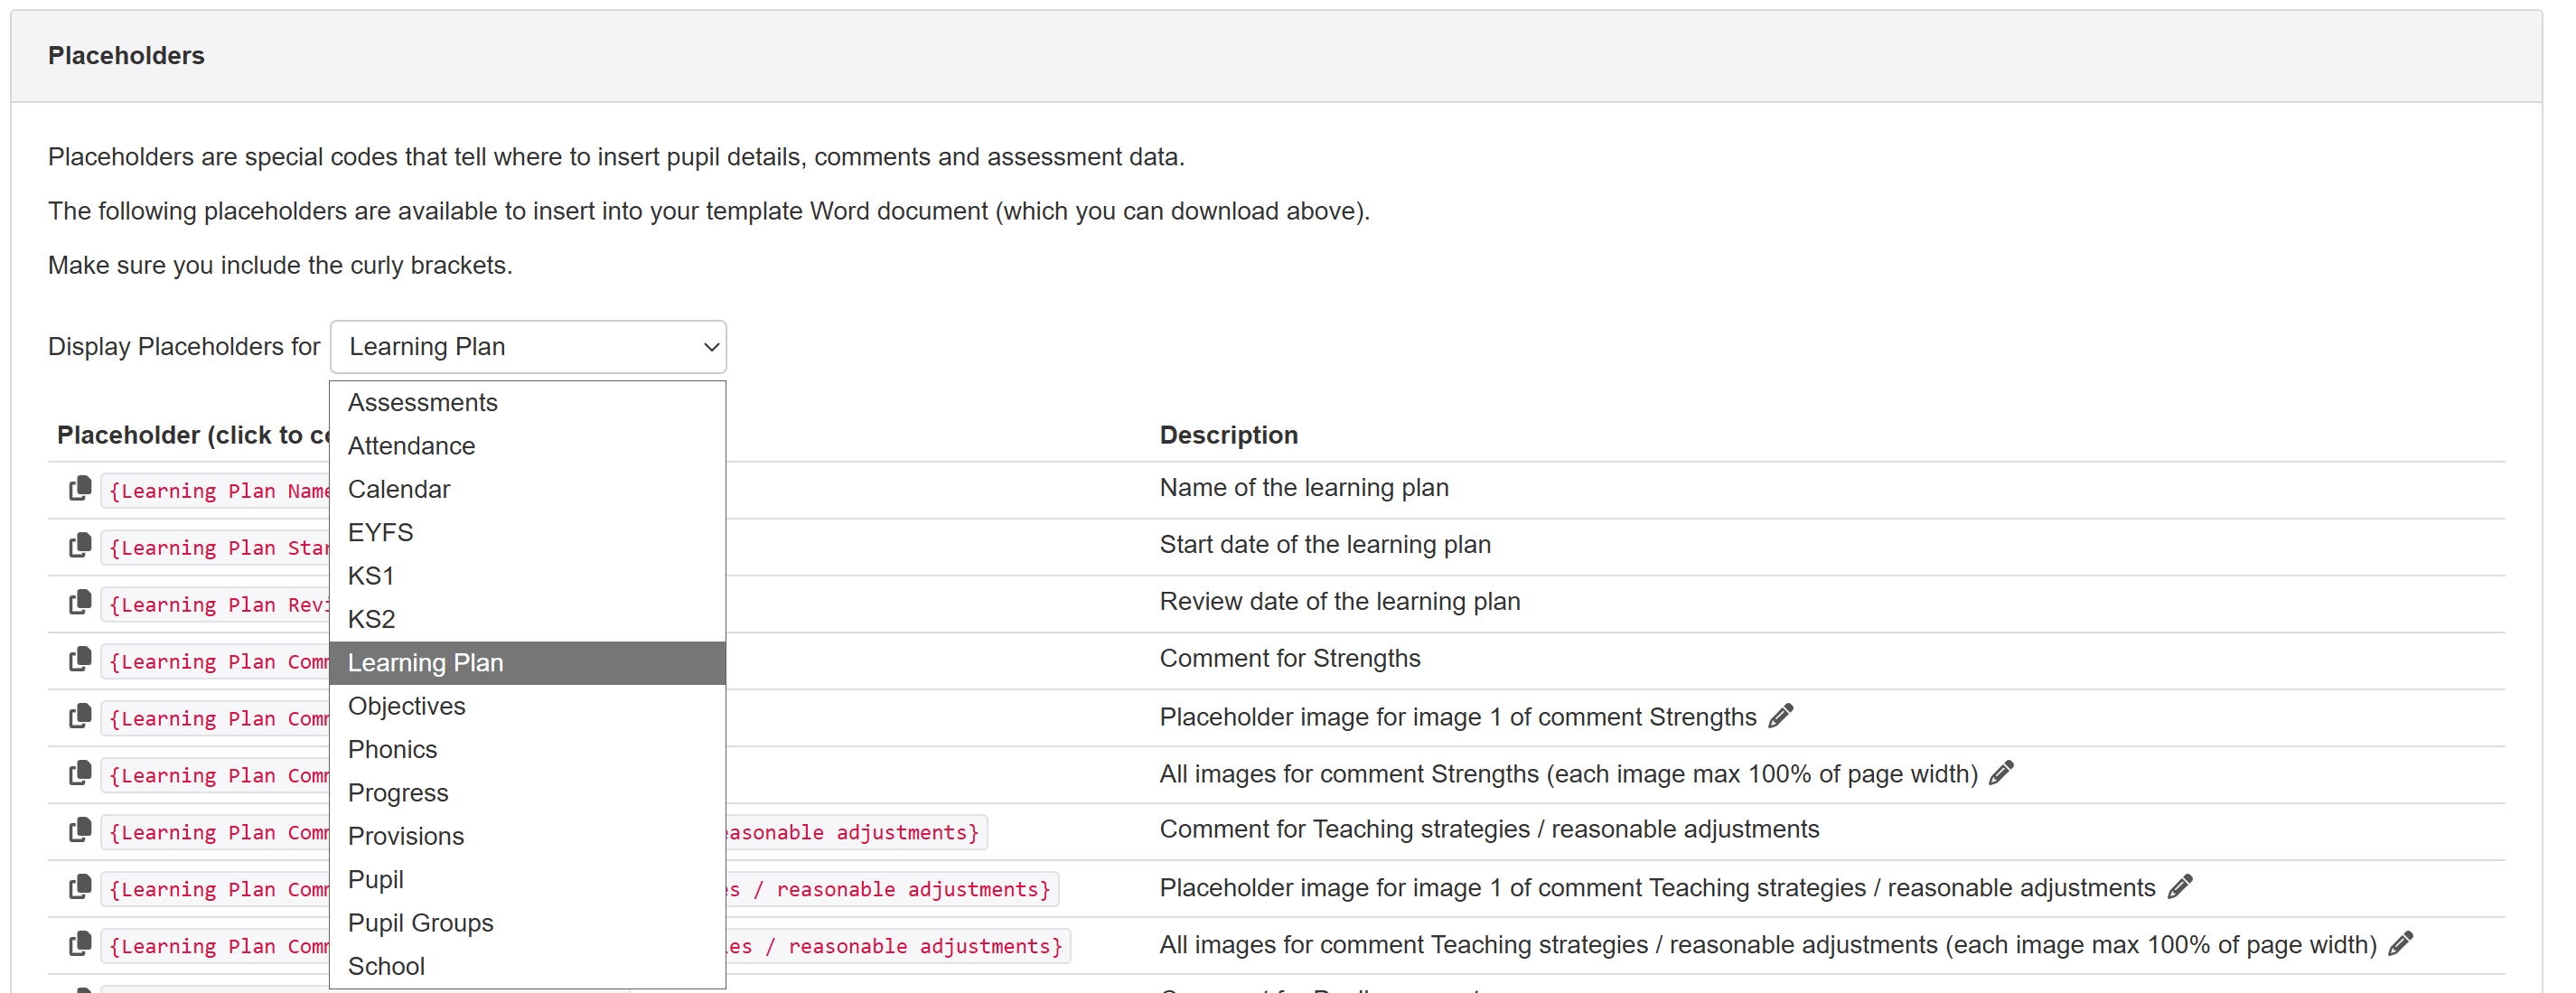
Initially, the placeholders specific to Learning Plans are displayed. Click the Display placeholders for... menu to choose another selection. To add a placeholder to your Word template, simply click it (this will copy it to the clipboard) then paste it into your Word template.
Most placeholders are straightforward. Some allow additional customisation. These are indicated by a small pencil icon.
To illustrate this, let's take the example of Learning Plan Comment images.
You will have Learning Plan Comment Image placeholders for all of the Comment Boxes you have added to the template you're working on.
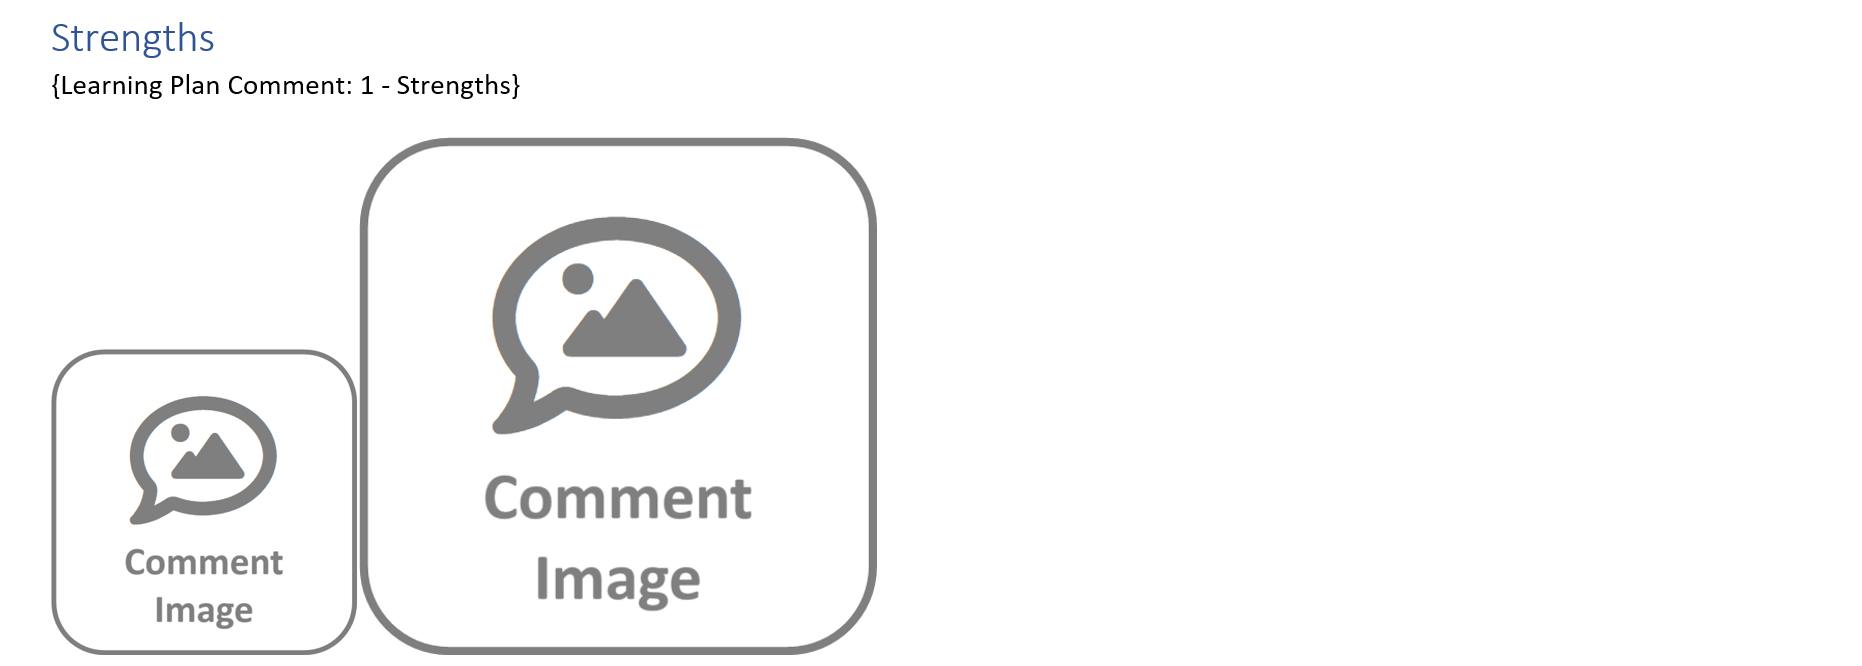
The General template type has a Comment box called Strengths. It has available placeholders as follows.

Each comment box has two different image placeholders available.
The first will be like this "{Learning Plan Comment Image: 1 - Strengths}". When pasted into your Word template it will appear as an image, like this.
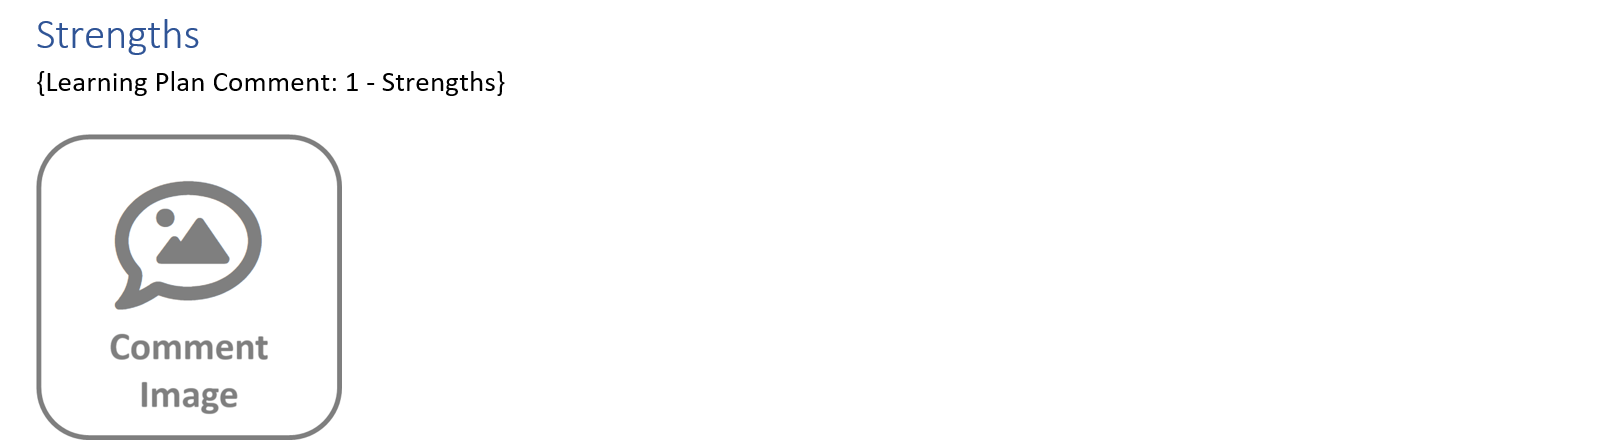
You can resize or move the image to suit.
When people use the template, to make a learning plan for a pupil, this placeholder will always be replaced with the first image uploaded to that plan.
If you want another image to appear in the plan, you can click the little pencil icon and change the number.

Click the placeholder, again, to copy it. Then paste it into the template. Perhaps you know you always want the second image to appear larger.
Insight will know that the second placeholder image is for image 2.
This placeholder is useful if you want comment images of different sizes and placed in different places.
If you just want images to appear in a row, and all at the same size, the second placeholder, "{Learning Plan Comment Images: 1 - Strengths}", may be more useful.

When pasted into the Word template, this placeholder just appears as text. In this case, images added to the comment box will just appear one after another. By default, they appear at 100% of the page width (unless the image itself is smaller than this, in which case is will just appear at its standard size) but you might want them to be smaller.
To make the images smaller, click the little pencil icon and change the % to the one you want, e.g. 30%.

Then copy and paste the placeholder into your template.

Continue to make any other changes you require. Save your completed template ready to upload it.
Adding additional Comment Boxes, target tables or assessments when using a Word template
It is still possible to add additional Comment Boxes, via the Comments tab, when using a Word template. If you add any new ones, you need to remember to add the matching placeholder to your Word template too. The comment box placeholders are available in the Custom Word Template tab, as described above, in the Learning Plan section.
If you add a new comment box which does not have a placeholder saved in the template, a red warning icon will be displayed next to it.
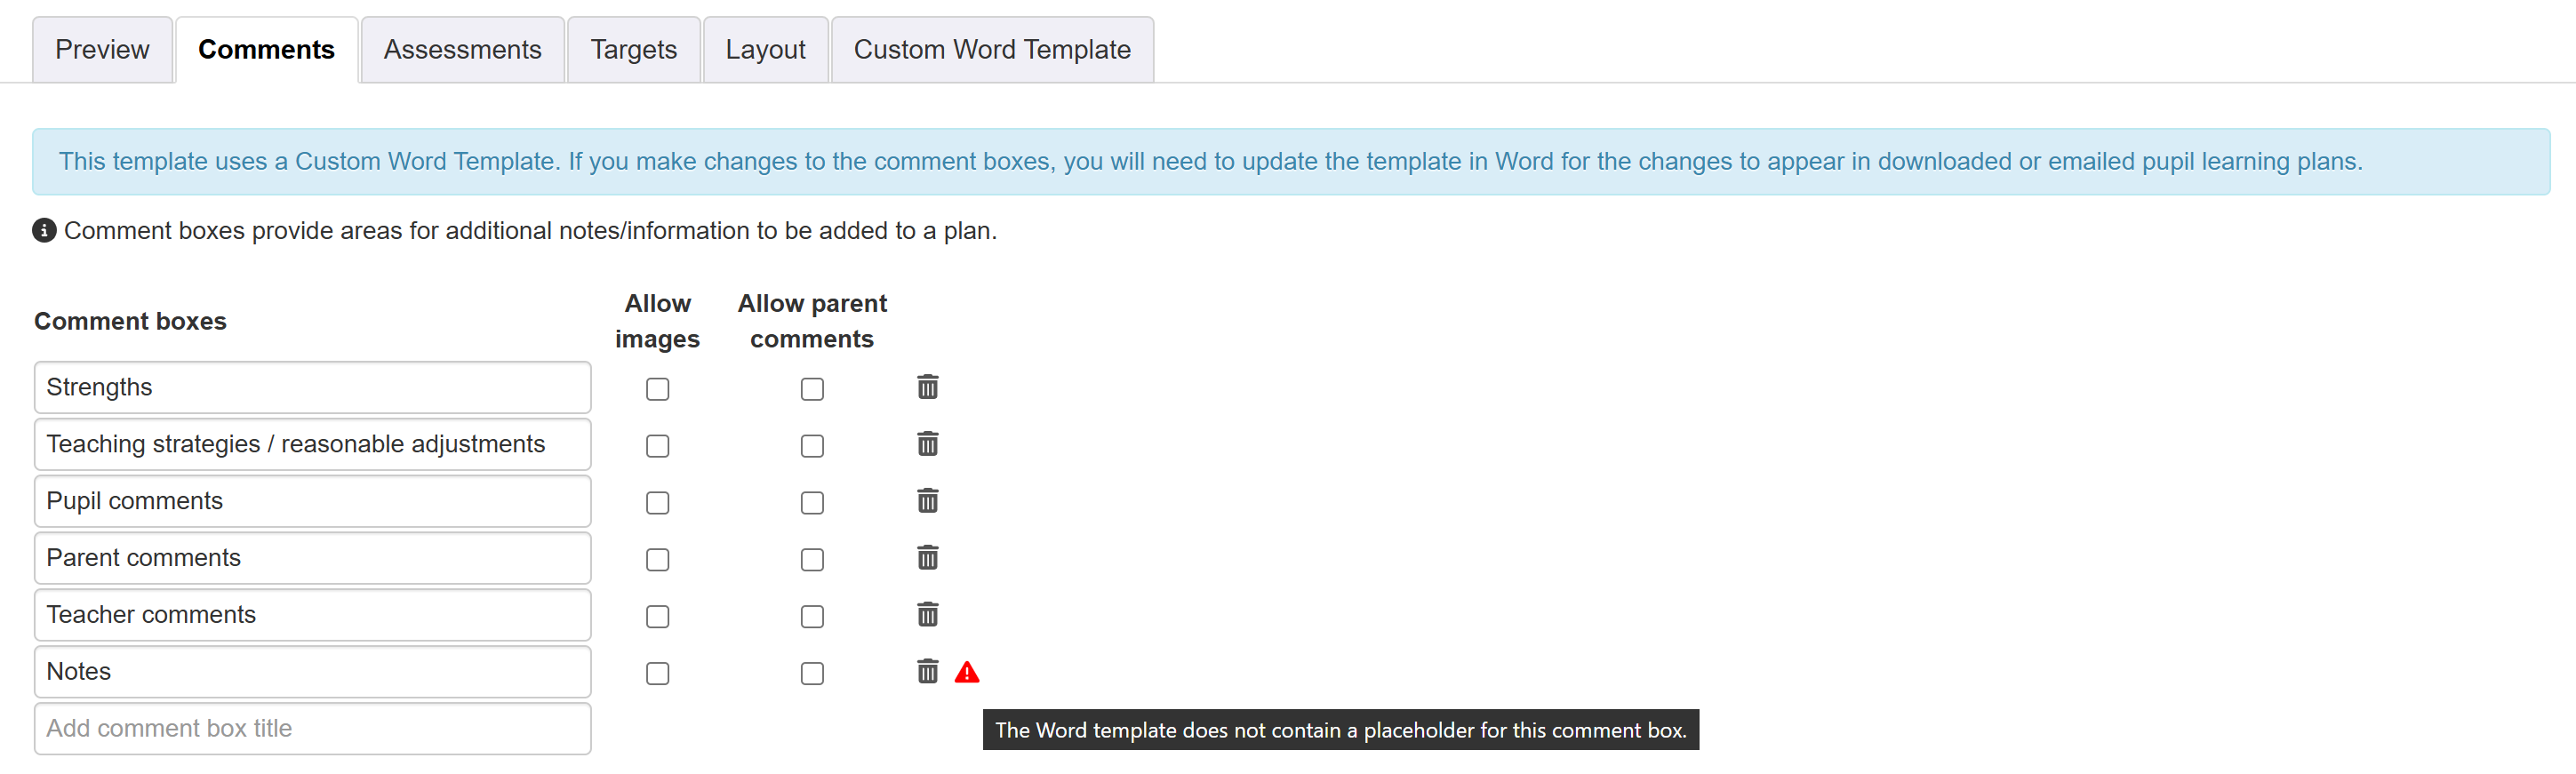
Once the placeholder is added to the Word template, and uploaded to Insight, the warning will disappear.
The same is true for Target Tables; any missing ones will be indicated in the Targets tab.
The Assessments tab, if Assessments are enabled, will also indicate if the Word template is missing the applicable placeholder.
Uploading the new template into Insight
Return to the learning plan admin area. Click on the Upload Word Template button to upload the new, edited template into Insight. You should see a green tick to confirm it has been uploaded.
Viewing the new template in Insight
To see a preview, click the Preview tab.
You can choose which pupil to preview, on the left. If you choose a pupil who has an active plan using the selected template, it will be displayed. If you choose a pupil who does not have an active plan using the selected template, you'll still see a preview, but content such as comments and assessments will be blank.
Using a template from another school
Occasionally, it may be useful to import a template provided by another school.
As the templates are just Word files, this is fine to do but requires a small amount of additional work.
Create a New Template then make changes to the Target Table Columns and Comment Boxes to match those used in the template you're importing. See the in app template changes guide for how to do this.
Then click Upload Word Template, choose the template file you're importing and upload it.
The new template is now ready to use.