Adding Table Styles to Templates
 Updated
Learning Plan Word Templates require certain Styles to be saved in the document to work properly.
The template built in to Insight has these Styles included already and can be fully customised before re-uploading.
As such, if you want to create a template from scratch, the recommended approach is to download a template from Insight and make changes to that rather than creating a new document yourself. You can download the template, delete everything, and add your own content. This will avoid having to add the Styles yourself.
However, you may have a pre-existing template already in use in your school, and it may be quicker to start with that.
The following guide describes which Styles are needed, and how to add them. Please read this through before deciding which approach will be the most efficient.
The Template requires two Table Styles to be added. These are in relation to the Placeholders for Learning Plan Targets and Learning Plan Assessments. If you are not including either of these Placeholders in your template, then the Styles are not required.
To add the Styles, follow these steps:
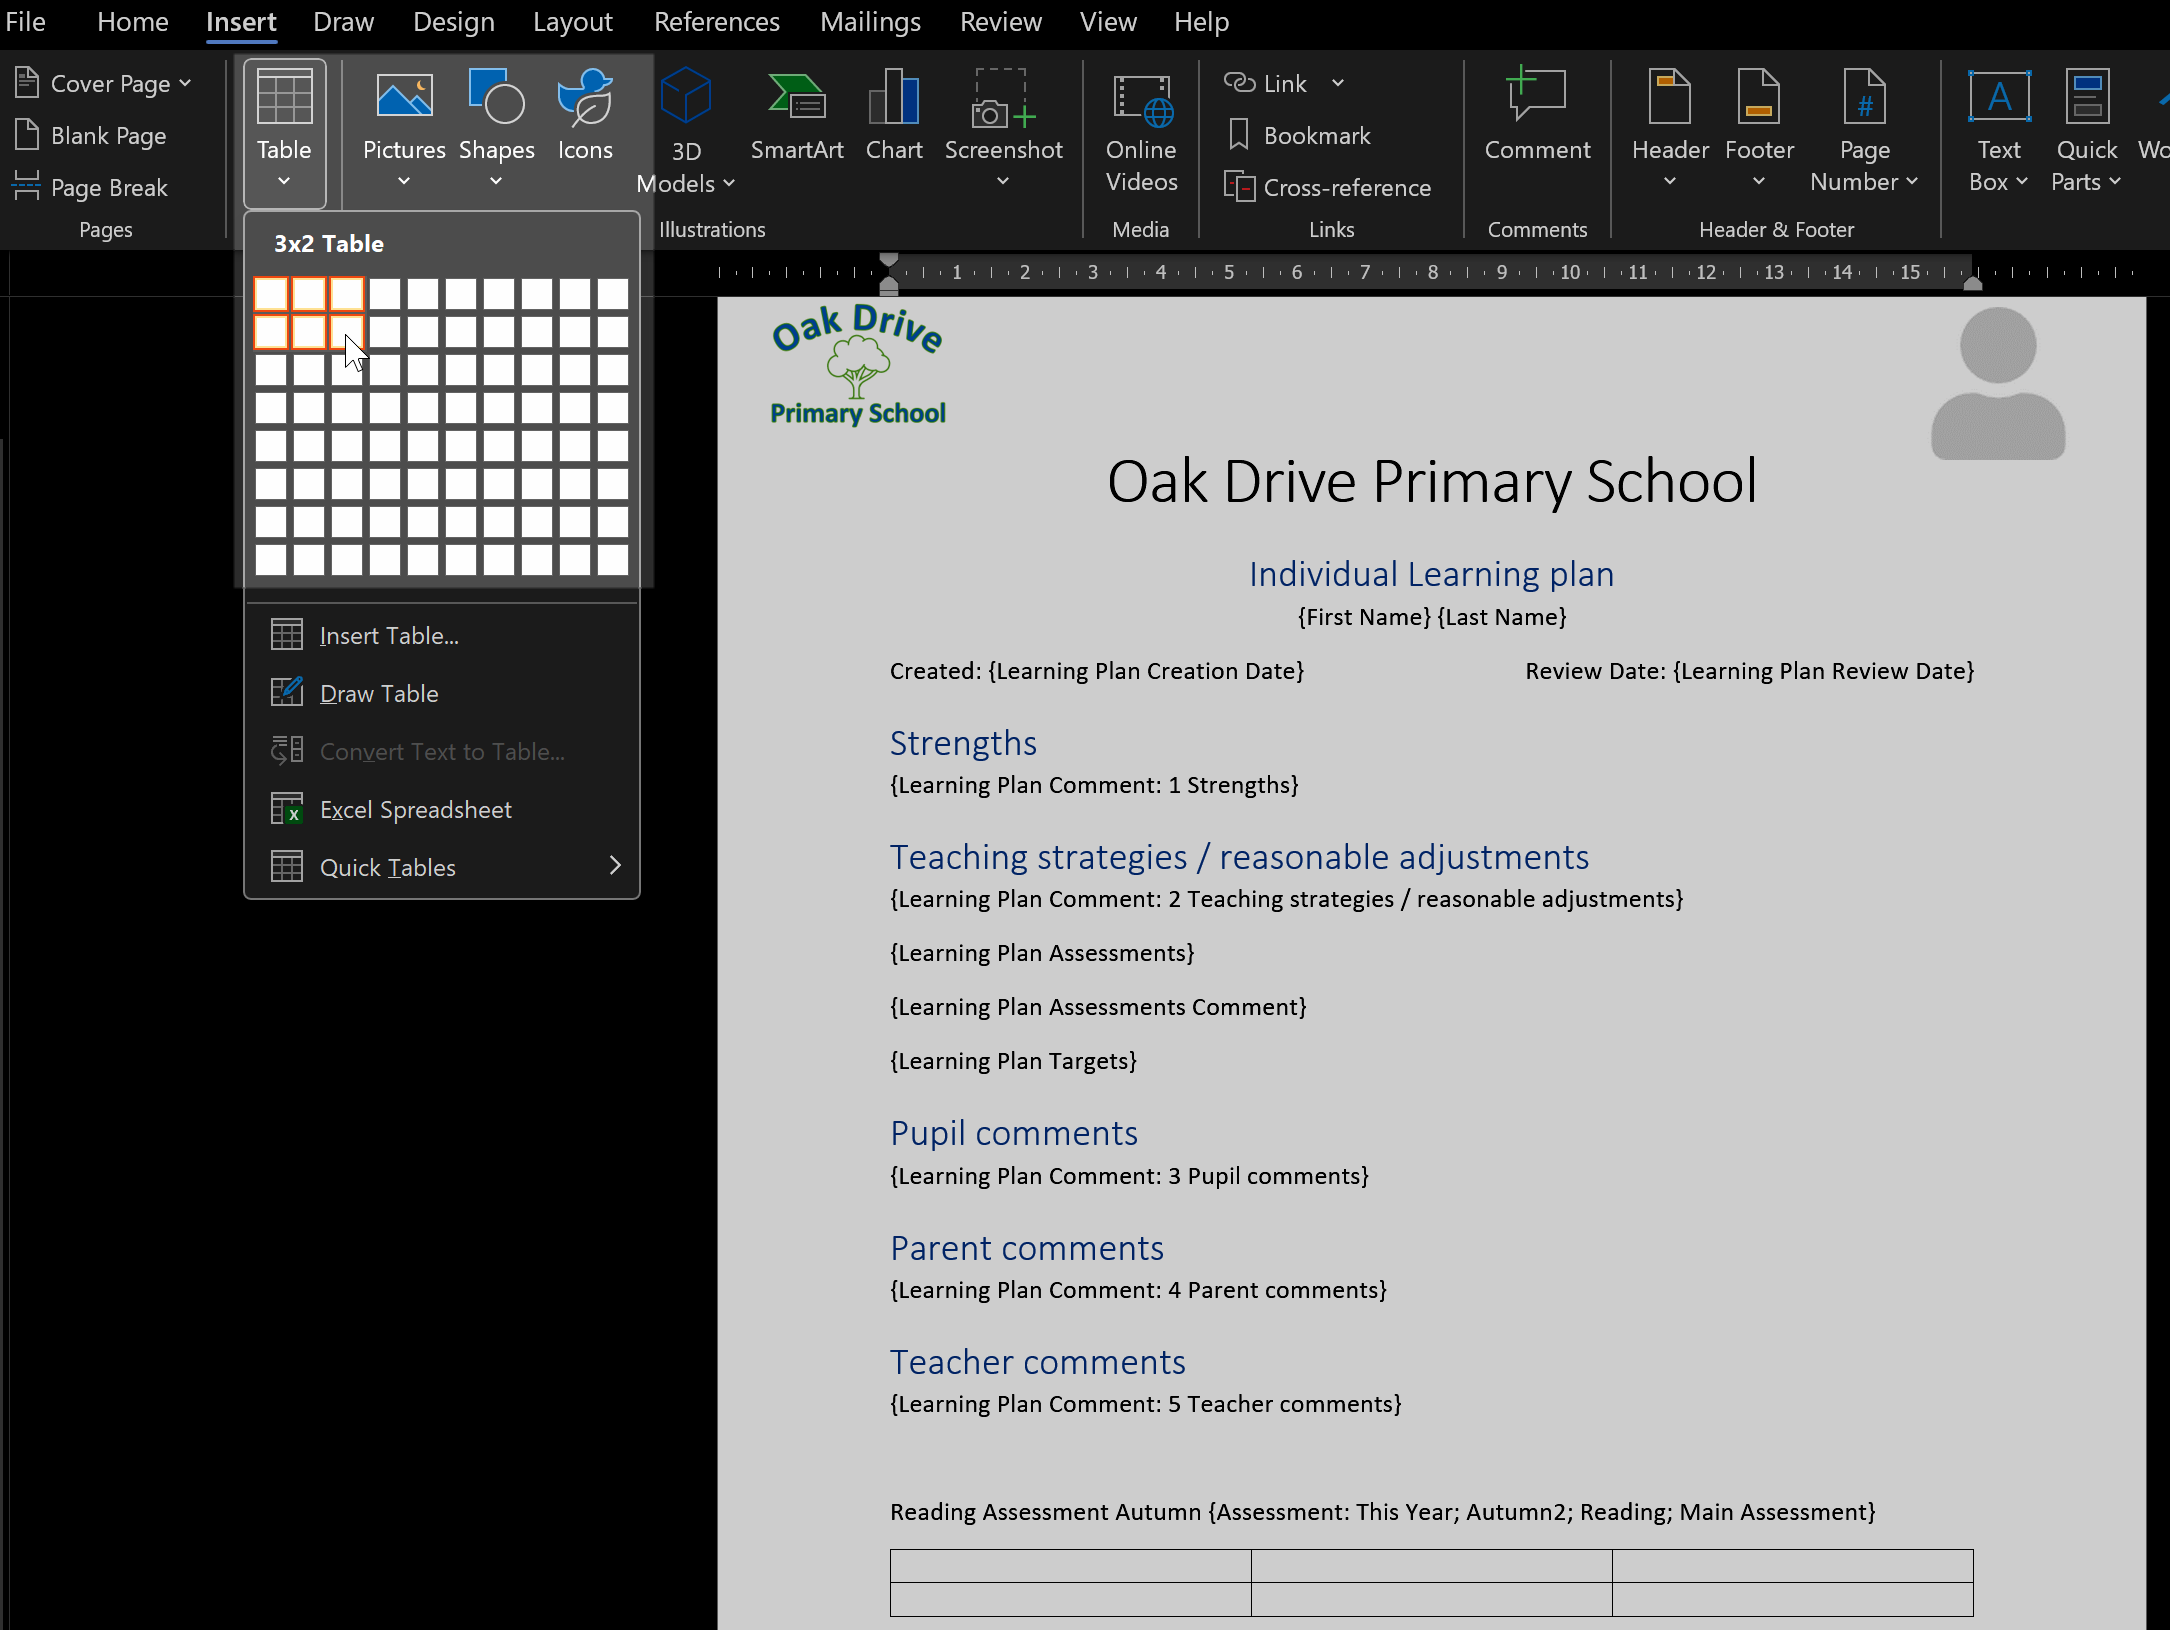
- Add a basic Table to your template. We're going to delete it once we're done, so it can just be placed at the end of the document.
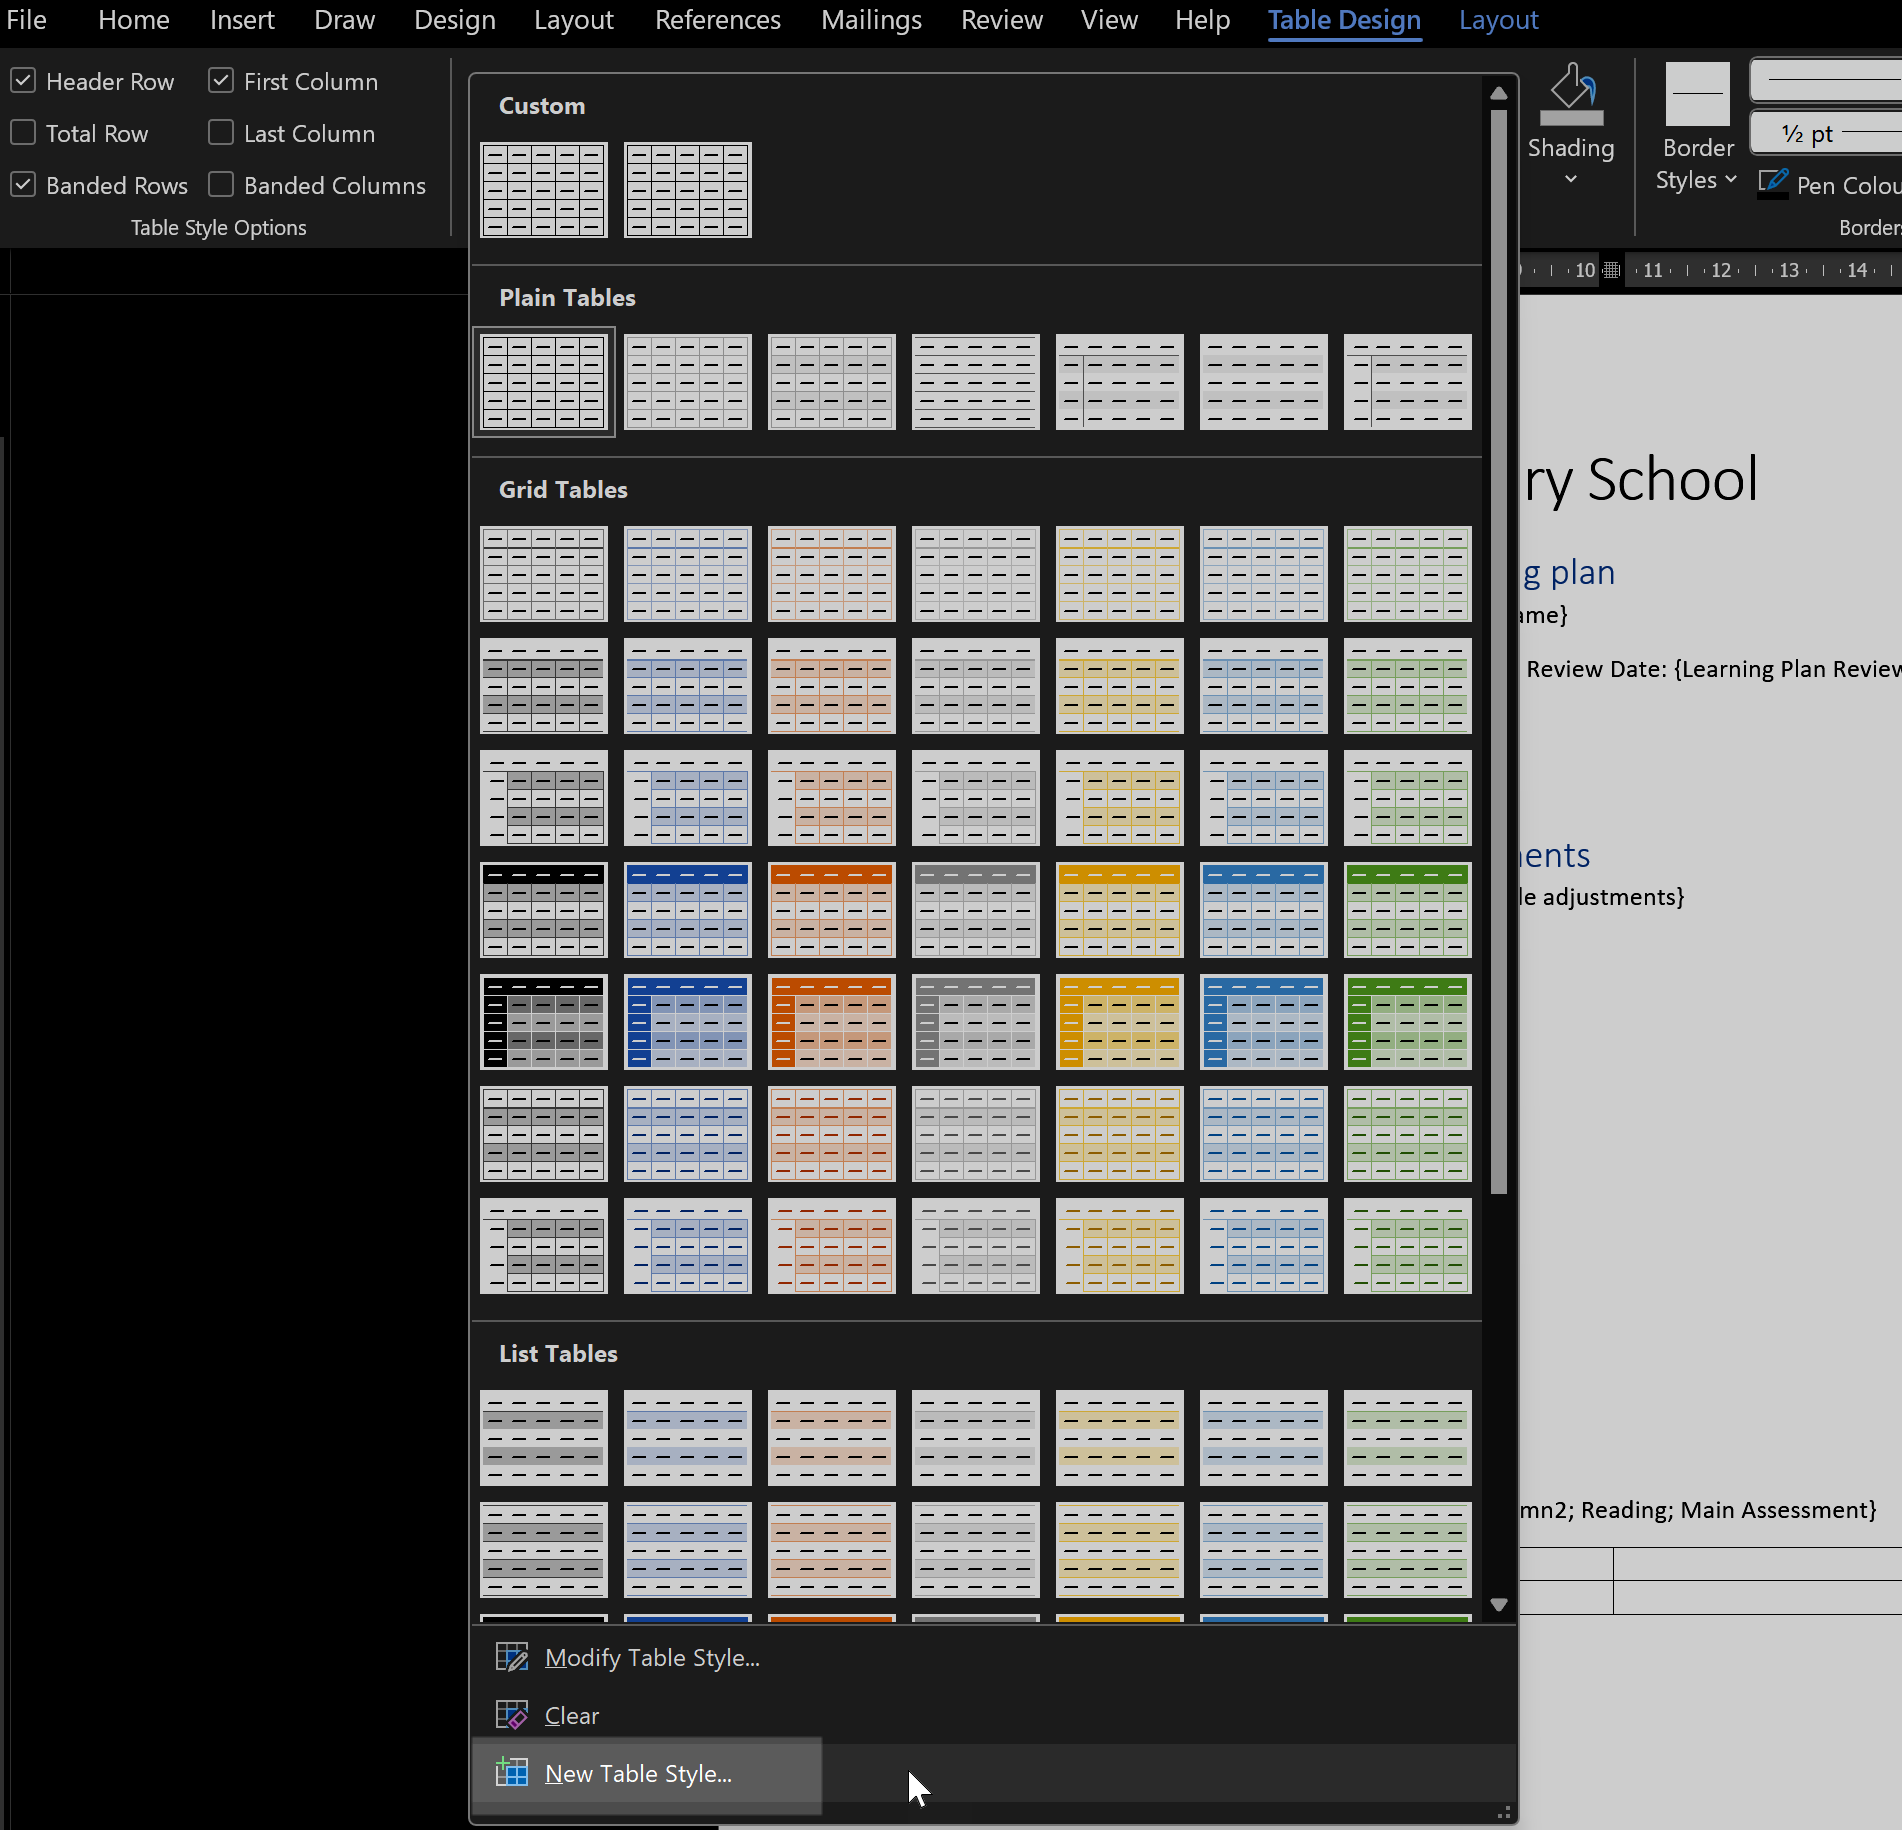
- Make sure the Table is selected, so that the Table Design tab becomes available. In the Table Design Tab will be a section called Table Styles; select this. Click the small arrow button in the bottom right to open the Styles Pane. Click the New Table Style... option at the bottom.
- The formatting options will appear. Change the Name to Learning Plan Targets. The name has to be correct for it to work in Insight.
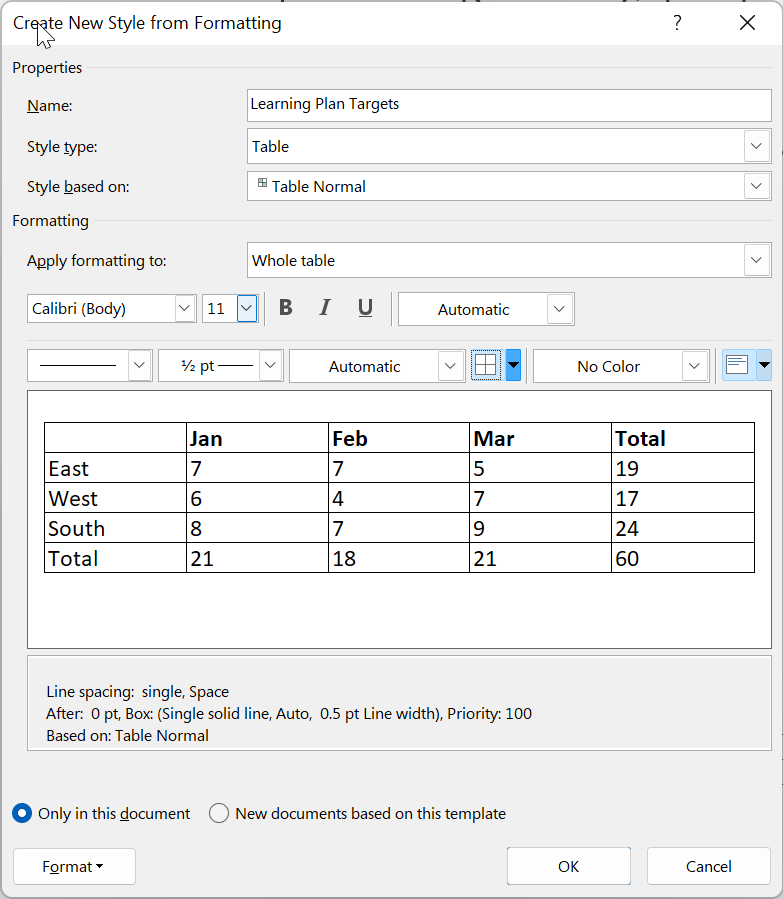
- Now make any format changes that you need. Ultimately, the Learning Plan Targets will be generated, by Insight, in a table using the formatting you choose. You will probably want border lines around the table. Make sure Apply Formatting to Whole table is selected, then click the small borders button, selected in the image above, and choose All Borders to achieve this.
Similarly, you'll probably want the header row to be in bold. Change Apply formatting to Header row and click the B(old) button to apply this format.
- Make any other changes you want, then click OK.
- Now repeat the process for Learning Plan Assessments. Use the same table as before and repeat the steps from step 2, only the name must now be Learning Plan Assessments.
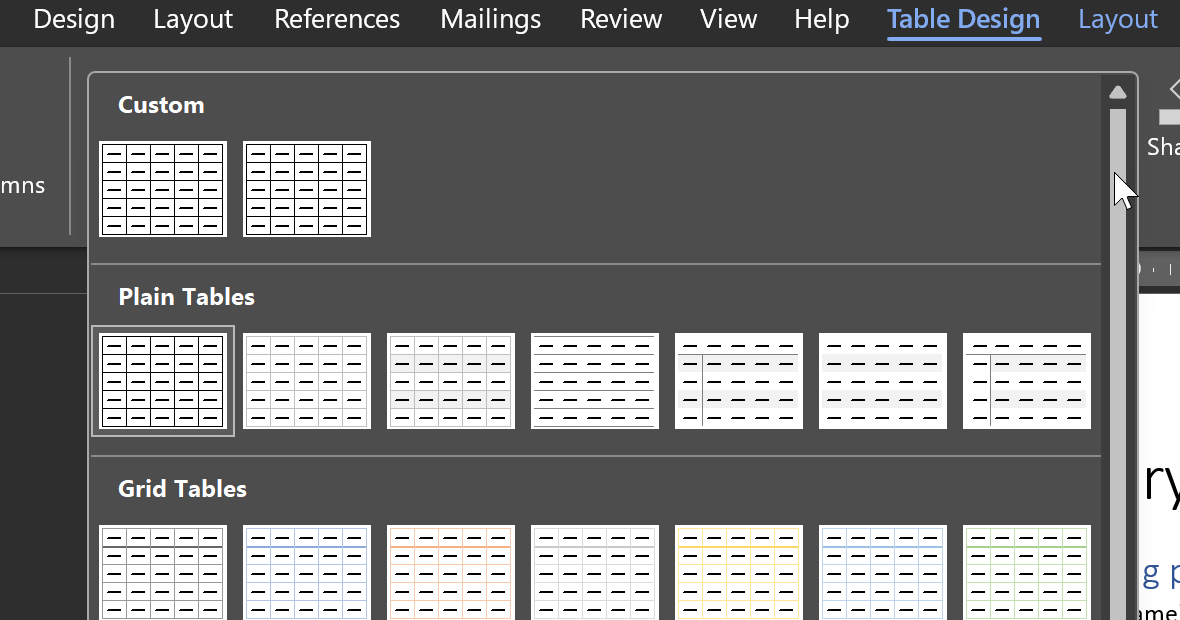
- You can check the new Styles have been added by opening the Table Styles pane again. You should have two styles at the top under Custom.
- You can now delete the table and save the document. Follow the instructions in our building a template using Word guide to add any other placeholders you require, and upload your template to start using it.