Provision mapping - setting pupil goals
 Updated
In previous help guides, we showed you how to set up resource- and session-type provisions, add evaluations of the effectiveness of provisions, and build a simple table to summarise numbers, costs and effectiveness. In this help guide, we'll be looking at the new provisions tab on the pupil page, and the sort of information that can be entered there.
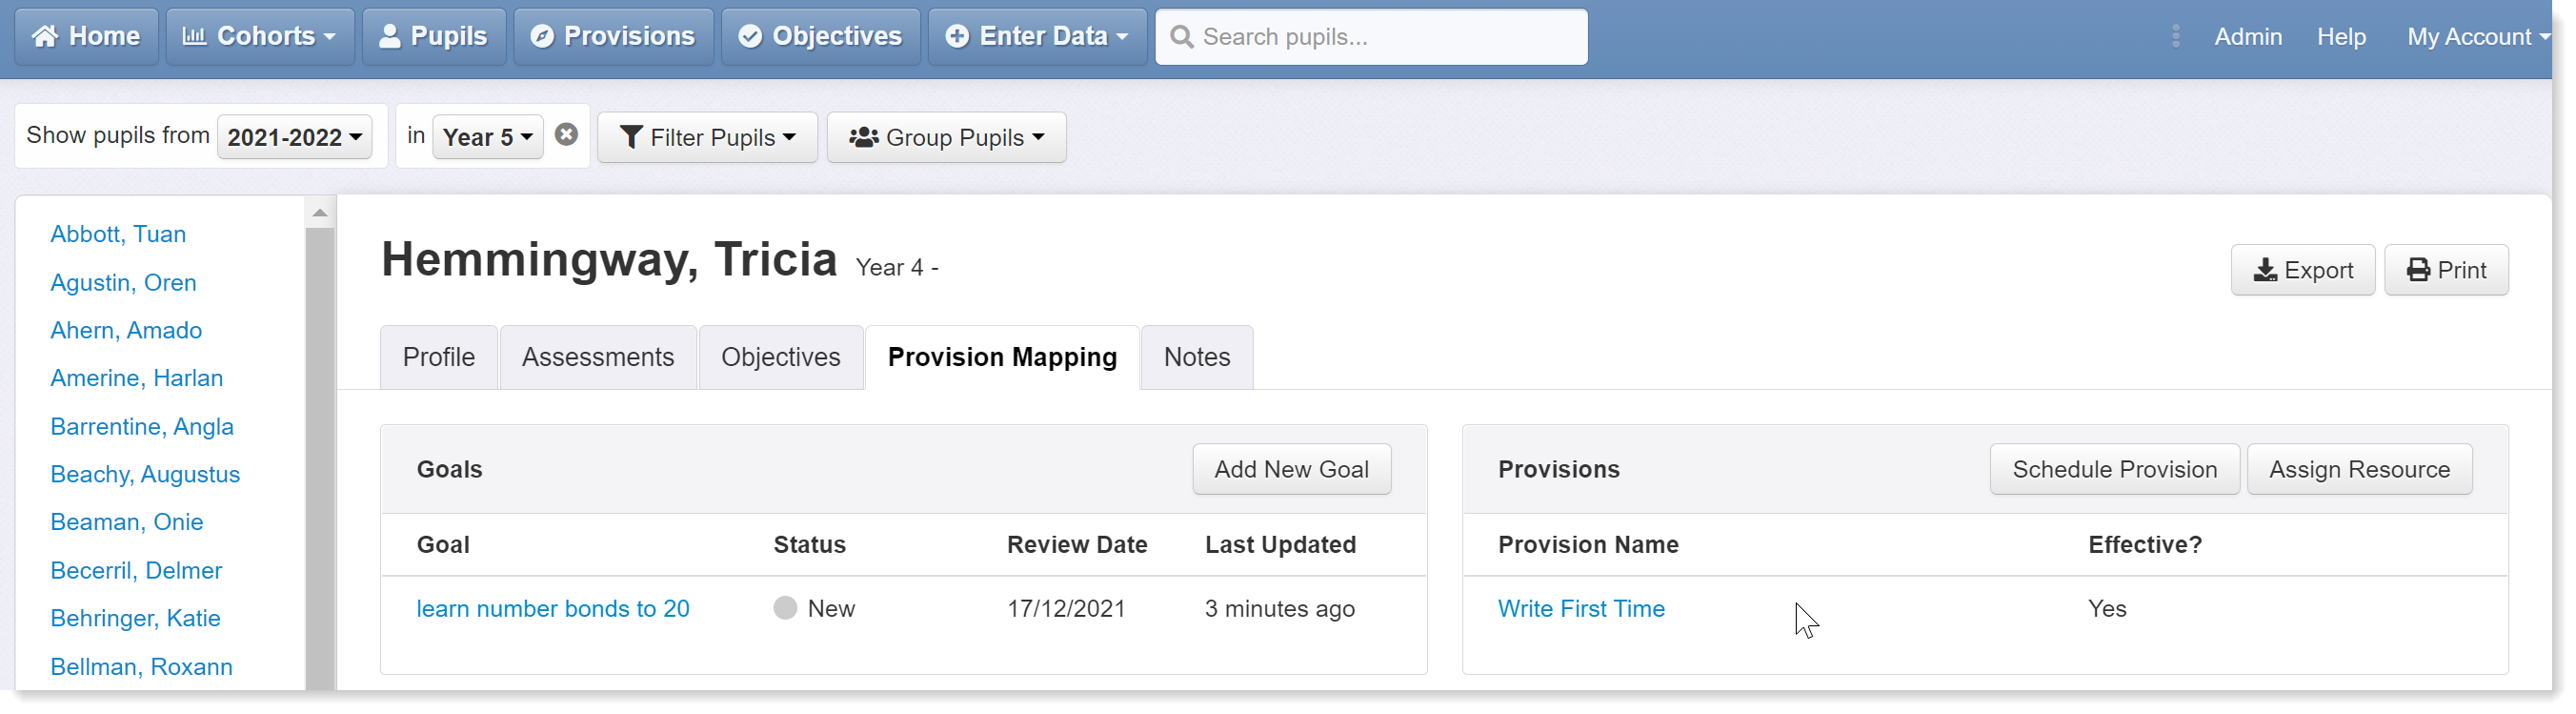
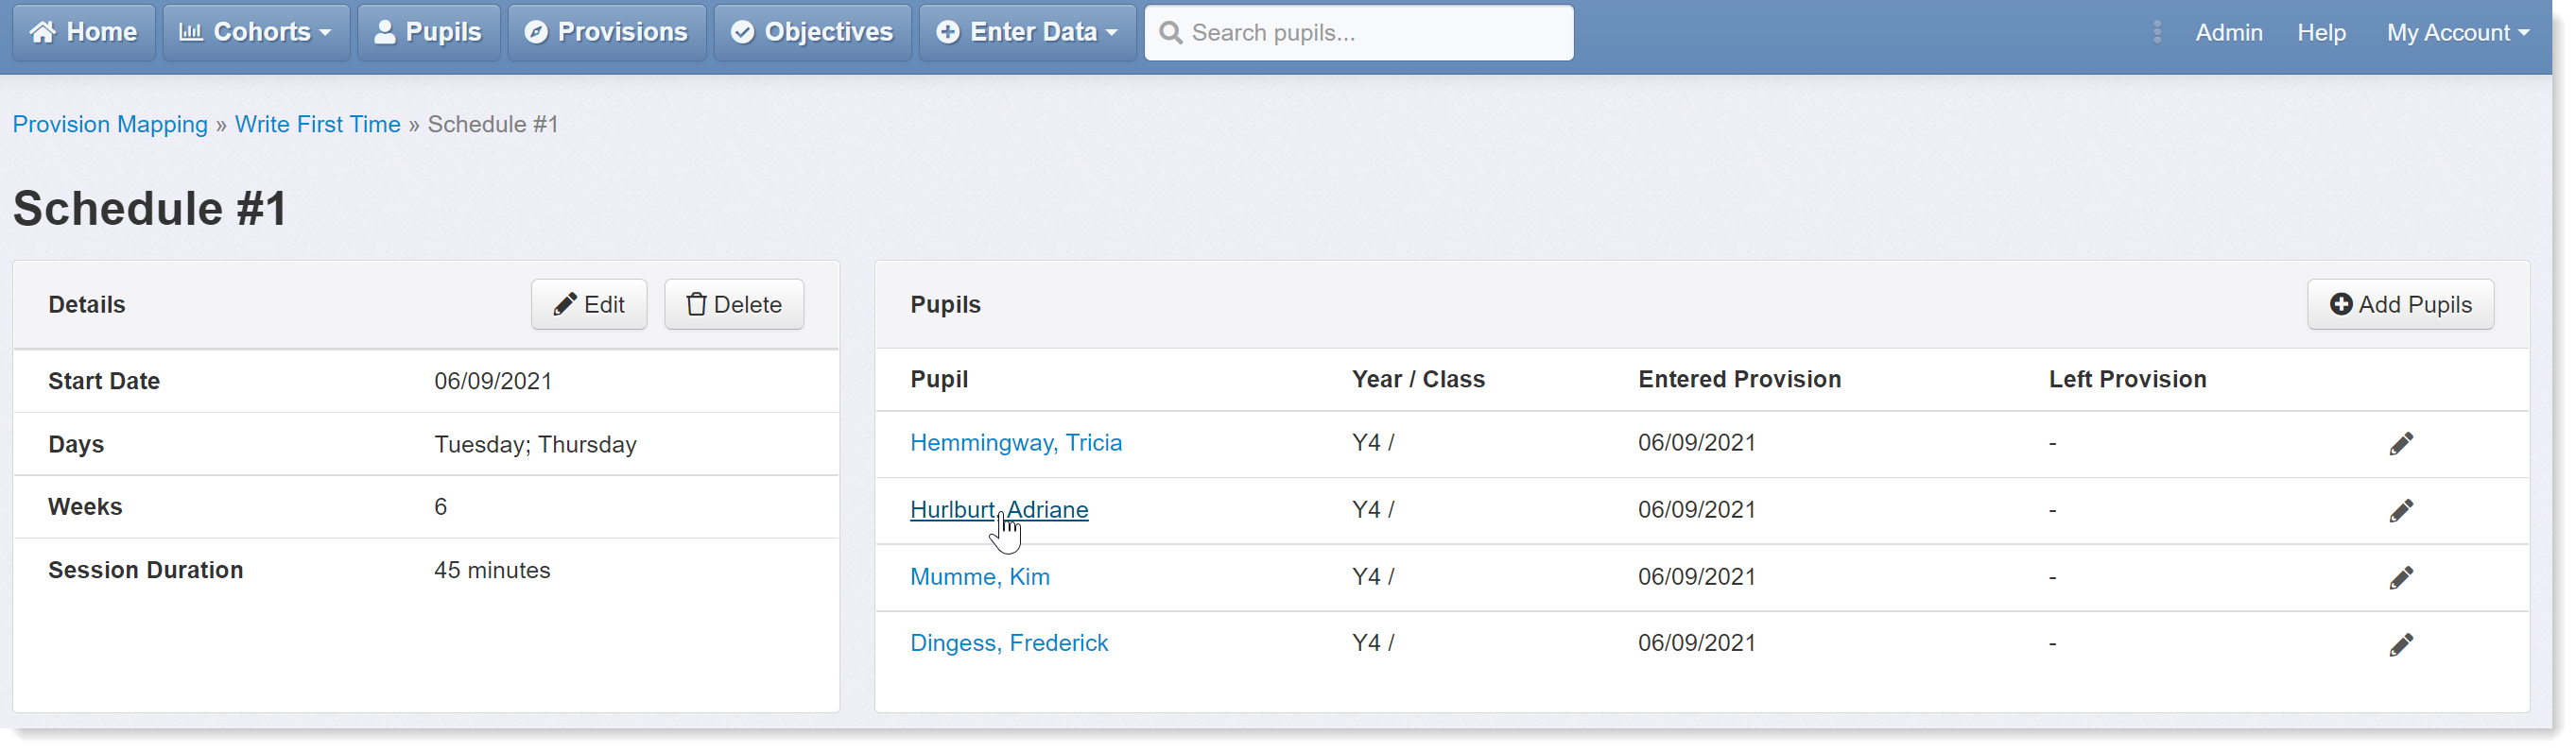
To access the provisions tab on the pupil page, you can either click on a pupil name linked to one of your provisions:
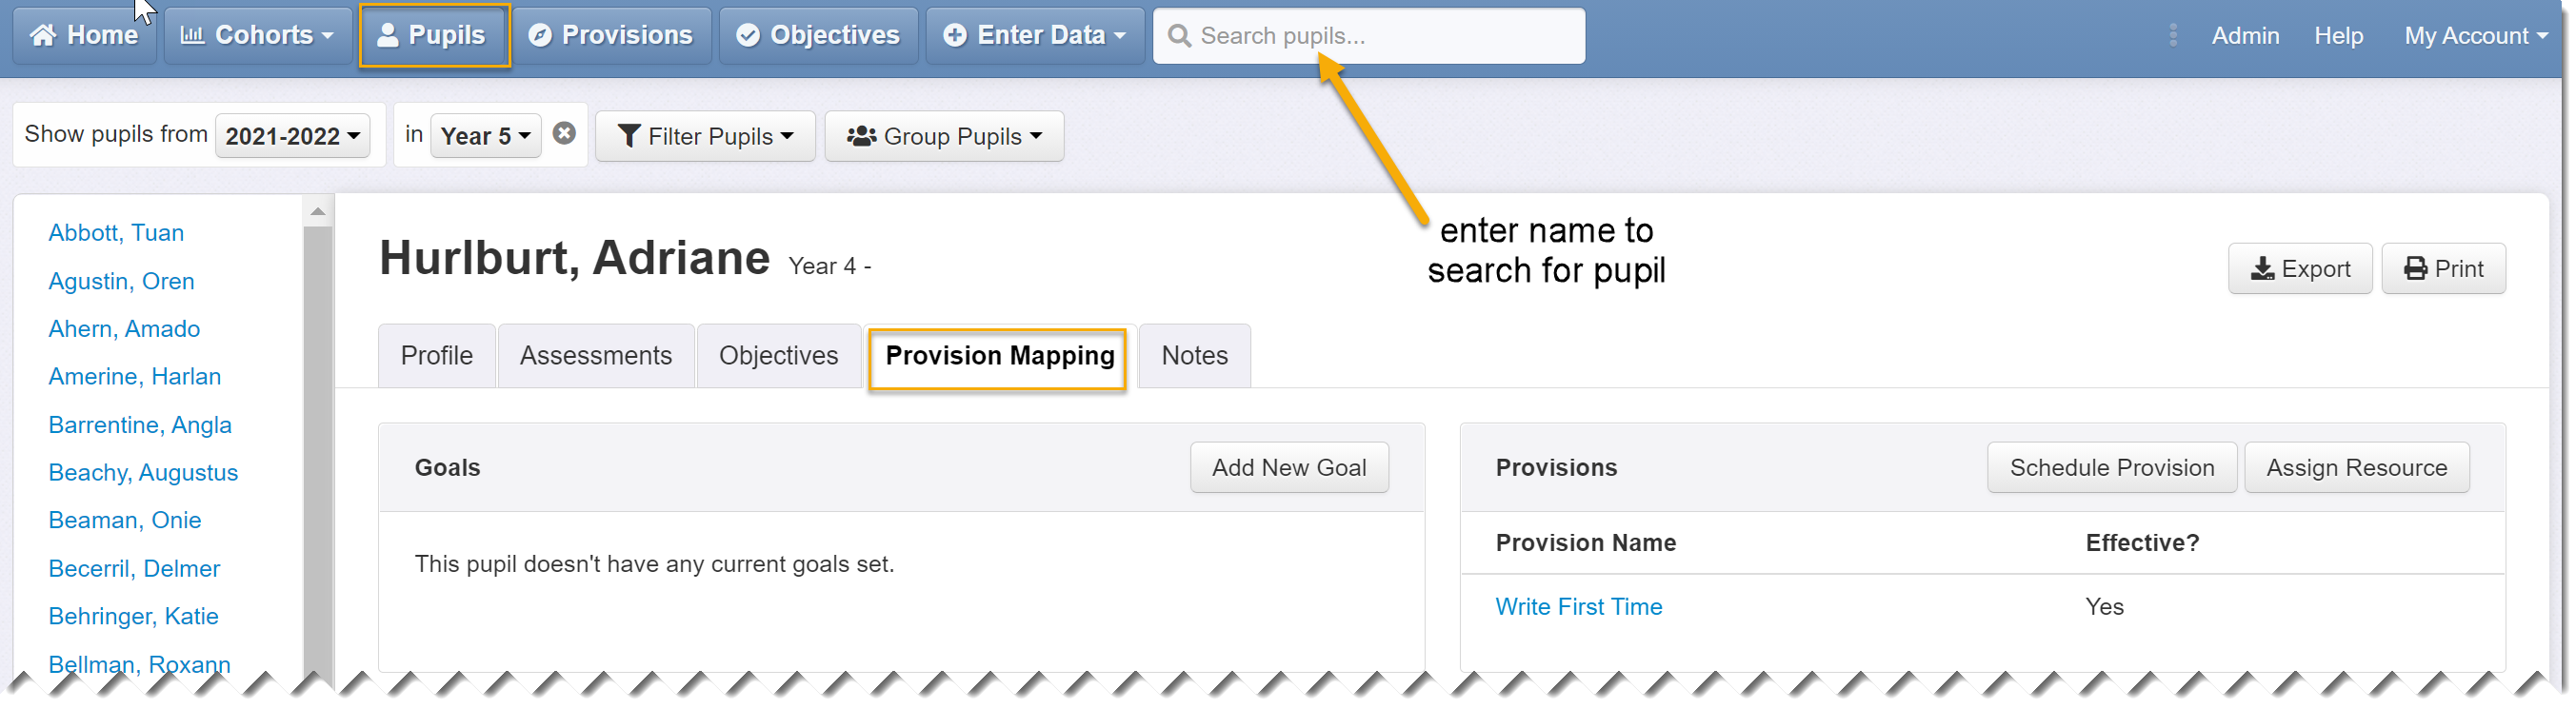
or you can go via the pupil page tab and search for or click on a pupil name:
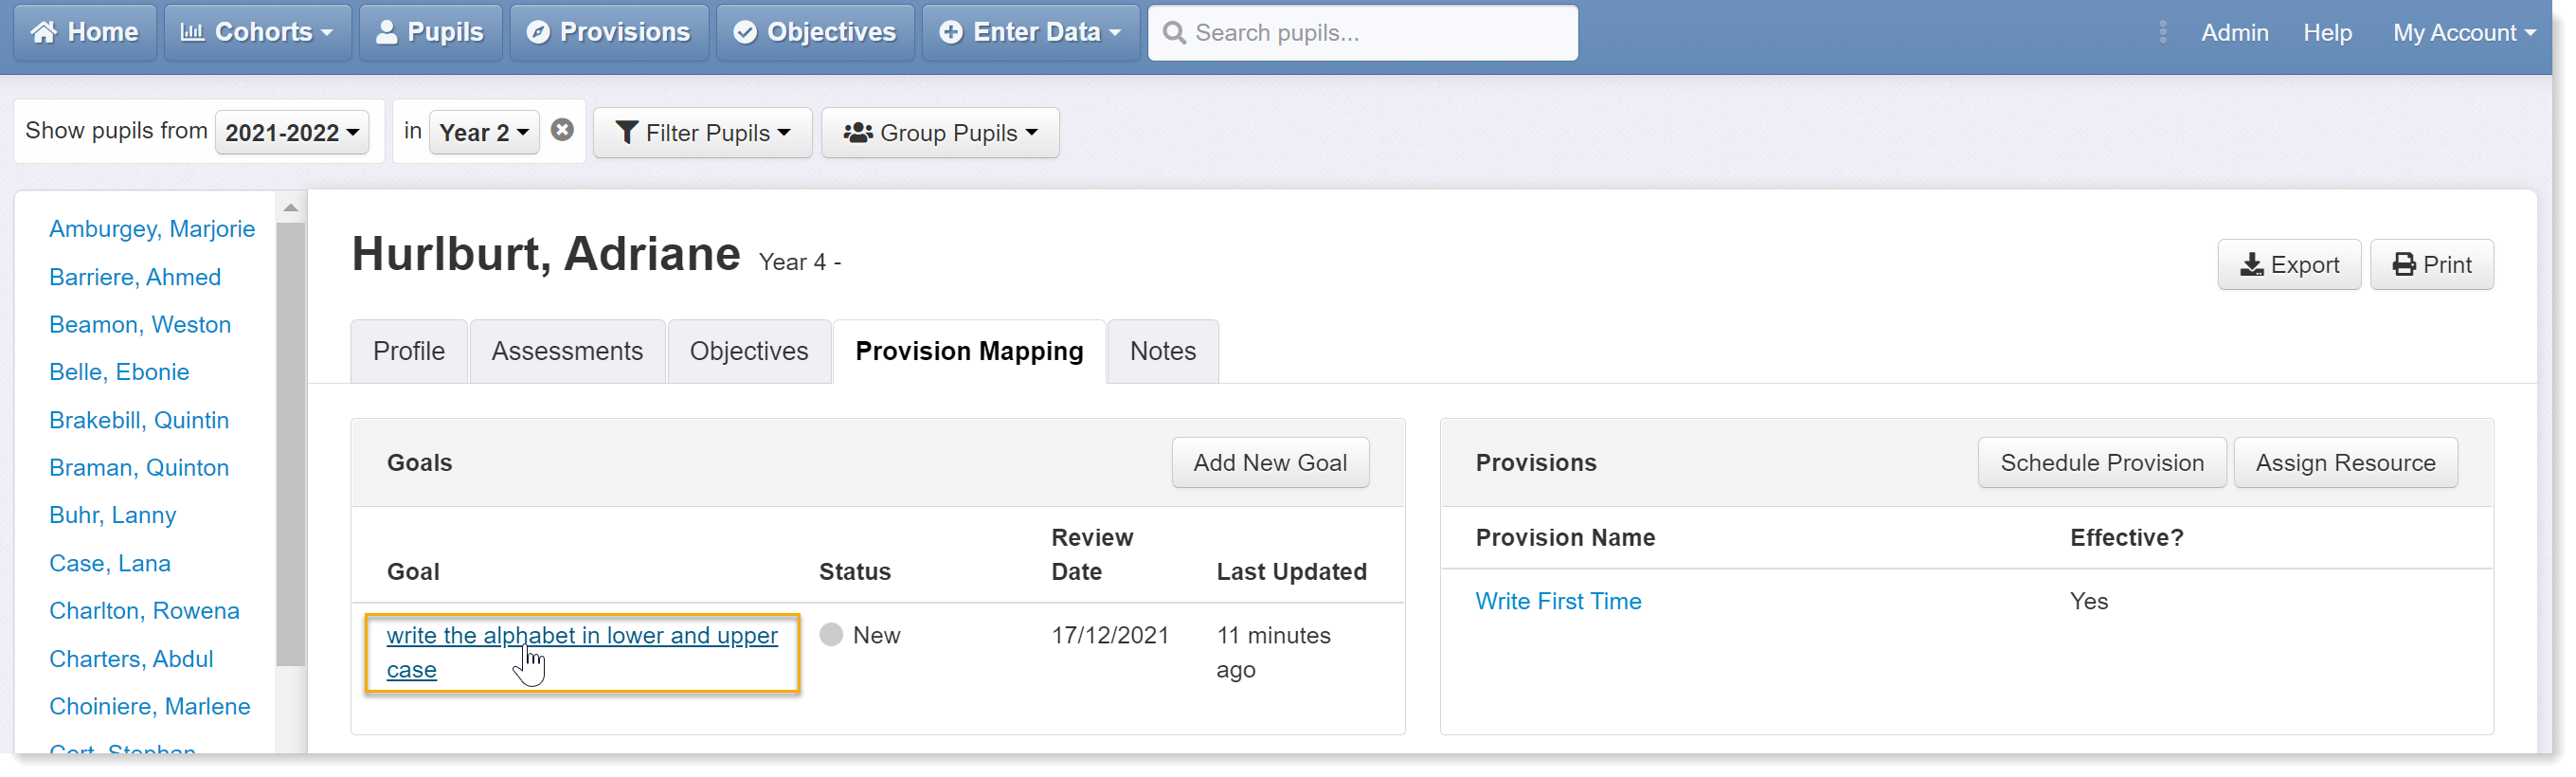
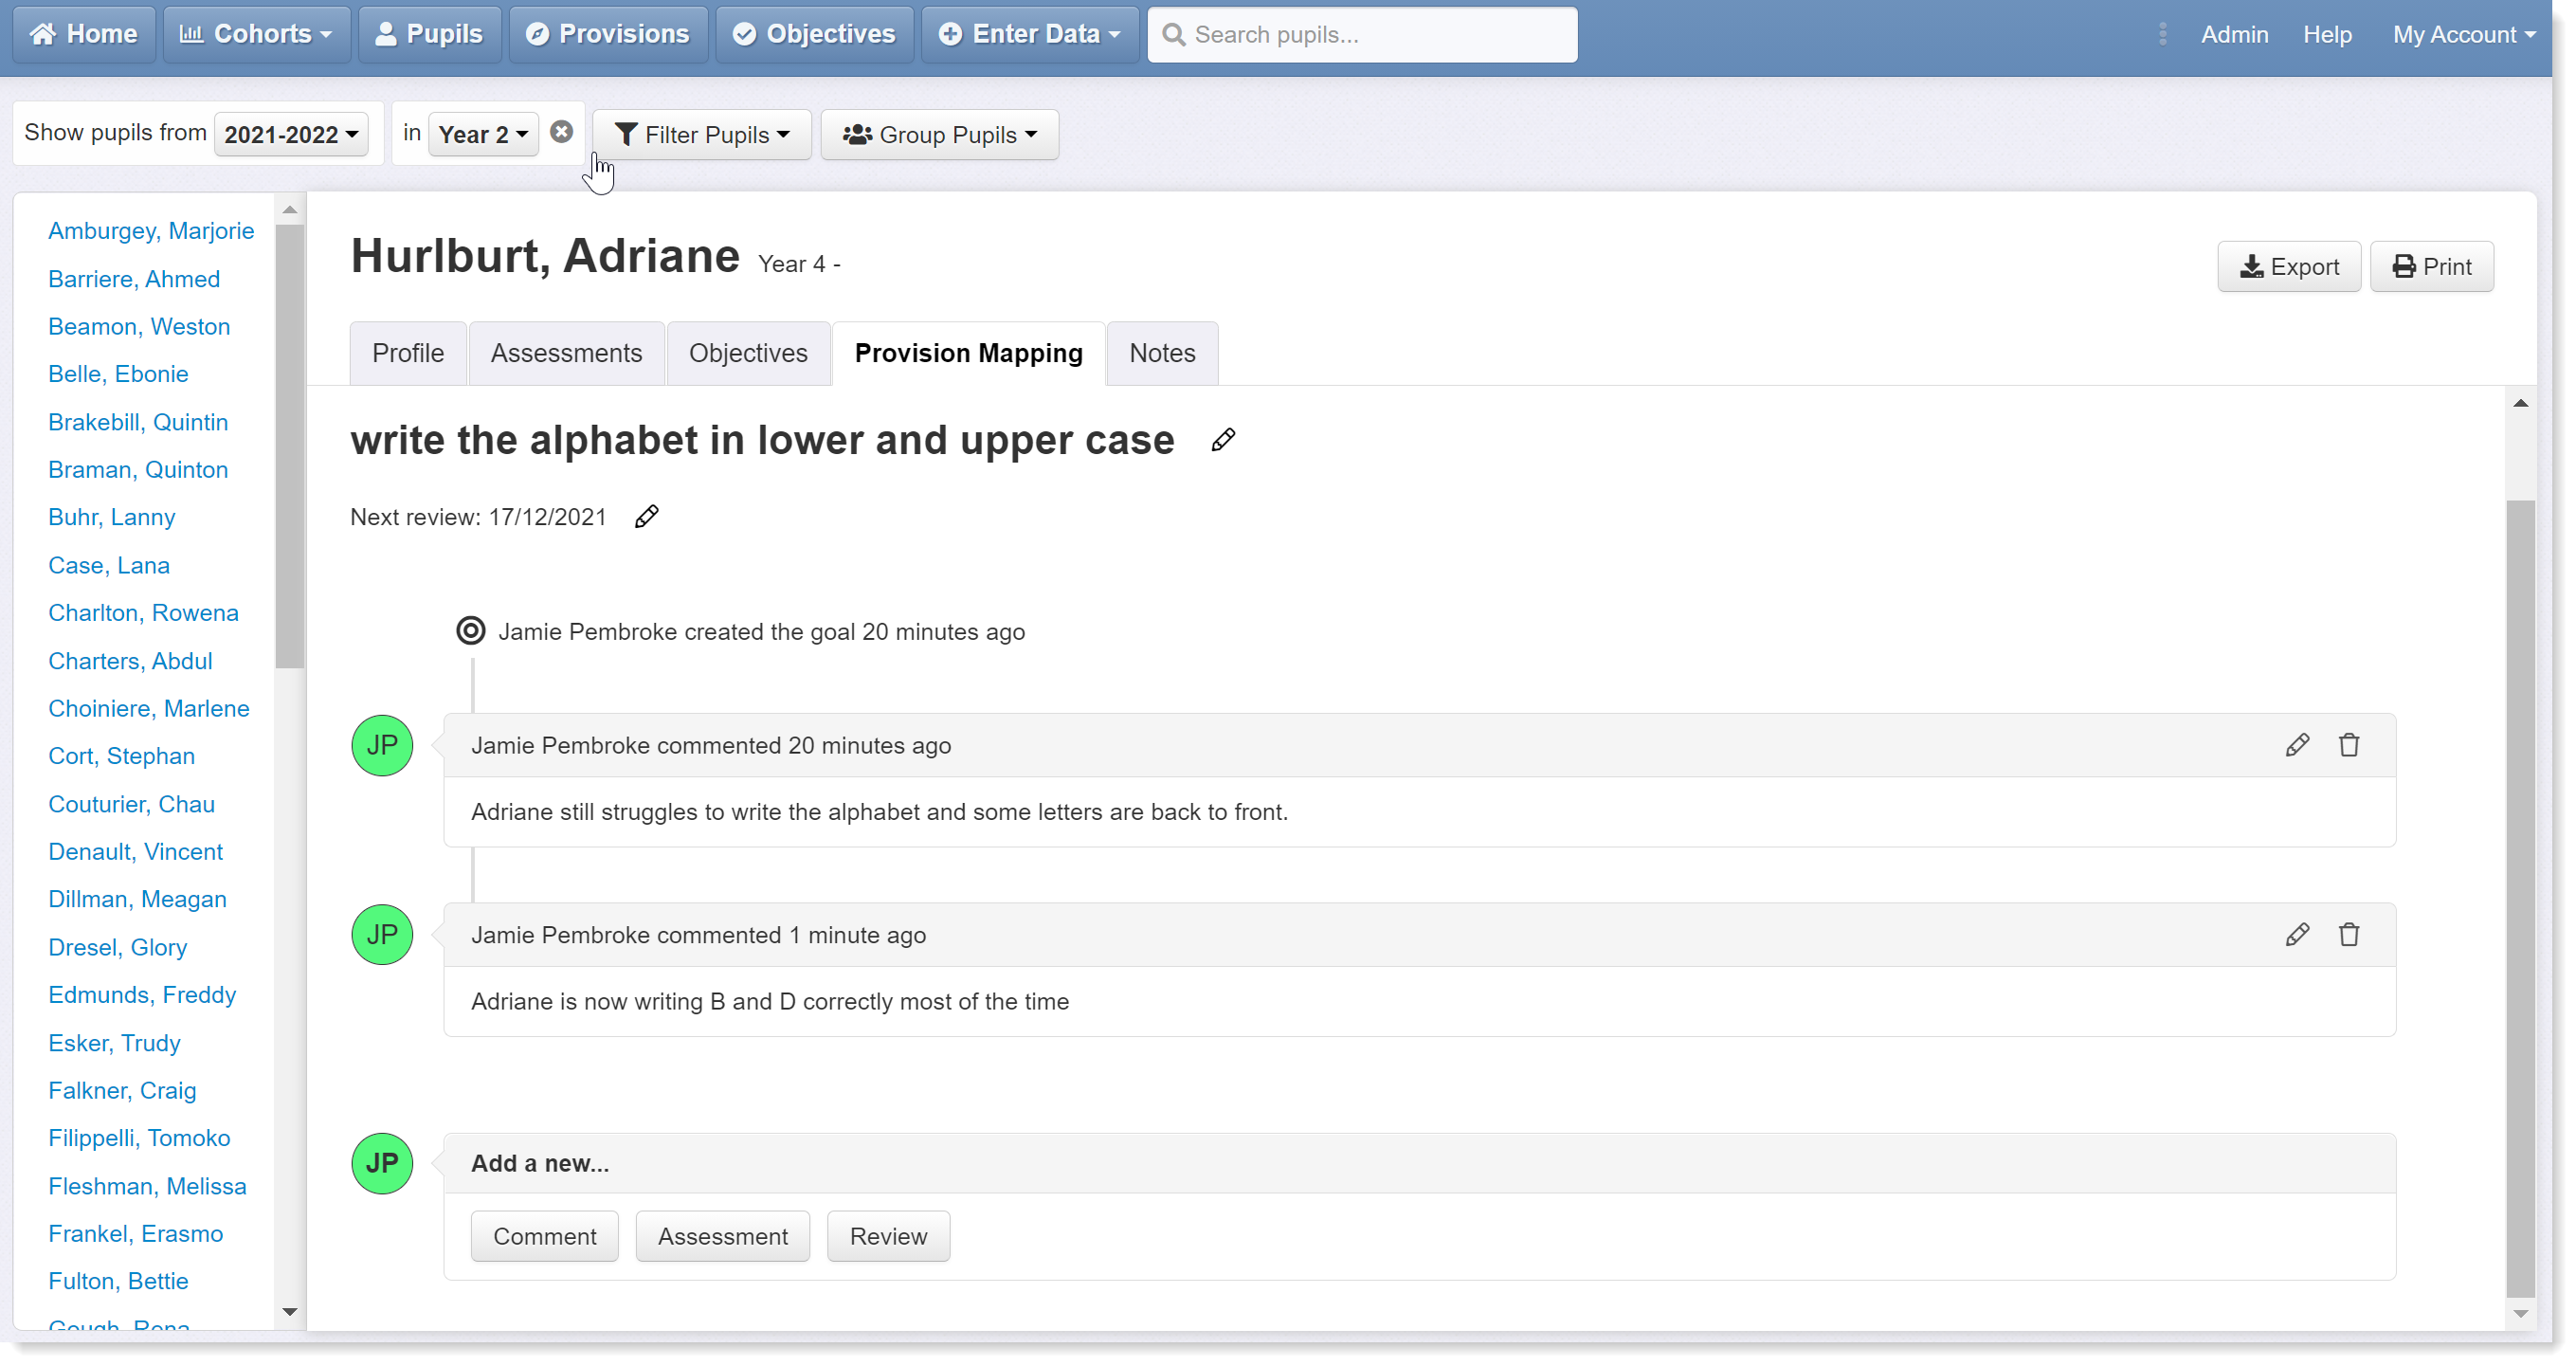
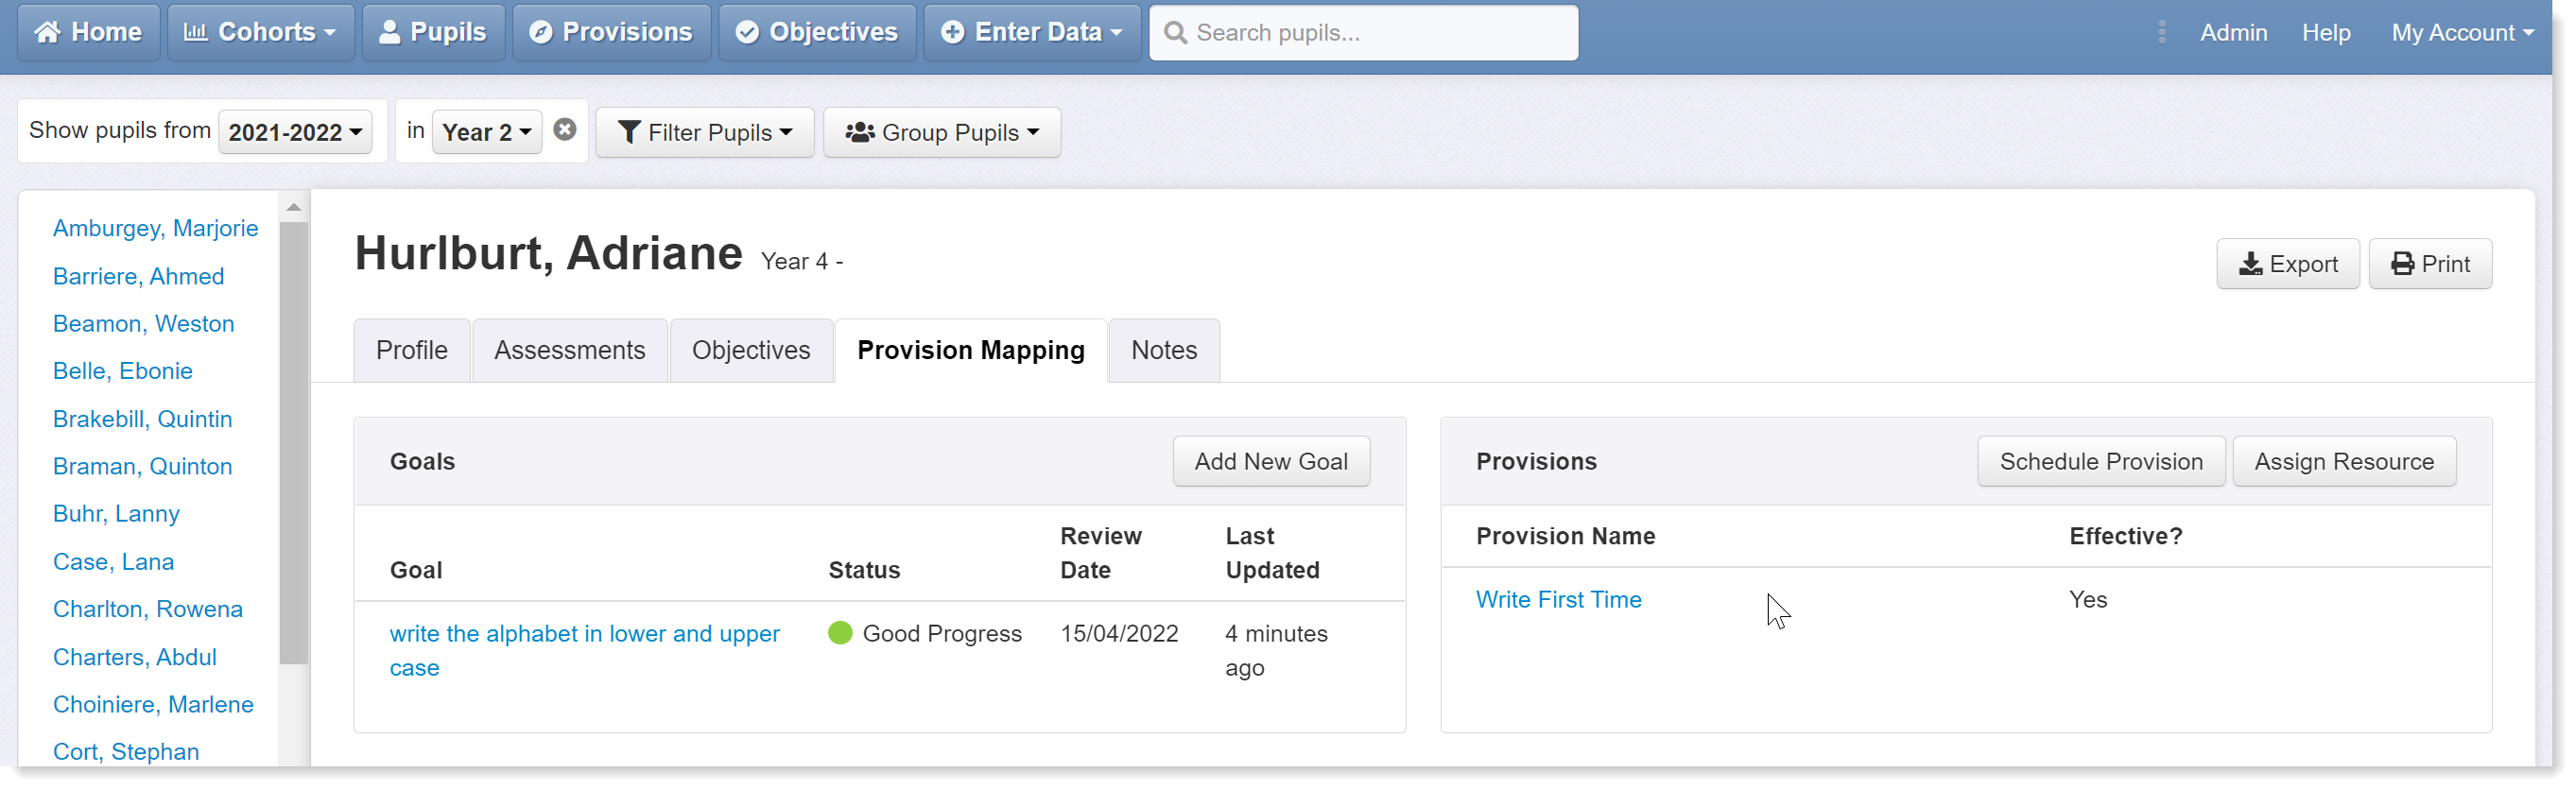
Once you have located the pupil page and clicked on the Provision Mapping tab, you will see two main boxes: goals are listed on the left; provisions are listed on the right. This pupil has one provision listed - Write First Time - but has no goals set.
Setting a new goal
A goal can be anything, academic or otherwise. It might be linked to a pupil's EHCP or could be a one-off target for a pupil needed some support in a specific area. Click the Add New Goal button to get started:
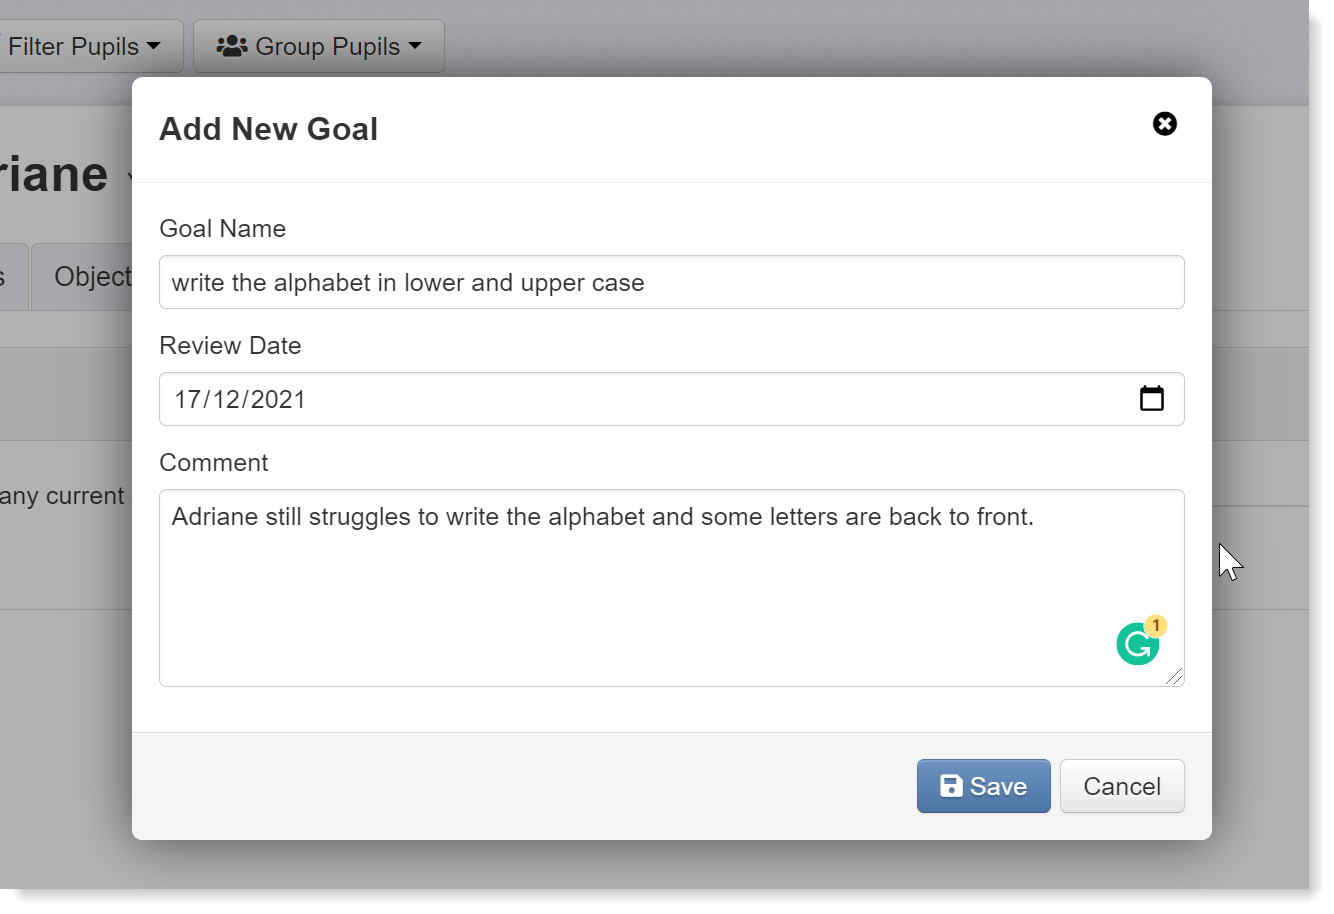
Type the name of the goal, set the review date, and add any comments. Then click Save.
You will then be returned to the goals area of the pupil's provision mapping tab:
Click on the pupil's provision mapping tab to go back to the main area - the new goal will now be visible.
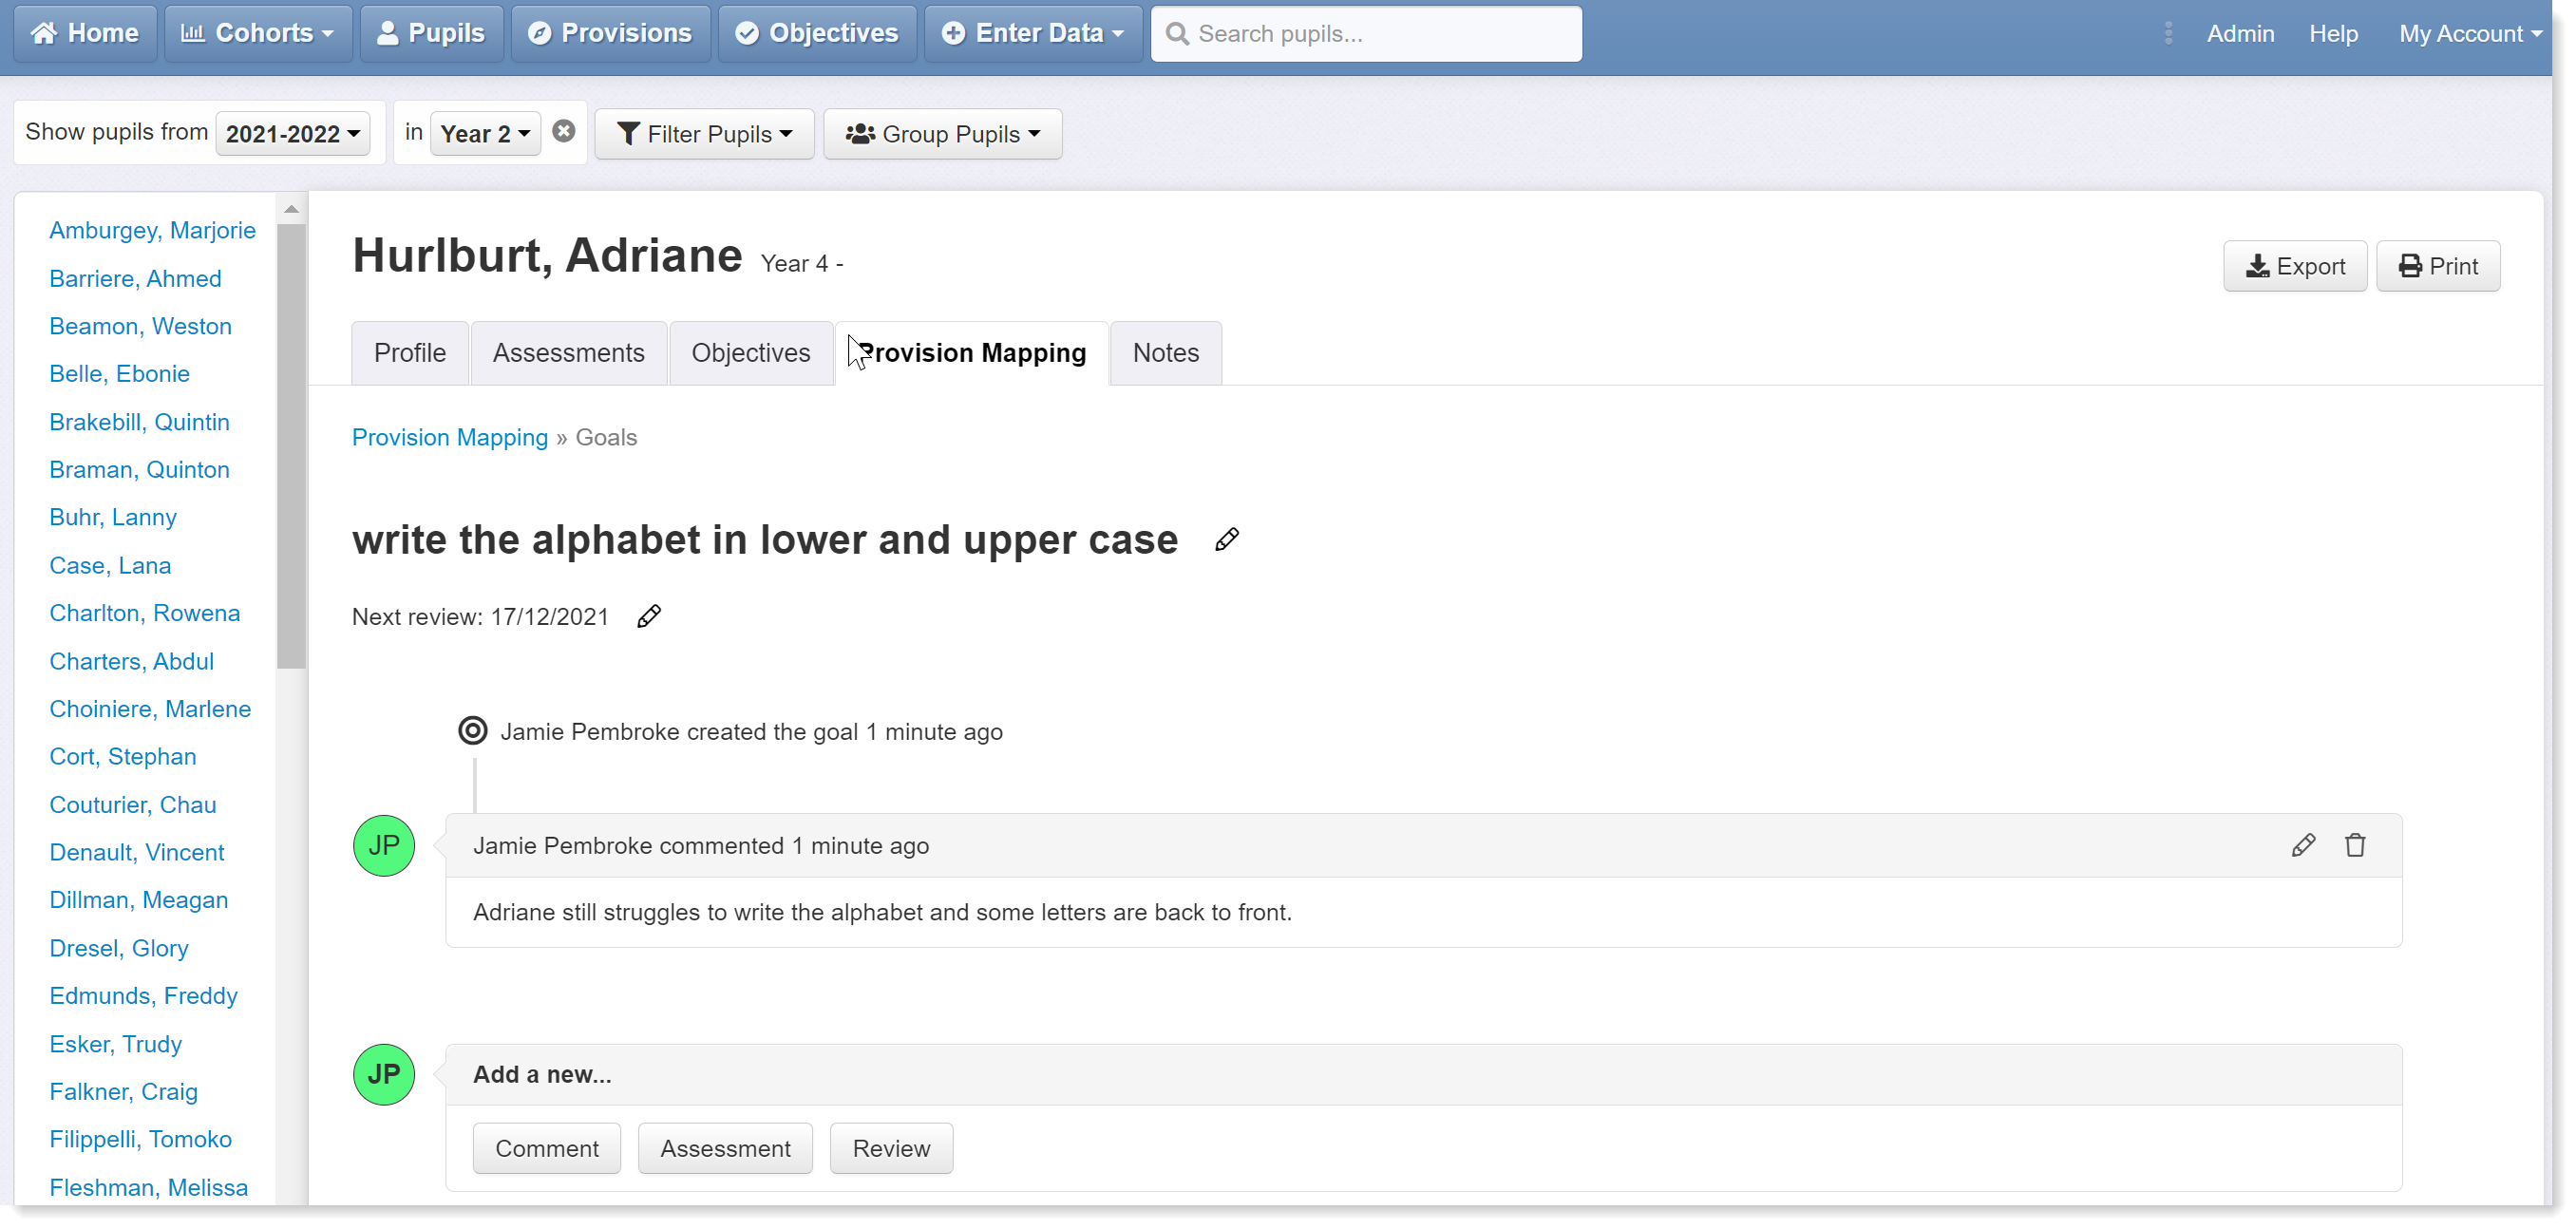
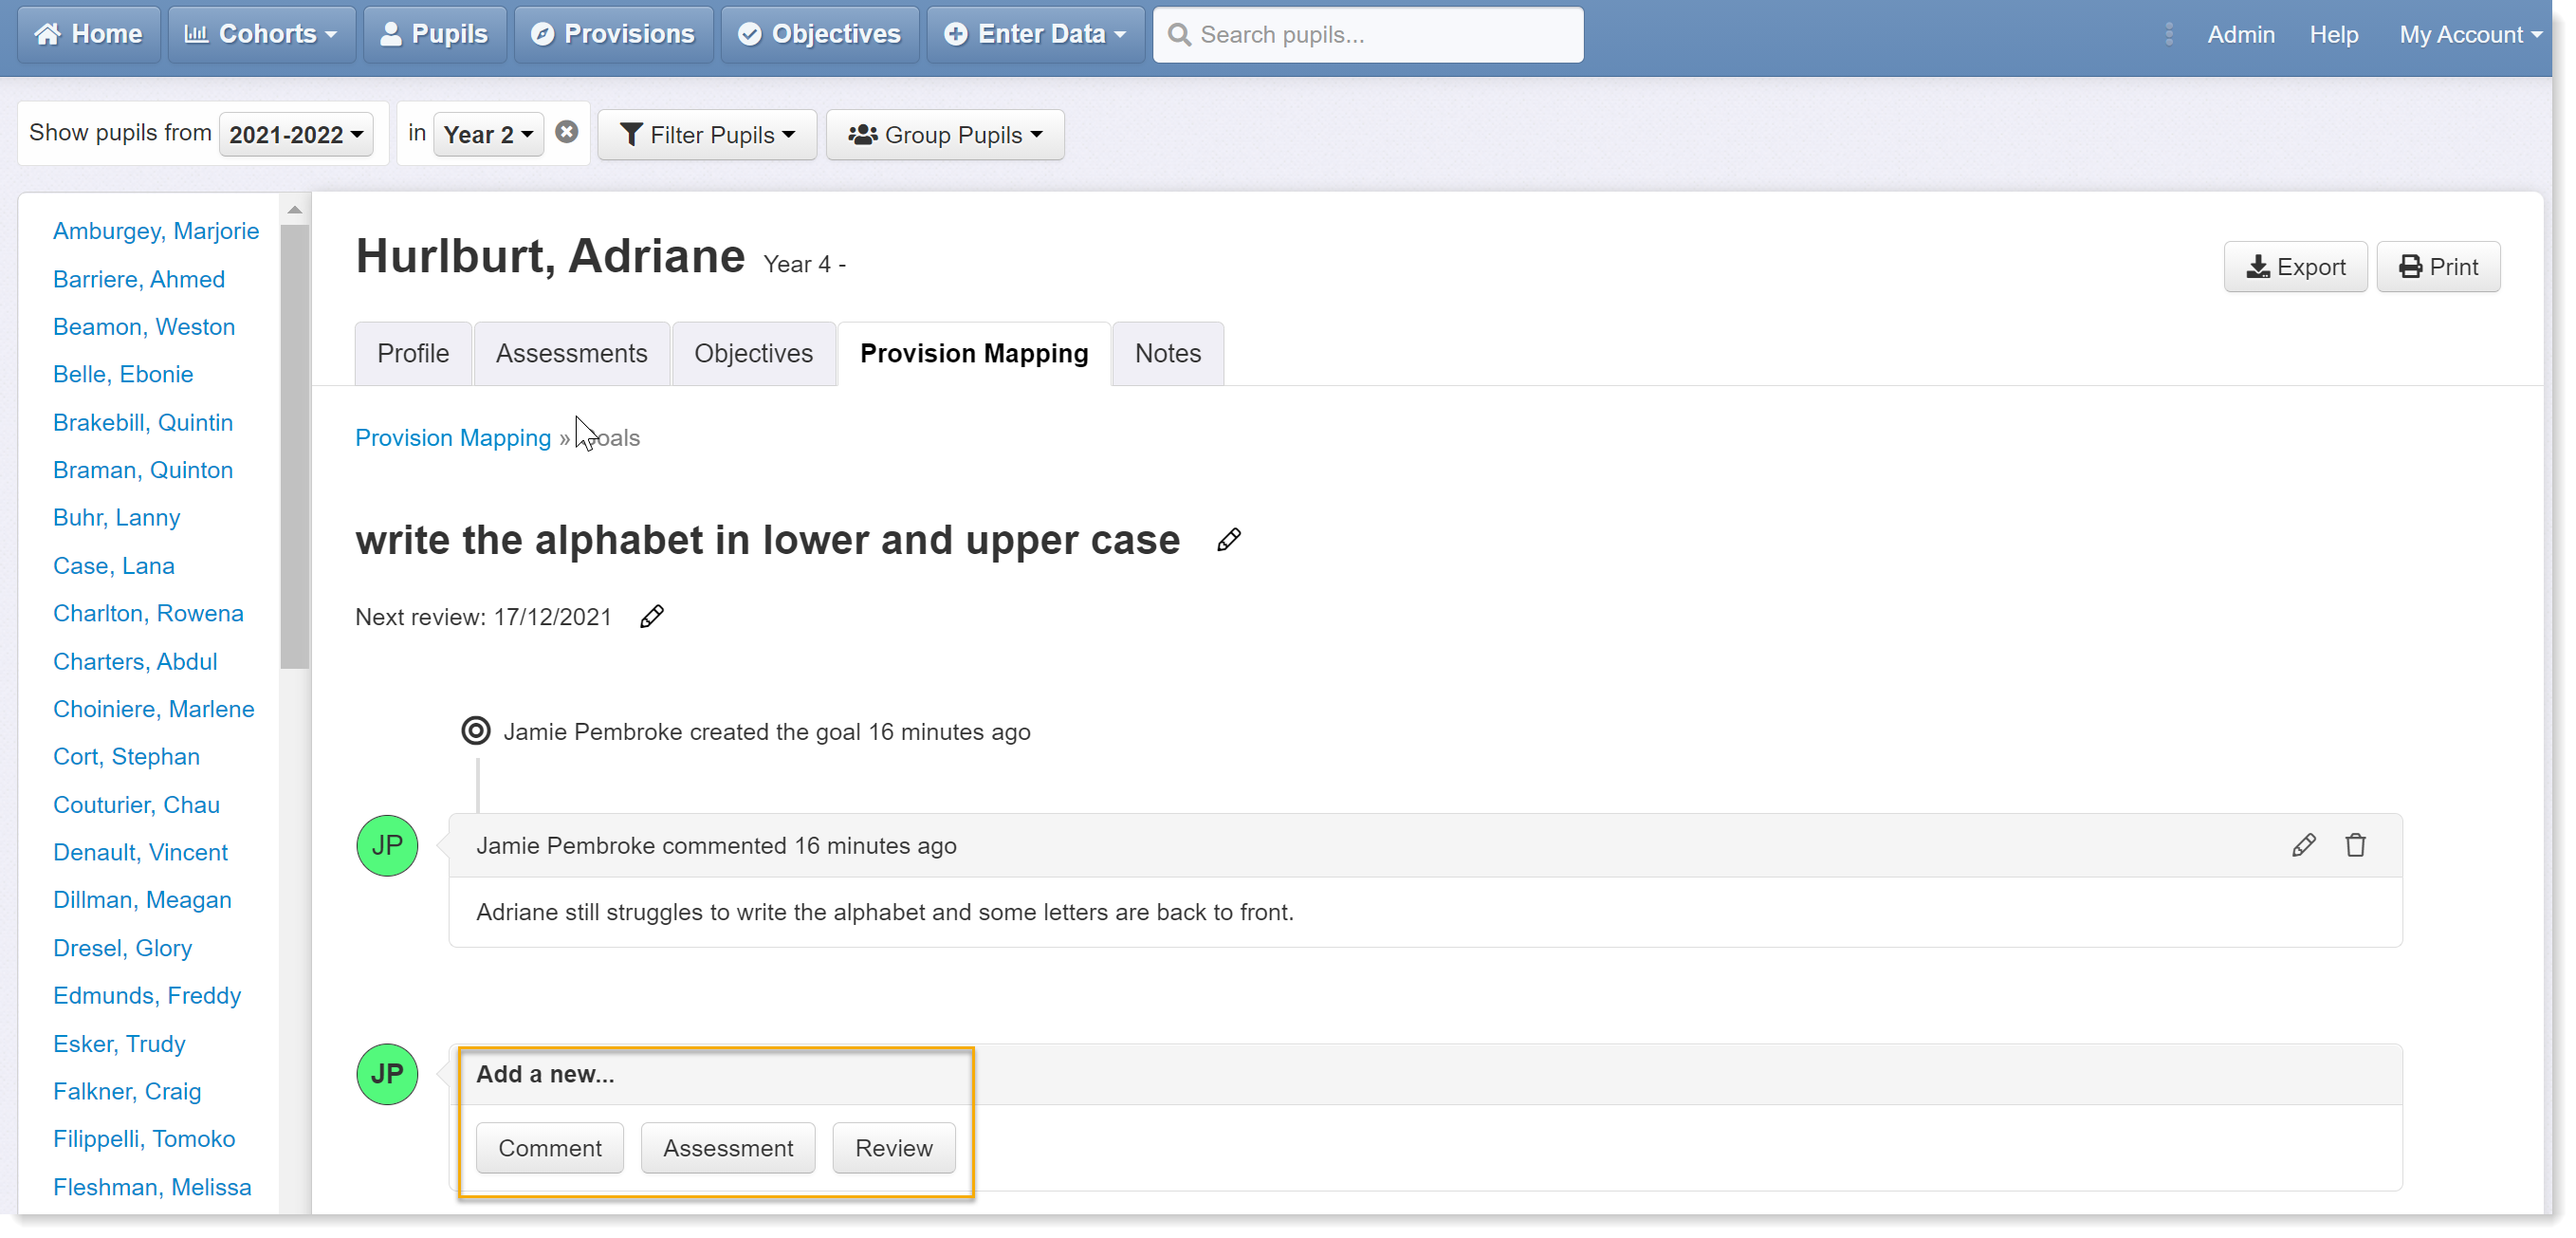
Click on the goal name to add more information. You have three options: comment, assessment, review.
Click to add another comment.
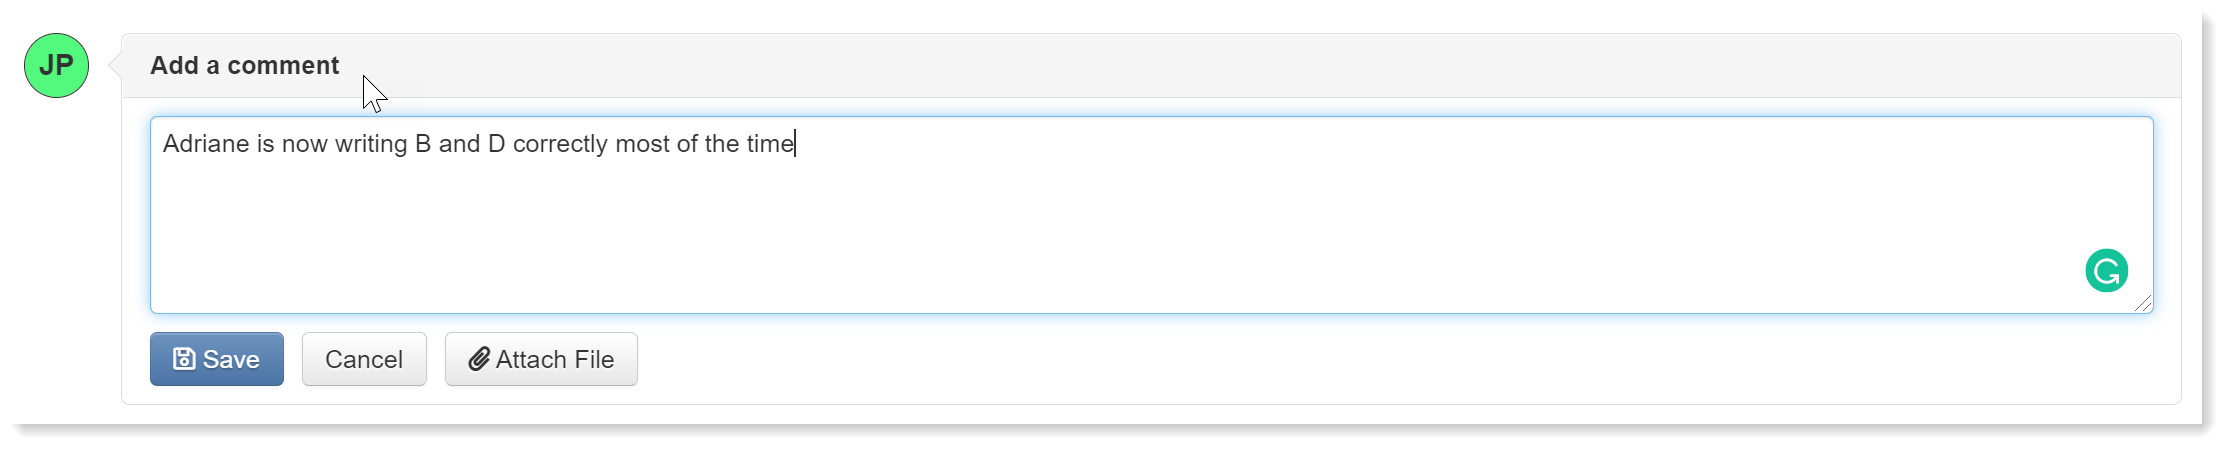
Click save. This will return you to the main page for the goal where the new comment will be shown beneath the original. Again, you can edit and delete the comments if needed.
Now let's add an Assessment. Click the Assessment button:
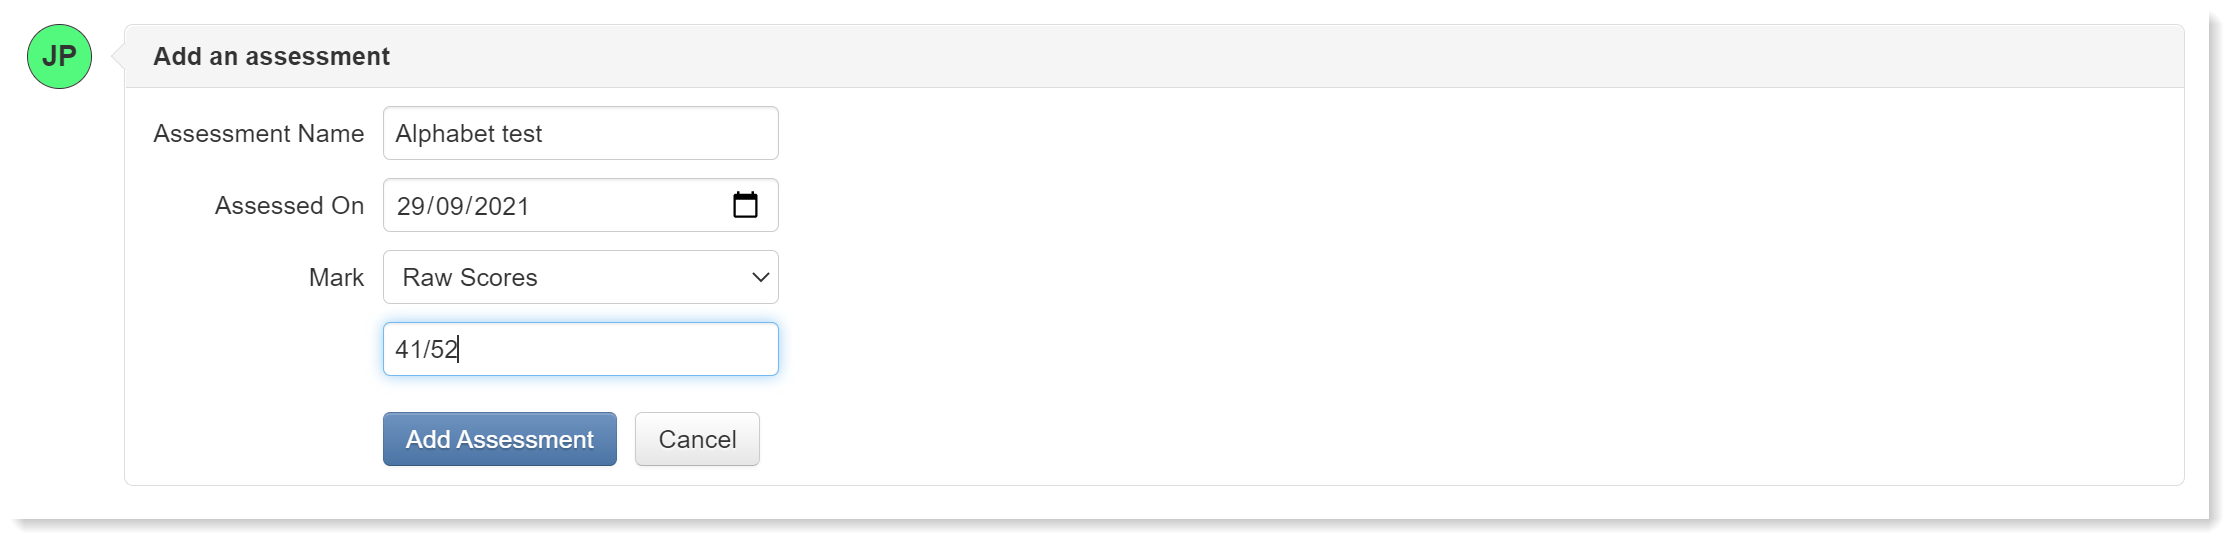
Type in the name of the assessment and the date it was made. Then select the type of data - the mark scheme - you want to record and enter the score. Here, we have selected a raw score mark scheme and entered a score of 41/52 (the number of lower and upper case letters written correctly). Then click Add Assessment.
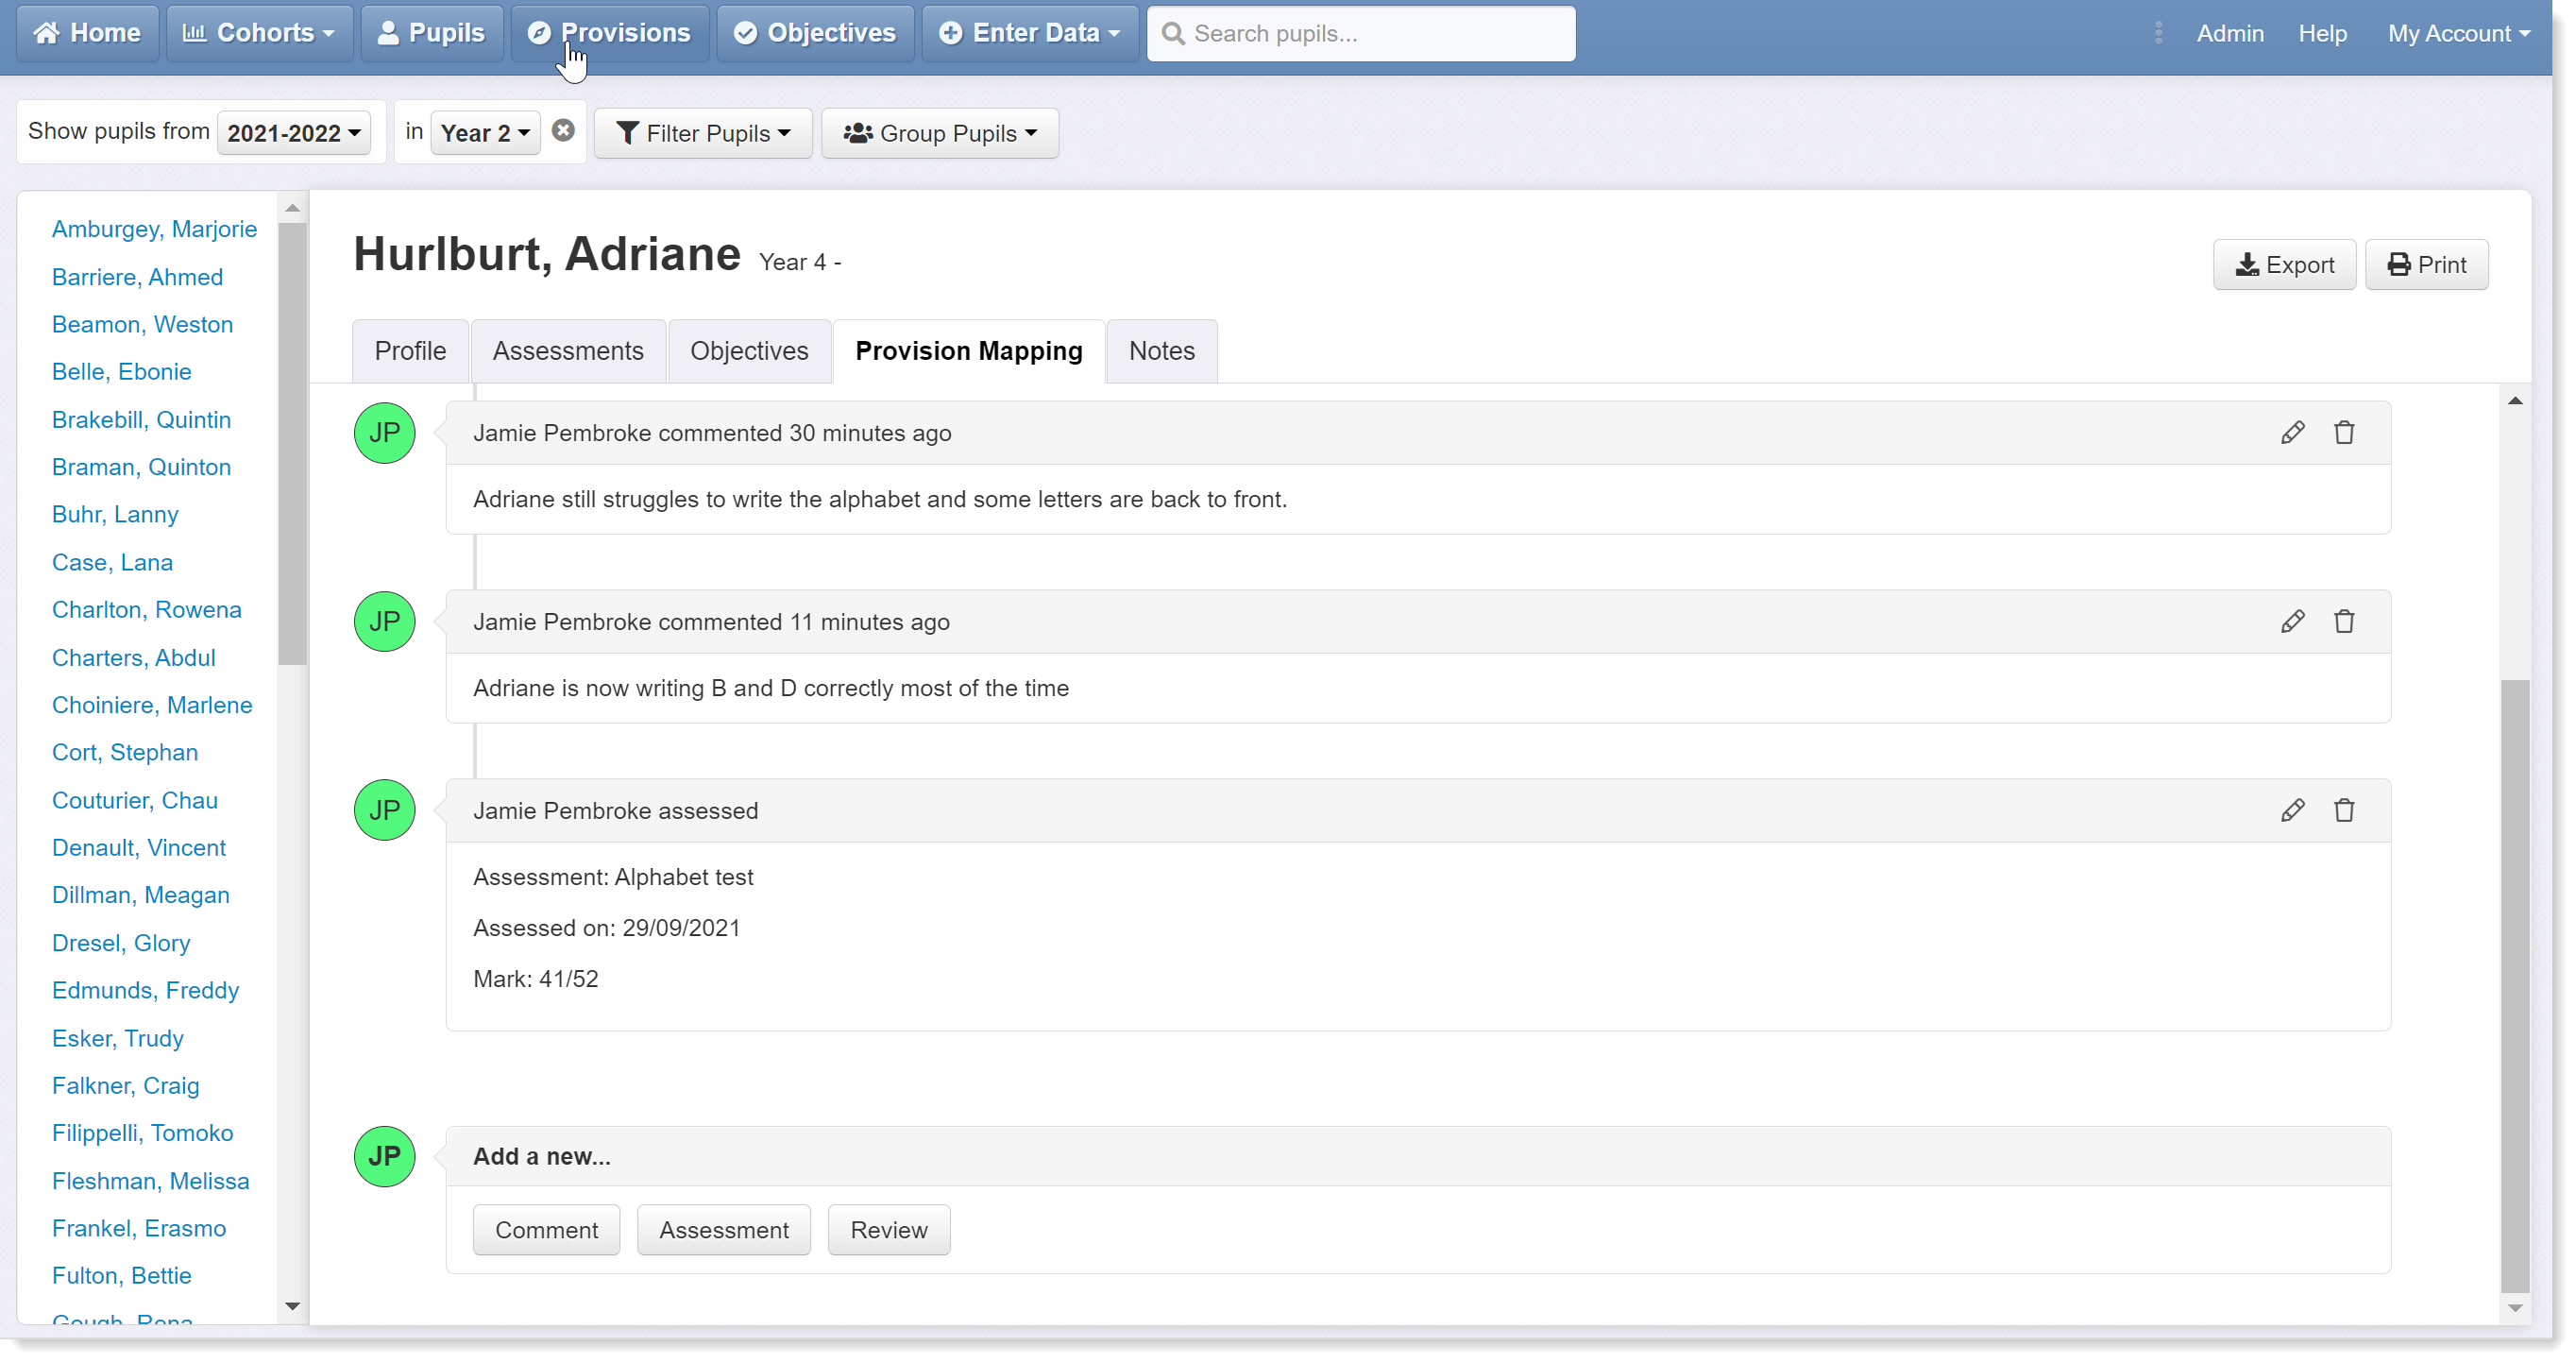
Again, you will be returned to the goal's summary page where we now have two comments and an assessment record:
Finally, let's add a review for this goal. Click on the Review button:
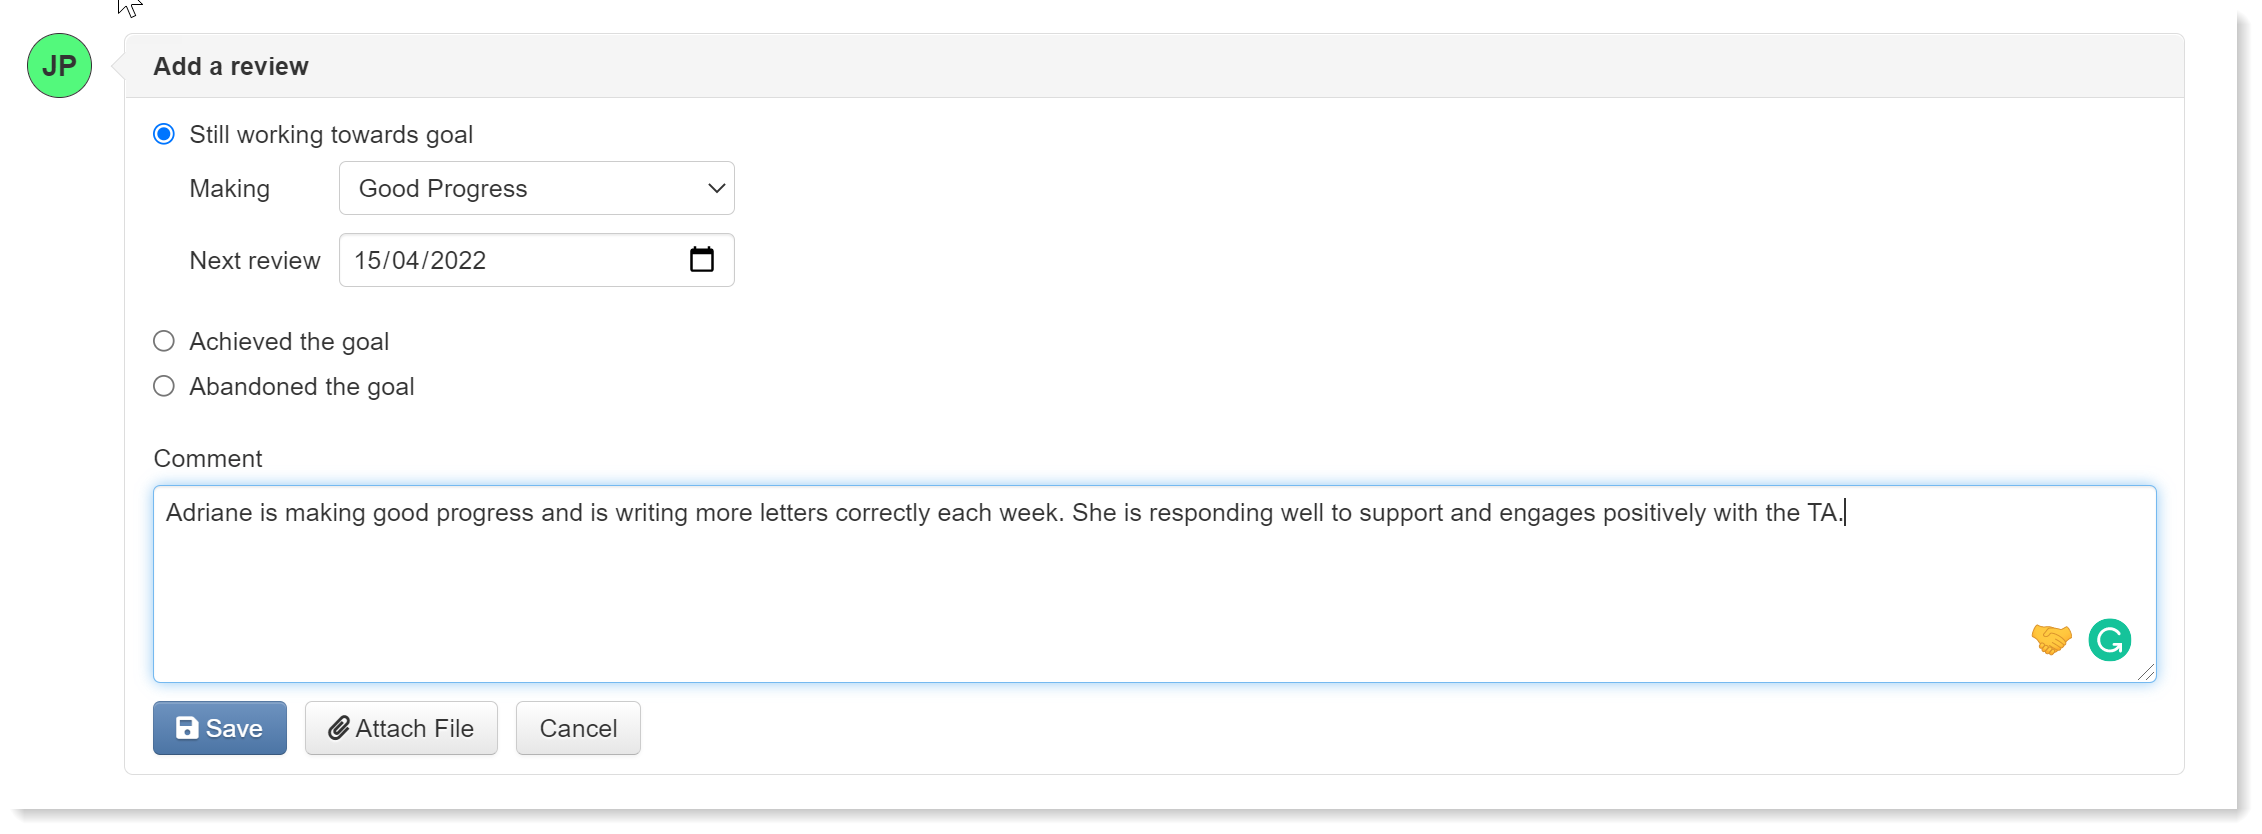
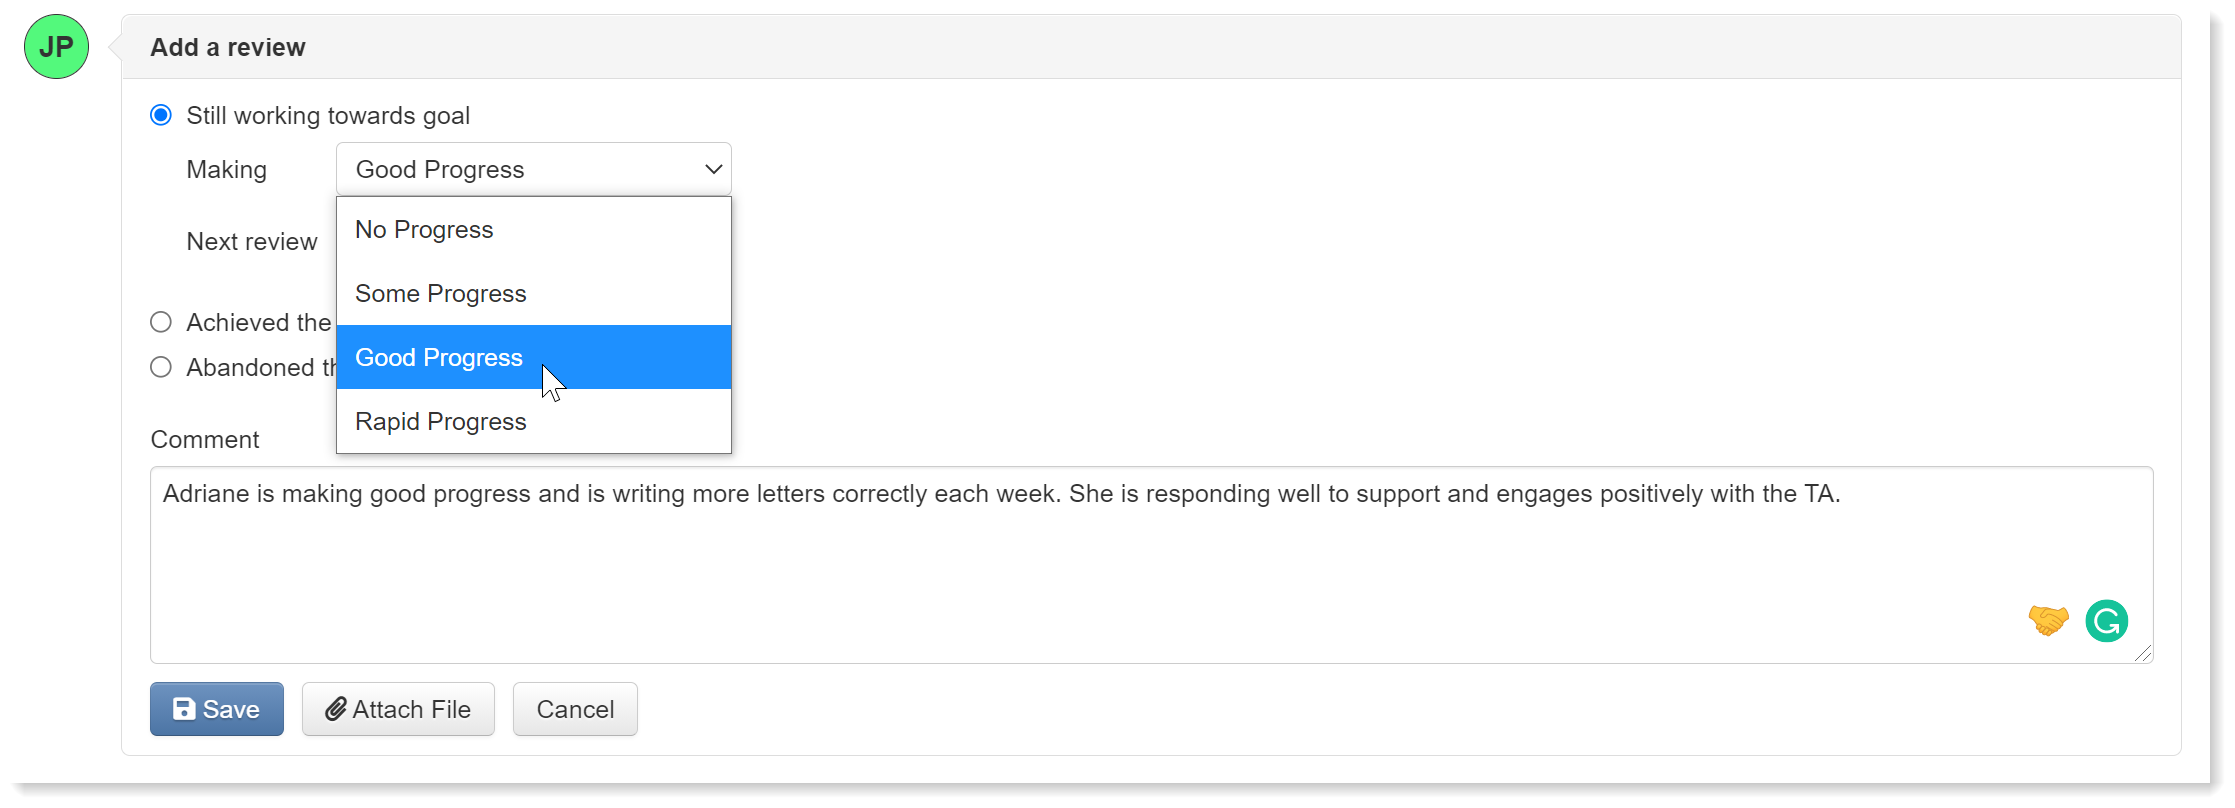
There are three elements to complete: the status of the goal, the date of next review, and comments. The status can be set as 'still working towards goal', 'achieved the goal', or 'goal abandoned'. Selecting the former will prompt you to evaluate the progress by selecting an option from the dropdown menu, as shown below. You can also attach a file, such as photo evidence, if required:
Complete the options and click save to return to the summary area for this goal:
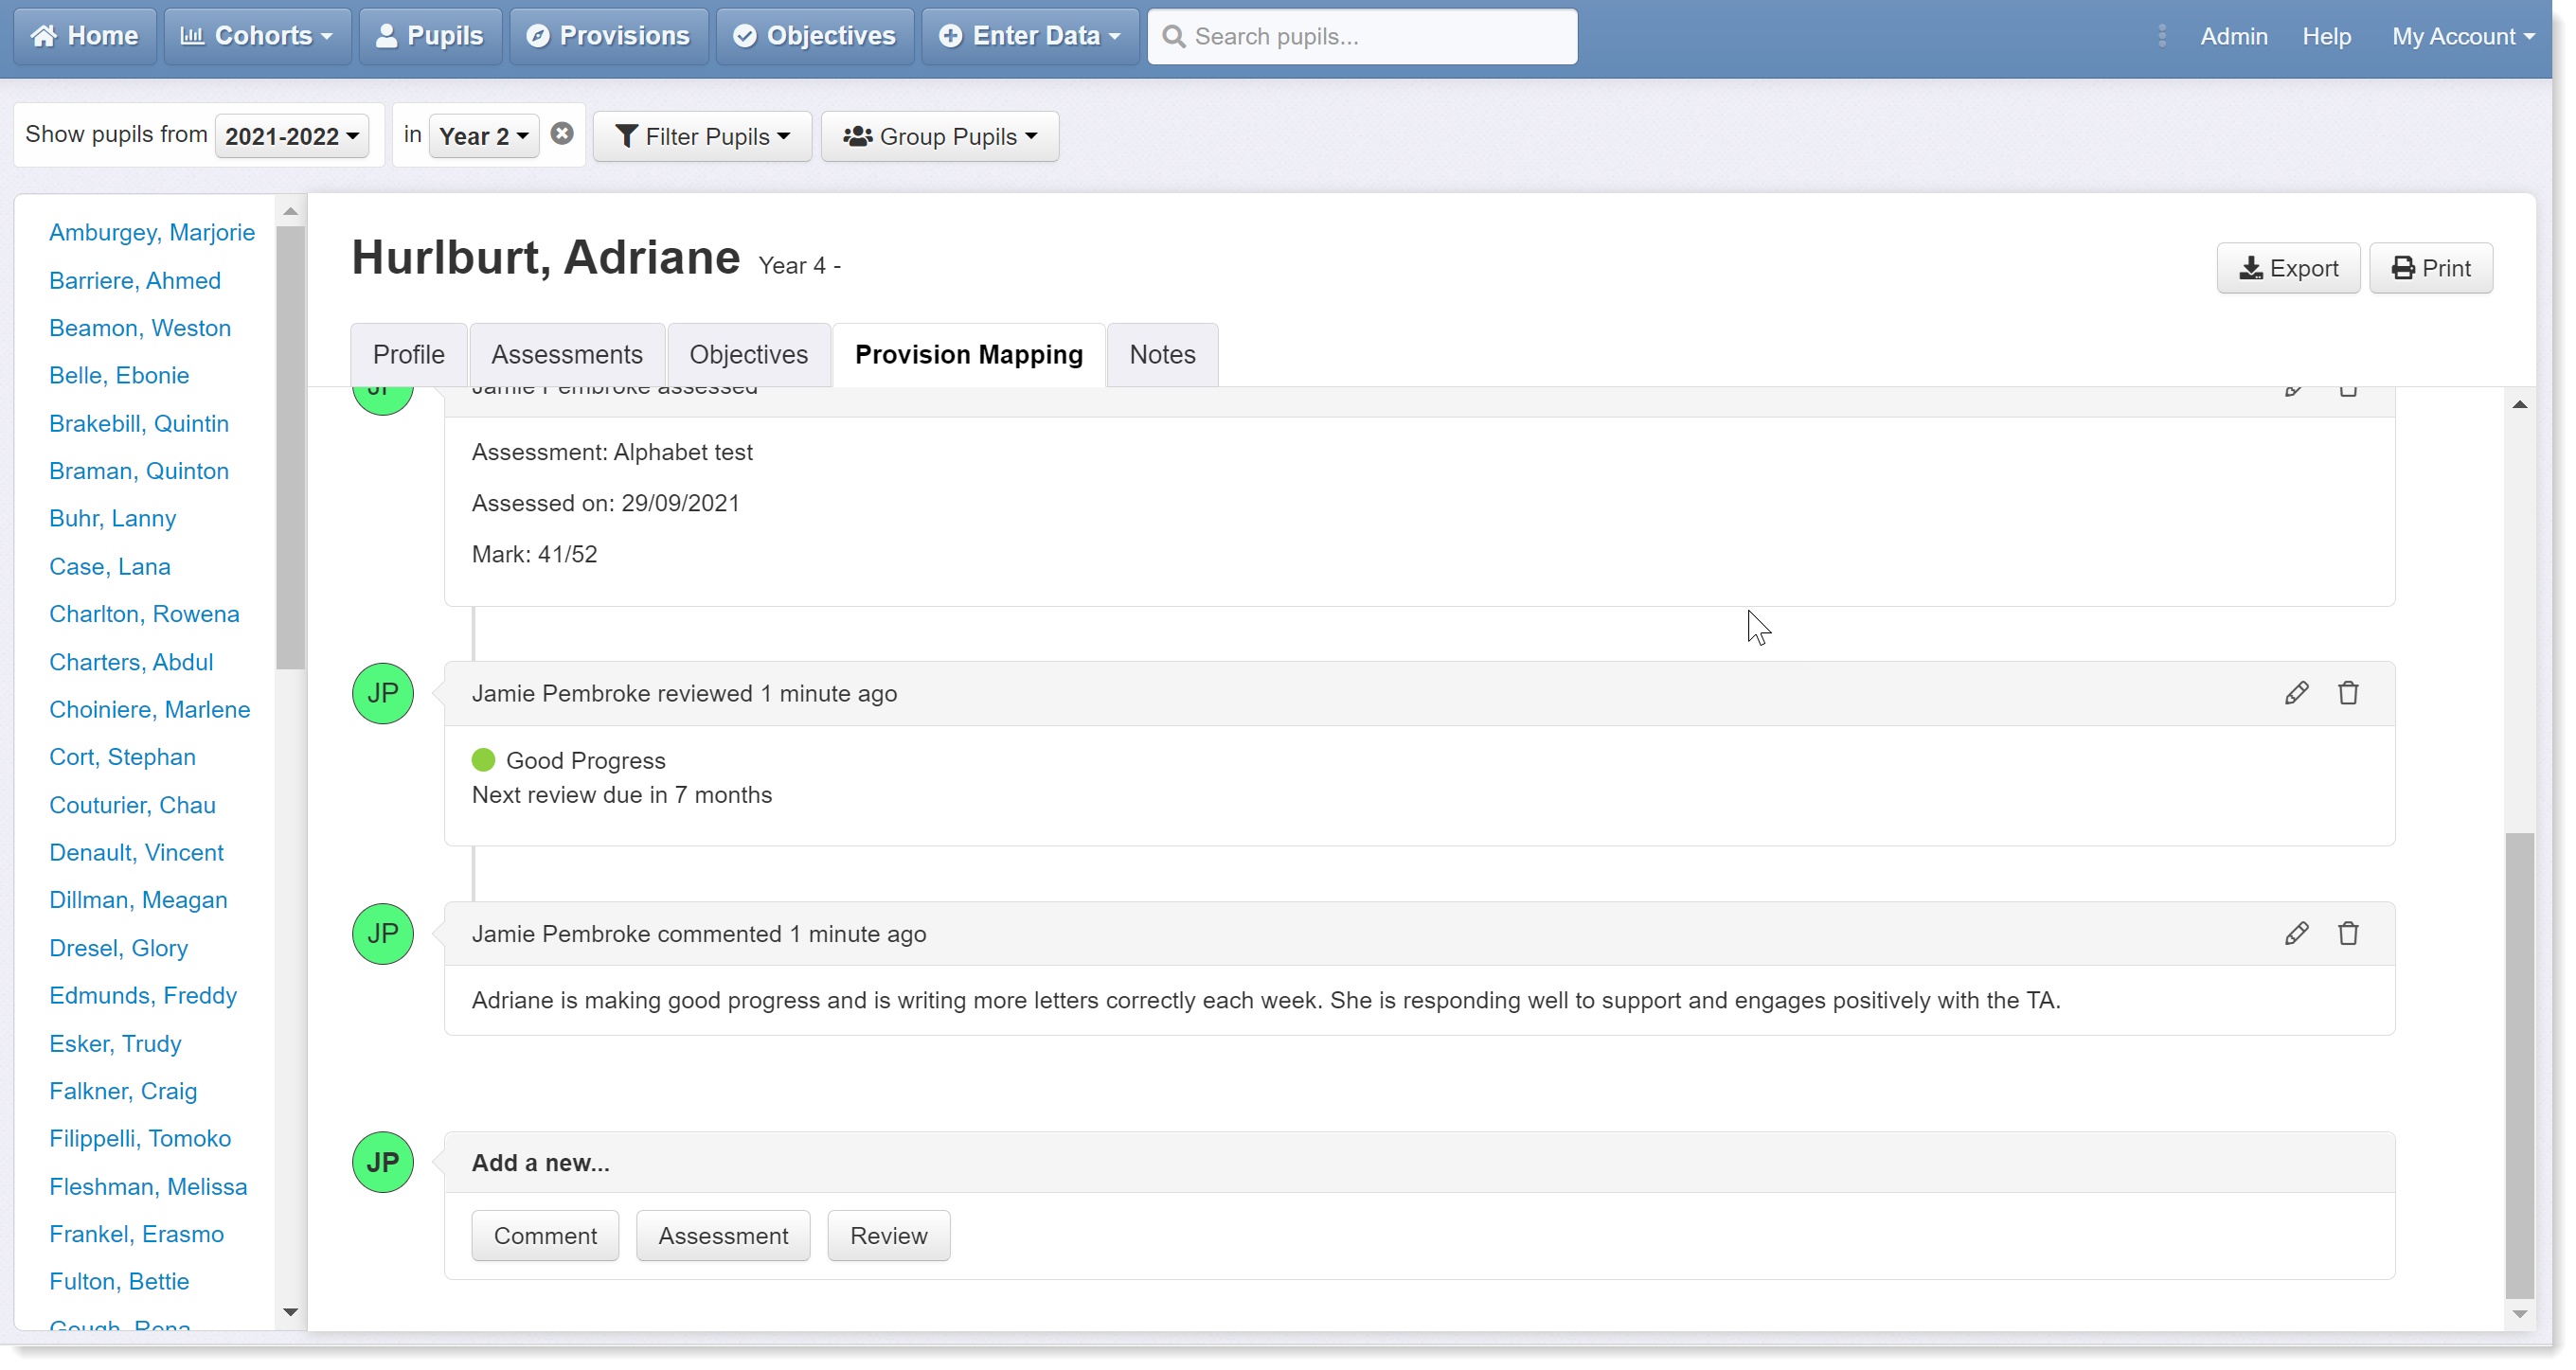
We now have a list of comments and a review of progress. You can keep adding more comments, assessments, and reviews as required.
Finally, click on the Provision Mapping tab to return to the pupil's main provisions tab where you can add new goals. You will also see a progress indicator beside the goal name (if the goal has been reviewed). Here, we can see that good progress is being made towards the writing goal, and this is shown by a green dot.
In the next help guide, we'll look at how to add similar information - comments, assessments, evaluations - to each of the provisions listed on the pupil's page.
We hope that this help guide has been useful. If you need any further help or have any feedback on the development of provision mapping in Insight, please get in touch.