Creating and managing Pupil Groups
 Updated
When Insight connects to your MIS it automatically sets up the main pupil groups you'd find in a DfE census file: FSM, SEND, EAL, Gender, etc. It also creates additional groups such as term of birth and 'joined in year' as well as prior attainment bands based on the the pupil's EYFSP or KS1 outcome, as applicable. These will satisfy most reporting requirements but schools will often want to set up their own groups, and that's where Insight's Pupil Groups feature comes in.
Pupil Groups allows schools to create as many bespoke pupil groups as they like. These might be subject teaching groups, targeted intervention groups, or groups based on specific pupil characteristics. Once these groups are created they can be used to filter and group reports just as with those that are automatically generated.
And, as you'd expect with Insight, it's easy to do!
Creating a pupil group
There are two ways to set up groups: via the Enter Data button and in the Pupils section. The former is the best option if starting from scratch with a number of pupils to add to the new group; the latter is a good option if you want to assign a pupil to an existing group (although it can also be used to establish a new group, too).
Let's start with the Enter Data route.
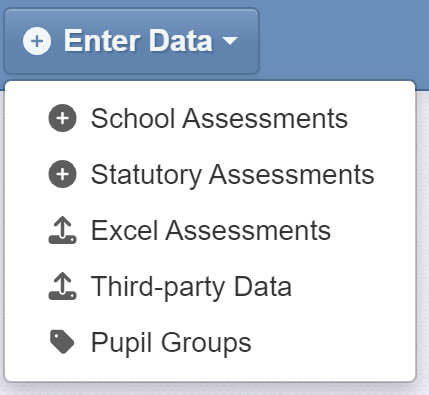
1) Click on Enter Data and click Pupil Groups in the menu.
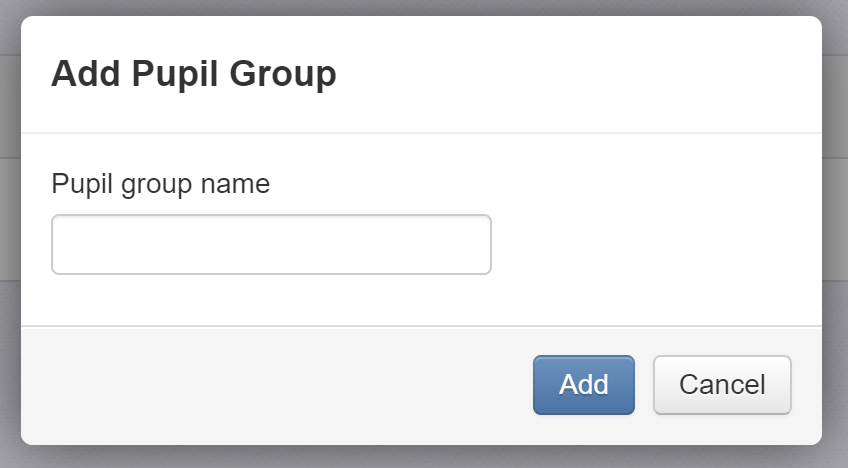
2) If you have already created some bespoke groups, they will be listed and you can click on one to add pupils to that group. To create a new group, click on the Add Pupil Group button.

3) A window will appear. Type the name of the group here.
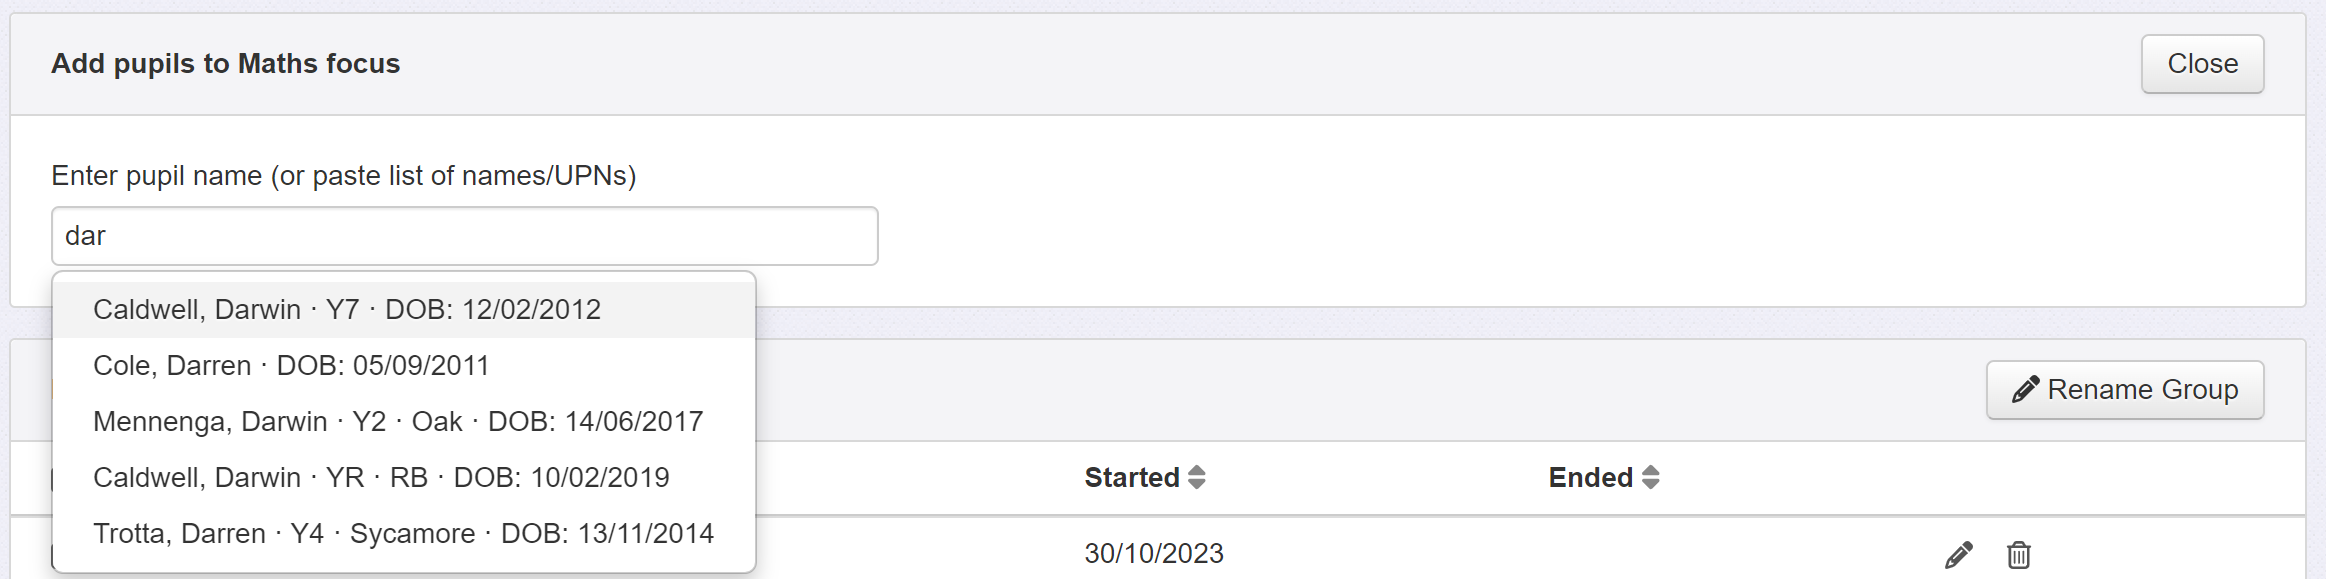
4) On the next screen, you can add pupils to the group. Simply type the first letter(s) of their name and pick them from the list. You can rename the group at any time by clicking the 'Rename Group' button.
5) You are then asked to set a start date and an (optional) end date for each child. Once you have done this, click Add pupils to group. They will be listed below, where their entries can be edited and deleted.
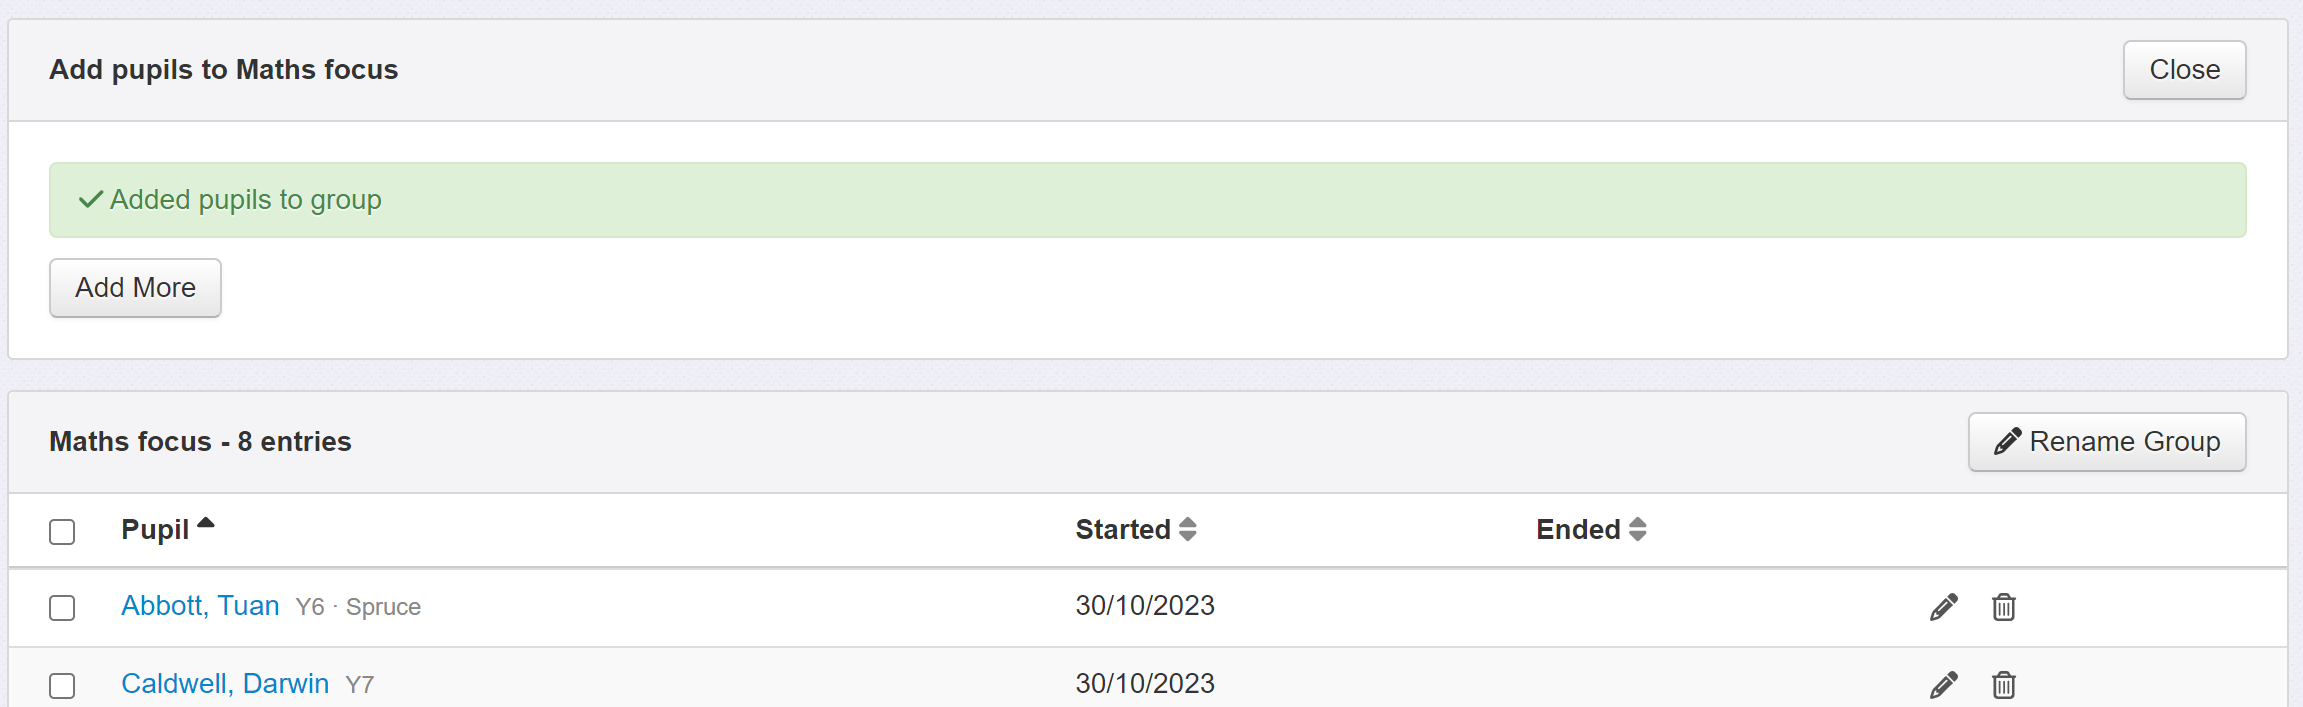
6) Once you have added all the relevant pupils to the group, you can exit the tool. Pupils are saved automatically as you add them.

Renaming or deleting a pupil group
To rename a group or delete it, if it's no longer required, simply select the group from Enter Data > Pupil Groups. Then click the button for Rename Group or Delete as required
Viewing, editing and creating groups within the Pupils section
The Profile section will now list that group. Scroll down to find the list of their Pupil Groups. This information appears next to the pupil's statutory assessment data.
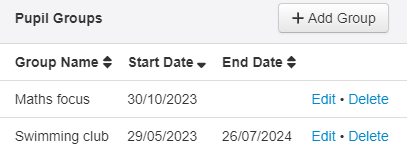
Clicking on Edit will bring up a window where you can change the dates.
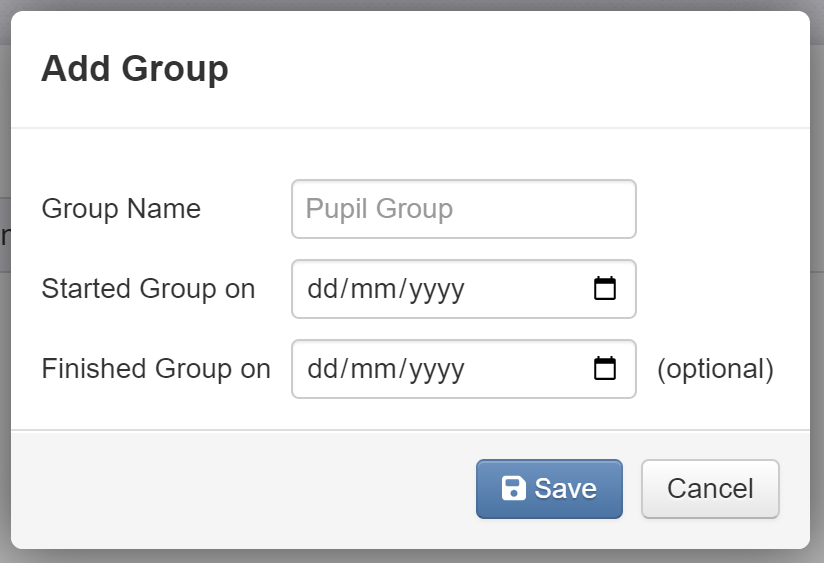
Clicking on Add Group within the pupil page will bring up this window where you can add them to an existing group from the list or create a new group:
Applying Filters and Grouping options to reports
Our new group is now created and will be listed in the filter pupils and group pupils options in reports.